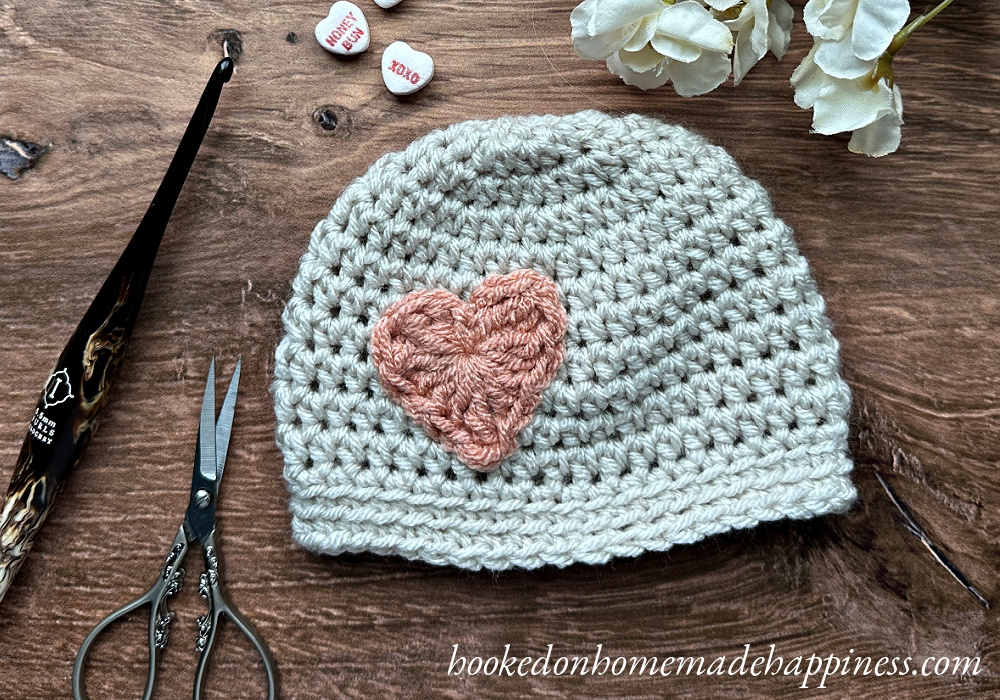
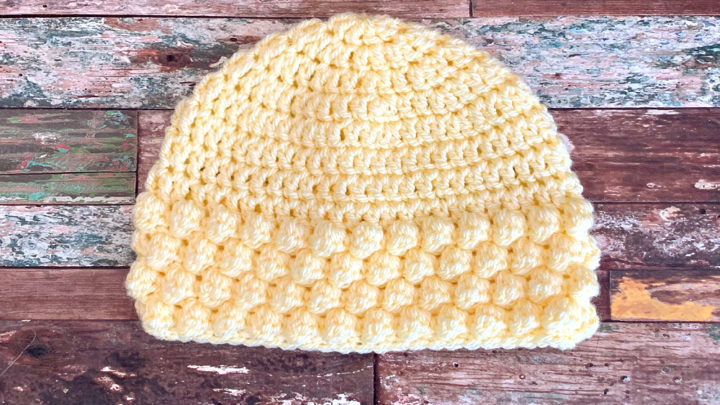
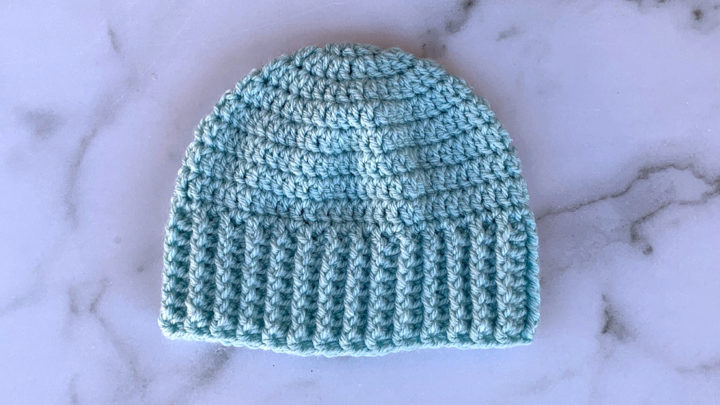
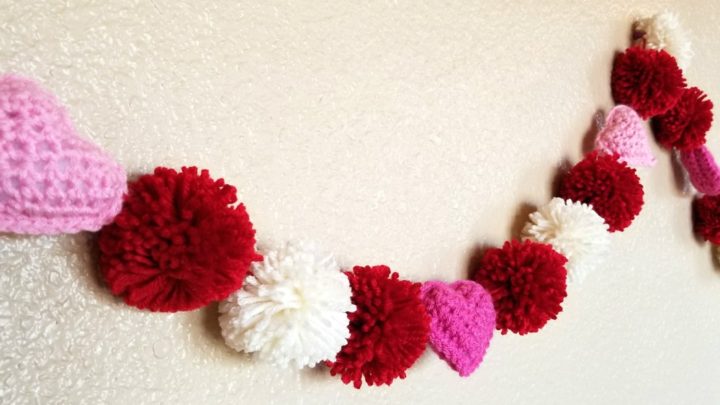
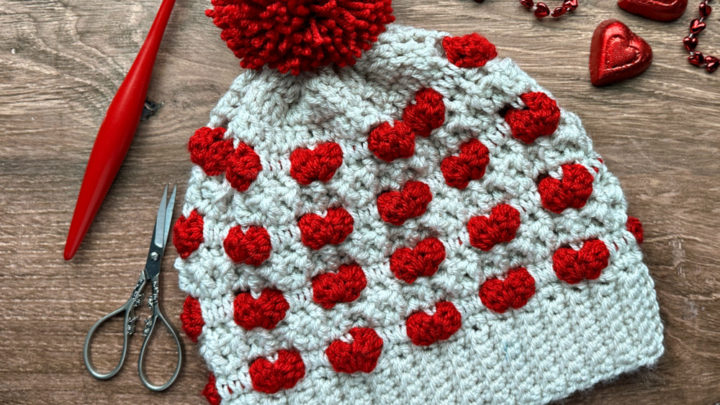
With Valentine’s Day just around the corner, love is in the air and what better way to celebrate than by showering your little one with a handmade gift – the Valentine’s Day Baby Beanie Crochet Pattern? Not only is it a unique and heartfelt present, but it also allows you to tap into your creative side and create something truly special for your little bundle of joy. In this article, we will walk through a simple and easy-to-follow crochet pattern for a Valentine’s Day baby beanie, perfect for both beginners and experienced crocheters. So grab your hook and yarn, and get ready to spread some love with this adorable and cozy accessory for your little one.
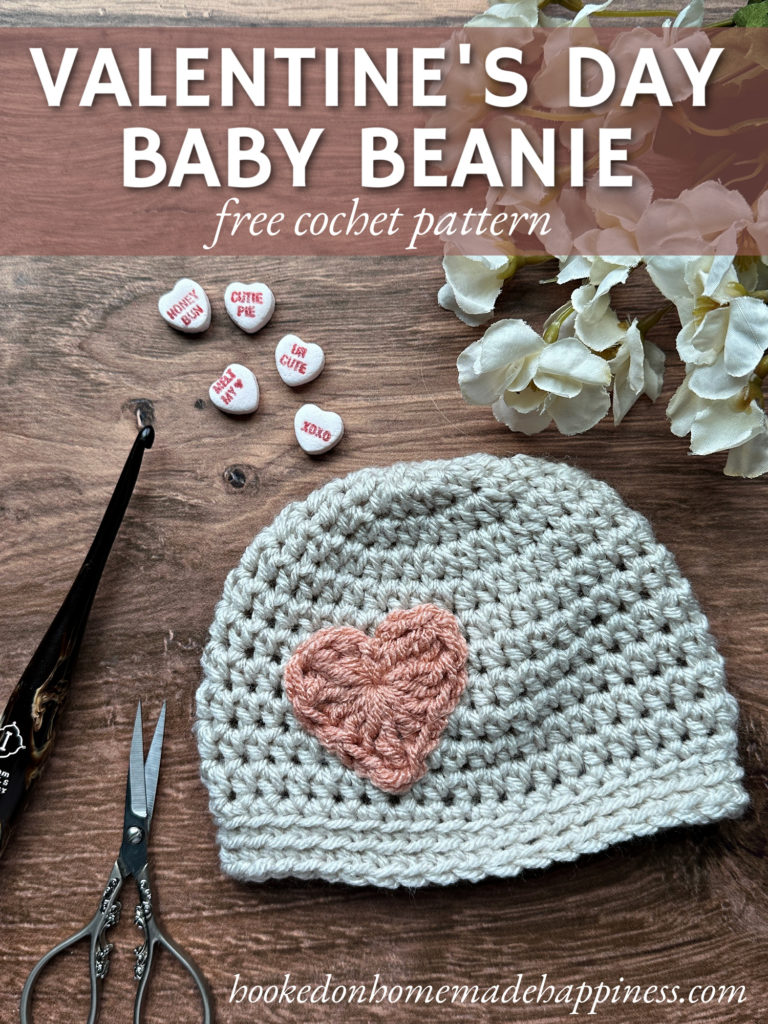
Have this Valentine’s Day Baby Beanie Crochet Pattern finished in less than one hour! The beanie uses basic crochet stitches – perfect for beginners. The heart comes in 3 sizes and there are detailed photos to help you along the whole way. This pattern calls for worsted weight acrylic yarn. I used I Love this Yarn from Hobby Lobby, but any soft weight 4 yarn would be perfect.
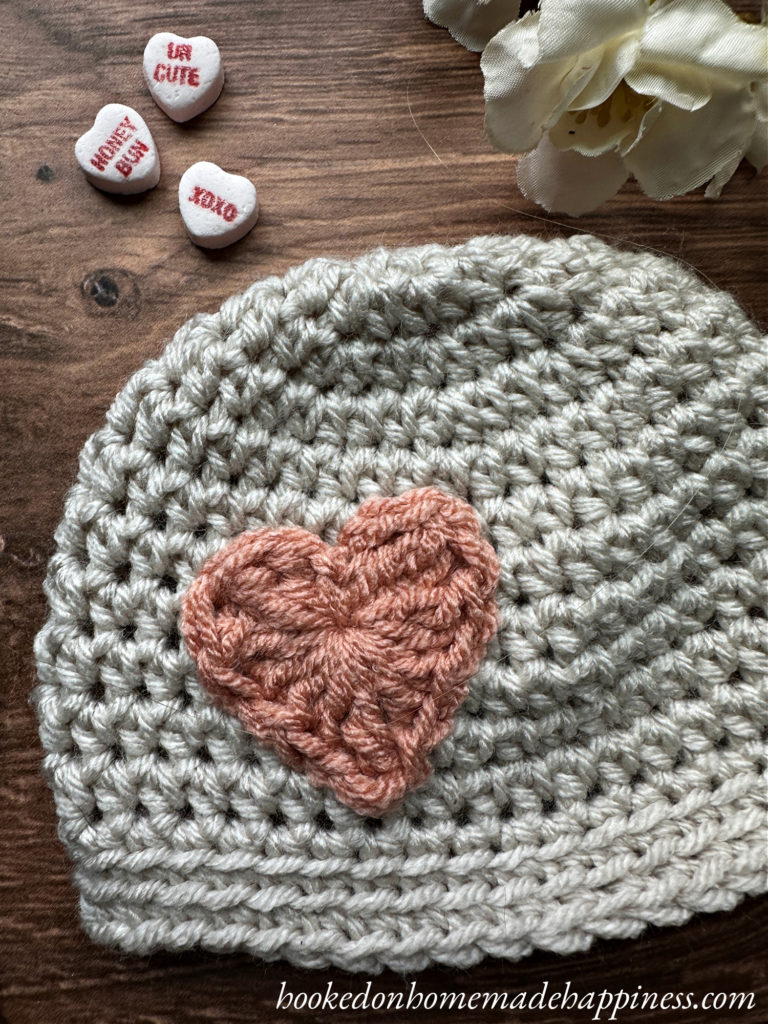
click here to pin for later >>>
Valentine’s Day Baby Beanie Crochet Pattern
PIN for later HERE
Add to your Ravelry Queue HERE
Materials
50g worsted weight yarn (I used I Love this Yarn in Linen) + a small amount for the heart (I used I Love this Yarn in Rosy Cheeks)
I/5.5 mm hook
yarn needle
scissors
stitch marker
Level
easy+
Pattern notes & Stitches to Know
magic ring
ch – chain
sl st – slip stitch
hdc – half double crochet
sc – single crochet
blo – back loop only
dc – double crochet
tr – treble crochet
· written in US terms
· This hat is made in rounds that are not joined.
· ch 2 does not count as hdc
· ch 1 does not count as sc
Approx Finished Size-
Circumference: 12”
Length: 4.5”
BABY BEAR BEANIE CROCHET PATTERN
Make a magic ring
Round 1: ch 2, hdc 8 in ring, pull ring closed tight (8 hdc)
Do not join. Continue the next round working in the first stitch of round 1. You will be working in a spiral. Put your stitch marker in the first hdc of the next round
Round 2: 2 hdc in each stitch around (16 hdc)
Do not join. Continue in the round, moving the stitch marker to the first stitch of each round.
Round 3: *hdc in 1, 2 hdc in next* repeat from * to * around (24 hdc)
Round 4: *hdc in 2, 2 hdc in next* repeat from * to * around (32 hdc)
Round 5: *hdc in 3, 2 hdc in next* repeat from * to * around (40 hdc)
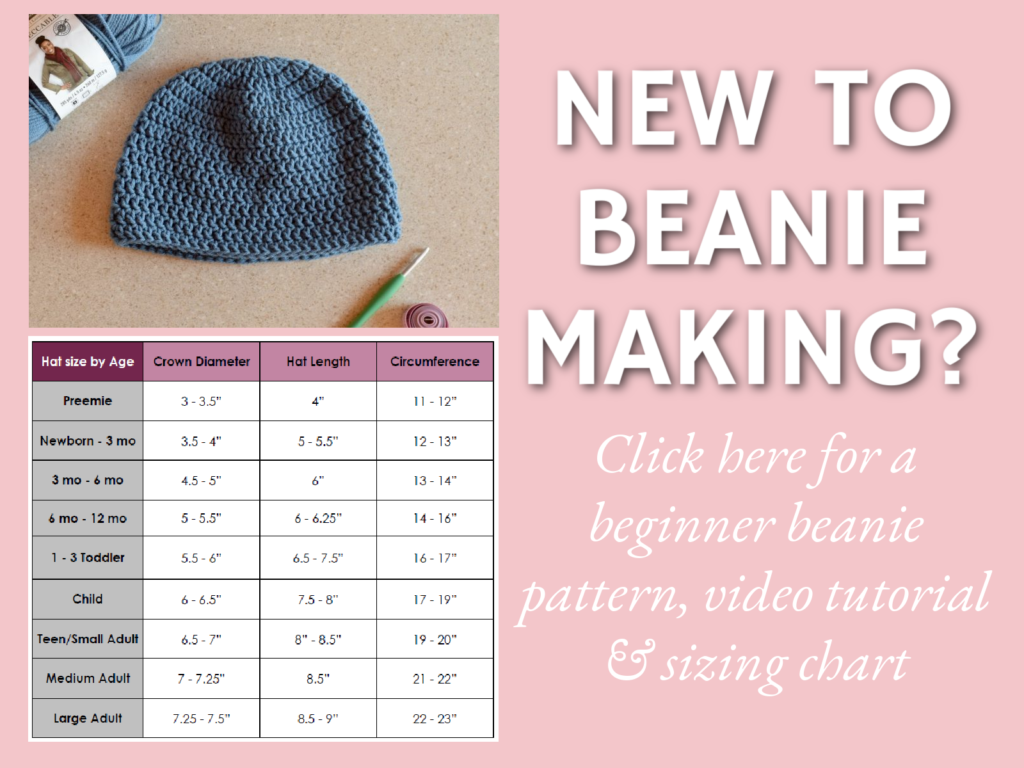
Crown diameter is approx. 4”. To change the size, add or take out an increase round or go up or down a hook size.
Round 6 – 11: hdc in each stitch around (40 hdc)
Round 12: sc in each stitch around (40 sc)
Round 13 – 14: sc blo in each stitch around (40 sc)
Sl st to next stitch. Fasten off. Weave in the ends.
HEART
(detailed photo tutorial HERE – size large)
Start with a magic ring
NOTE: all stitches will be into the magic ring
Ch 3, 3 tr, 3 dc, ch 1, tr, ch 1, 3 dc, 3 tr, ch 3, sl st into ring
Pull ring closed tight. Fasten off. Leave a long end for sewing.
Use the long end to sew the heart to the beanie.
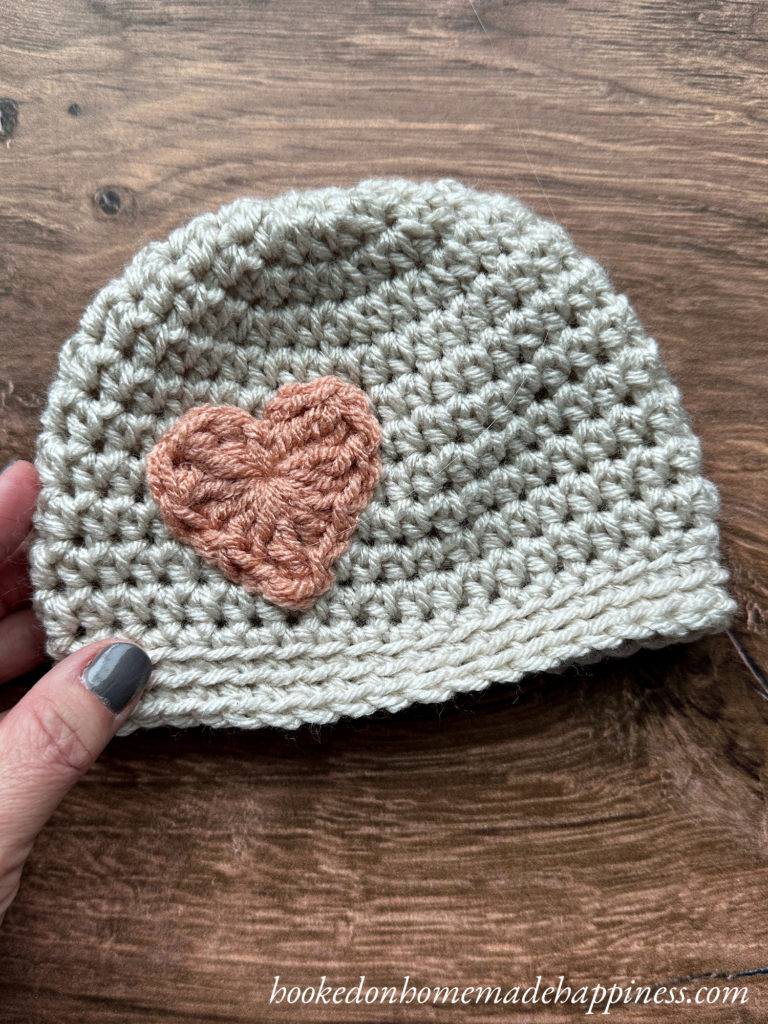
Looking for more patterns? Follow me on Facebook, Instagram, and Pinterest! Please share a pic of your finished product with me. I’d love to see it!


