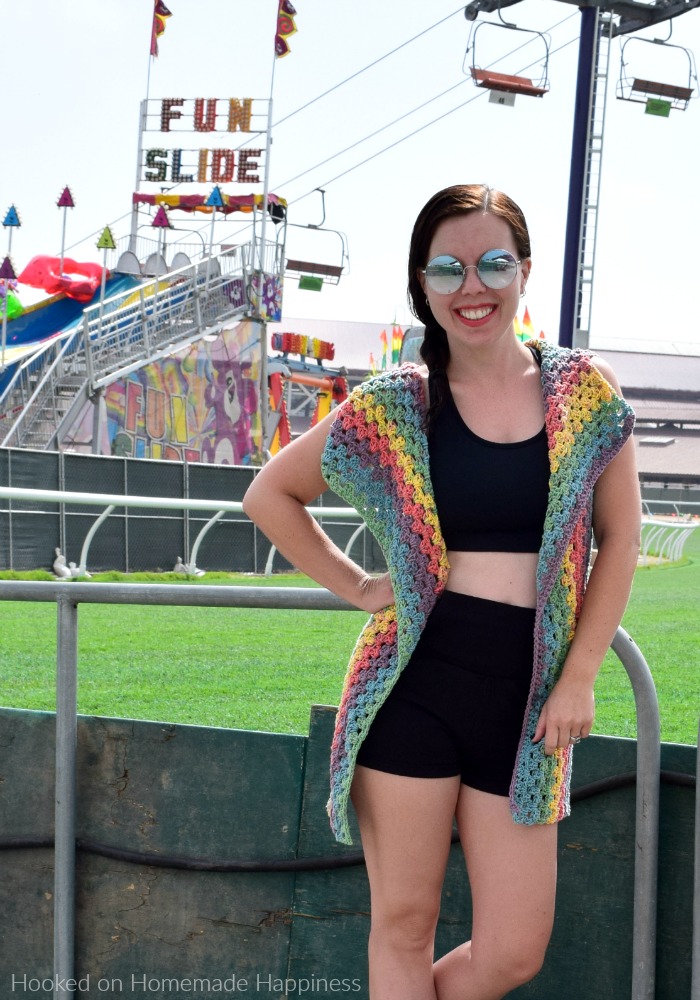
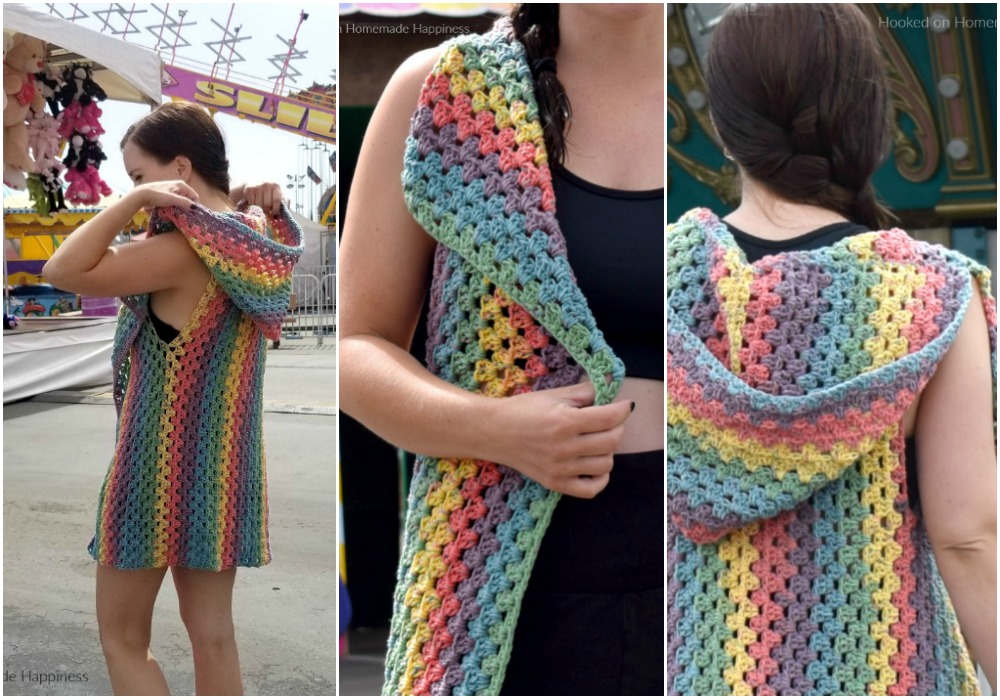
Oh. My. GOODNESS. I am so excited to share this fun, summer pattern with you! The Fest Vest Crochet Pattern is my new favorite thing to wear! Since it’s made from cotton it’s lightweight and is durable enough to wear by the pool or the beach. How cute would it be over a swim suit, tho?!
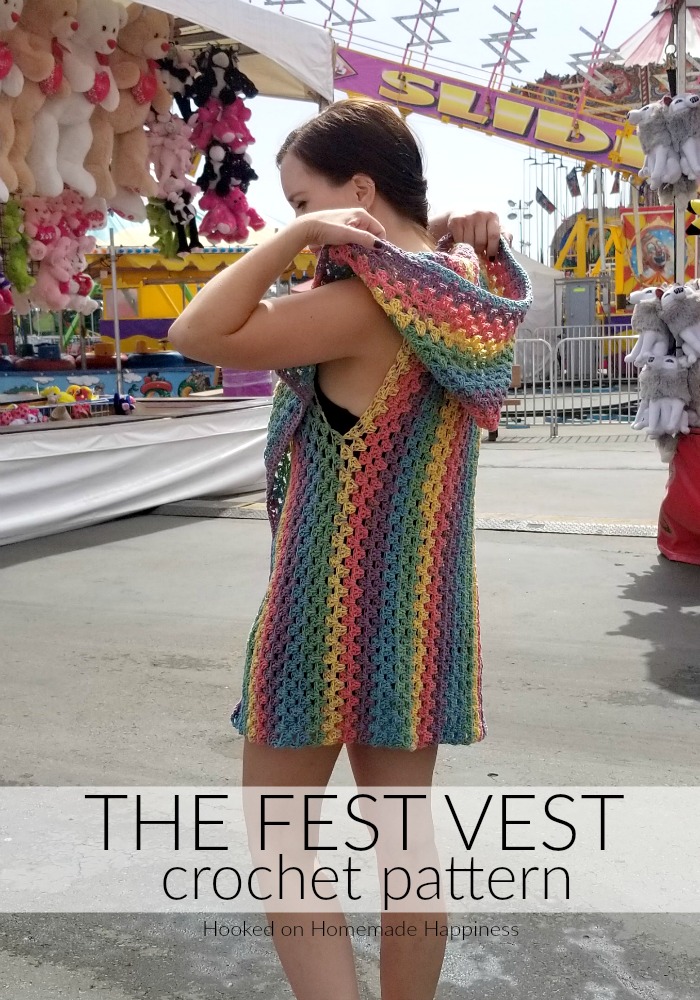
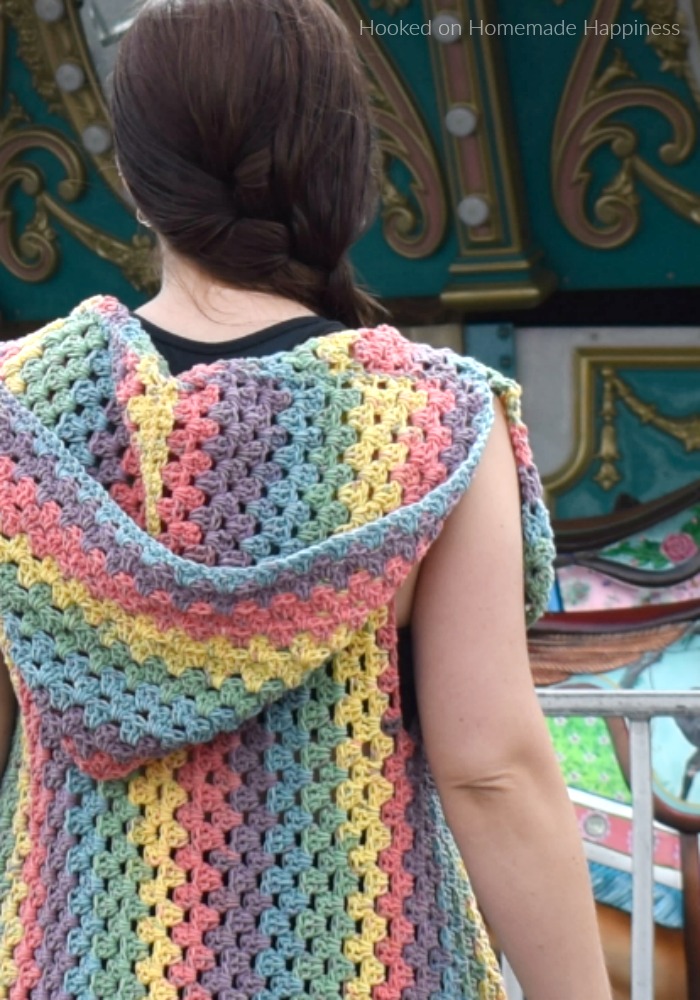
I used Caron Cotton Cakes in Calico Flowers to make this cute summer vest. I love this bright and beautiful colorway. The color changes are abrupt with this yarn, but by using the granny stripe stitch it really lessens the sudden change in color. There are plenty of rows that start a new color right in the middle and you can’t really even tell!
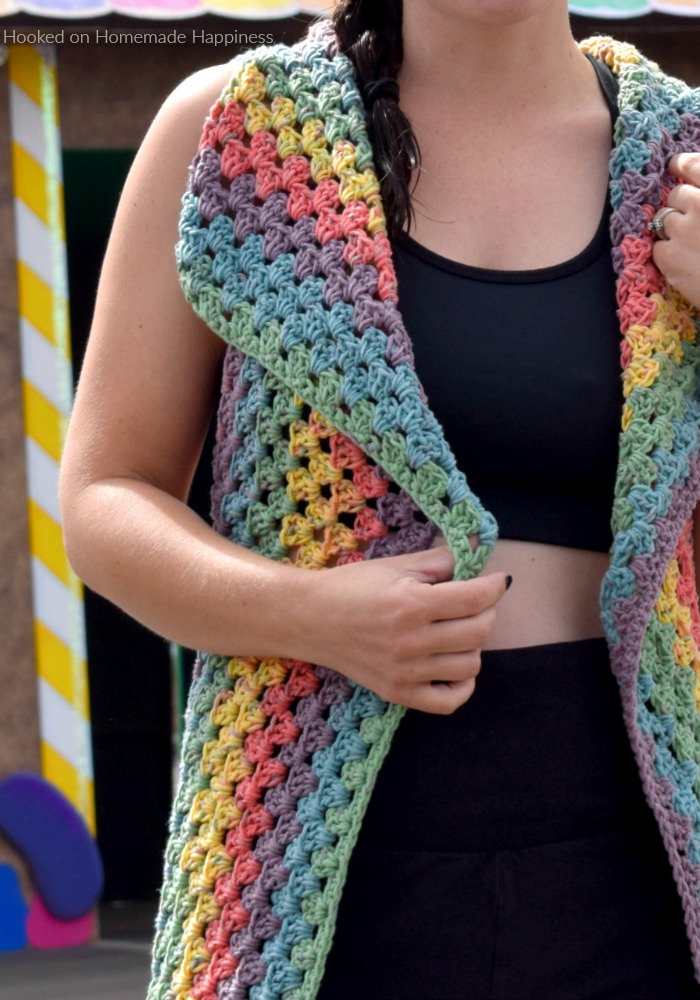
The main body of the piece is one rectangle and then the hood sewn on. It’s all done with a really simple granny stripe stitch. I can’t believe I’ve never used this stitch before! It’s so easy and I love the look, especially with stripes. I definitely have a few more ideas with this stitch coming up in the future.
More Homemade Happiness:

1. Boho Tank Top 2. XOXO Summer Vest 3. Shelly Cardigan
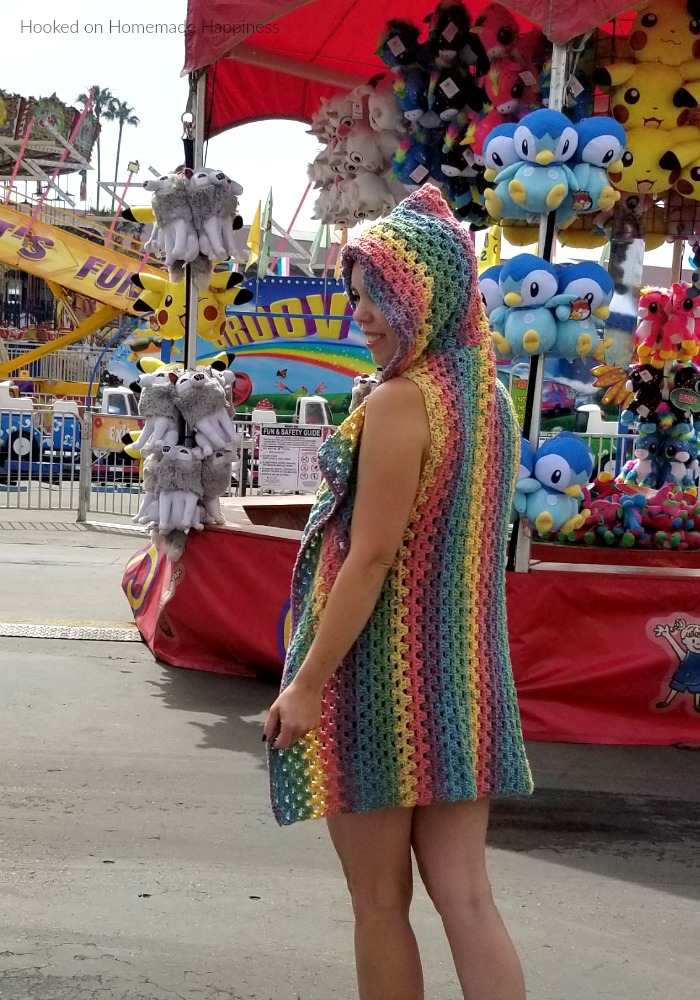
The Fest Vest Crochet Pattern
– Get the free pattern below or this pattern is also available as an inexpensive, clearly formatted, PDF instant download in my Etsy Shop or Ravelry Shop!
– PIN for later HERE
– Add to your Ravelry Queue HERE
Materials
Caron Cotton Cakes in Calico Flowers (5 skeins for S, 6 skeins for M, 7 skeins for L/XL)
H/5.0 mm hook
Yarn needle
Scissors
Level
Easy -you must be very familiar with basic crochet stitches
Pattern notes & stitches to know
Ch – chain
Sc – single crochet
Dc – double crochet
Cluster – group of 3 dc stitches
Written in US standard terms
Ch 3 at beginning of each row counts as dc
Gauge:
12 dc = 4”
6 rows = 4”
Approximate Finished Size (I’m wearing a S and I’m 5’0”):
Length: S (31”) M (33”) L (35”) XL (37”)
Width of rectangle when laying flat: S (32”) M (33”) L (36”) XL (37”)
Width across back between armholes: S (12”) M (13”) L (14”) XL (15”)
THE FEST VEST
Pattern written in S, M noted in ( ), L noted in [ ], XL noted in { }
Ch 83 (89) [95] {101} (multiple of 3 + 2)
Row 1: sc in 2nd ch from the hook and in each ch across (82 sc (88 sc) [94 sc], {100 sc})
Row 2: ch 3, dc in same stitch, *skip 2 stitches, cluster in next stitch* repeat from * to * across to last stitch, 2 dc in last stitch (26 (28) [30] {32} clusters, 4 dc)
Row 3: ch 3, cluster in the space between the clusters in each space across, dc in top of the turning ch (27 (29) [31] {33} clusters)
Row 4: ch 3, dc in first space, cluster in the space between the clusters in each space across to the last space, 2 dc the turning ch space (26 (28) [30] {32} clusters, 4 dc)
Repeat rows 3 & 4 to row 18 (18) [20] {20}
In the next row you will make the first armhole
Row 19 (19) [21] {21}: ch 3, *cluster in the space between the clusters* repeat from * to * 2 more times, ch 25, skip 8 spaces between clusters, cluster in next space, cluster in between the clusters in each space across, dc top of in turning ch (19 (21) [23] {25} clusters)
Row 20 (20) [22] {22}: ch 3, dc in first space, cluster in the space between the clusters in each space to the ch for the armhole, cluster in the first ch, *skip 2 ch, cluster in next* repeat from * to * across to last ch, cluster in last ch, cluster in the space between the clusters in each space across, 2 dc in turning ch space (26 (28) [30] {32} clusters, 4 dc)
Repeat rows 3 & 4 to row 46 (48) (50) {52}
In the next row you will make the next armhole
Row 47 (49) [51] {53}: ch 3, *cluster in the space between the clusters* repeat from * to * 2 more times, ch 25, skip 8 spaces between clusters, cluster in next space, cluster in between the clusters in each space across, dc top of in turning ch (19 (21) [23] {25} clusters)
Row 48 (50) [52] {54}: ch 3, dc in first space, cluster in the space between the clusters in each space to the ch for the armhole, cluster in the first ch, *skip 2 ch, cluster in next* repeat from * to * across to last ch, cluster in last ch, cluster in the space between the clusters in each space across, 2 dc in turning ch space (26 (28) [30] {32} clusters, 4 dc)
Repeat rows 3 & 4 to row 64 (66) [70] {72}
Row 65 (67) [71] {73}: ch 1, sc in same stitch and in each dc across, sc in top of turning ch (82 sc (88 sc) [94 sc], {100 sc})
Fasten off, weave in the ends.
HOOD
Ch 74, leave a long starting end for sewing
Row 1: sc in 2nd ch from the hook and in each ch across (73 sc)
Row 2: ch 3, turn, dc in same stitch, *skip 2 stitches, cluster in next stitch* repeat from * to * across to last stitch, 2 dc in last stitch (23 clusters, 4 dc)
Row 3: ch 3, turn, cluster in the space between the clusters in each space across, dc in top of the turning ch (24 clusters)
Row 4: ch 3, turn, dc in first space, cluster in the space between the clusters in each space across to the last space, 2 dc the turning ch space (23 clusters, 4 dc)
Repeat rows 3 & 4 to row 20
Fasten off, leave a long end for sewing
CONSTRUCTION
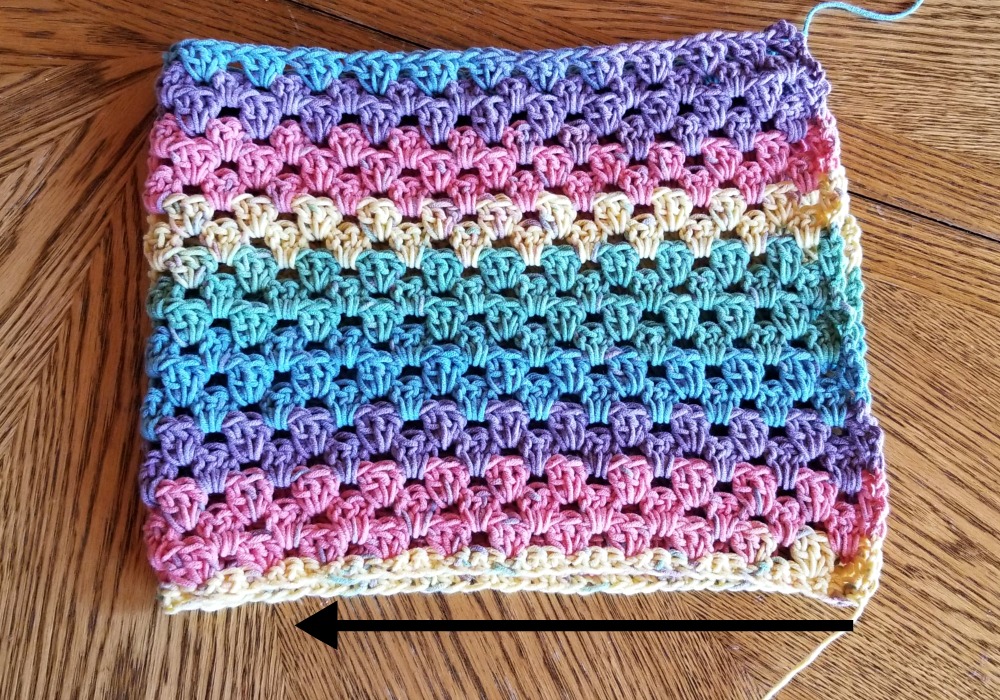
Fold the rectangle for the hood in half. Sew the back closed (along row 1) with a whip stitch using your long starting end and a yarn needle.
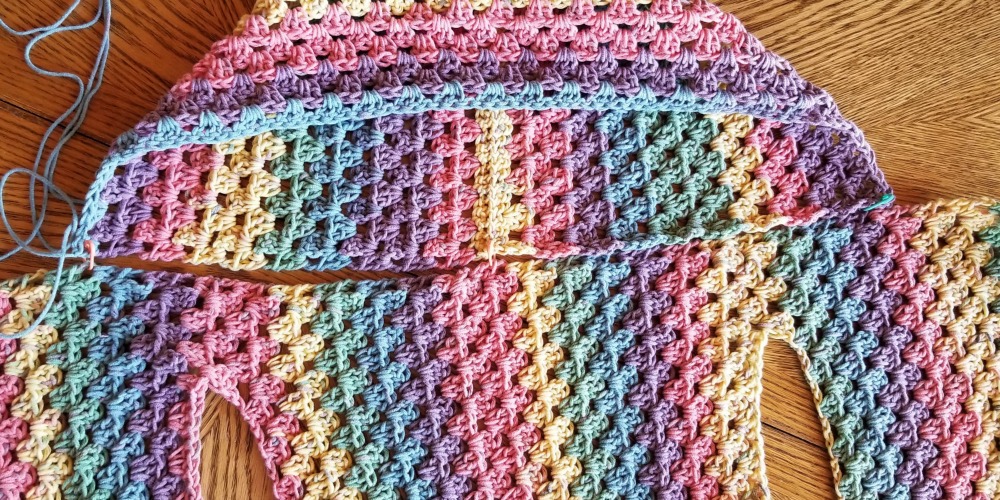
Lay your vest out with the hood on the top. Using stitch markers secure the hood where you want it to be. Sew the hood to the vest with a whip stitch using the long end and your yarn needle. Fasten off, weave in all your ends.
And you’re done! I hope you love this fun vest!
Looking for more patterns? Follow me on Facebook, Instagram, and Pinterest! Please share a pic of your finished product with me. I’d love to see it!




This is so pretty! I am definitely going to give this pattern a go. Got to get me to Michaels first and I hope the cotton cakes will be on sale when I do!
Gorgeous, I have to give it a try for my next project thanks
Thank you so much!
This super cute! I love it! Thank you for sharing! You look so cute in it too!
Thank you!!
How many row for the back portion?
For which size?
Ska k börja idag . Toppenfint mönster. TACK
Are any of your patterns size inclusive? I don’t see any for bigger women.
I recently started writing my garment patterns to size 3X 🙂 My most recent tee pattern is to size 3X and as well as the pattern I’m currently writing. I’ll be updating a few of my older patterns also (as time allows)
Love this pattern and this vest is looking cool. It would be so easy to make it by following your steps. I am going to try it.
Thank you!
The pattern is so beautiful! The vest is stunning on you. I can’t wait to make this using your pattern. Thanks for sharing.
Thanks so much!
I love love LOVE this vest but my brain is not wrapping around how to make it shorter. The rectangle worked is horizontal or vertical?
Thanks so much!!!
Hi! It is made vertically 🙂 So take out from the foundation chain to make is shorter.
this is gorgeous. I would love to make this as a cardigan with sleeves. I’m not skilled enough to figure out for myself how to add a sleeve, is there any pattern I could maybe put together with this to make a hoodie? I really like that the stripes are vertical and it looks great.
Hi! I don’t have a pattern with sleeves using the granny stitch. Sorry!!