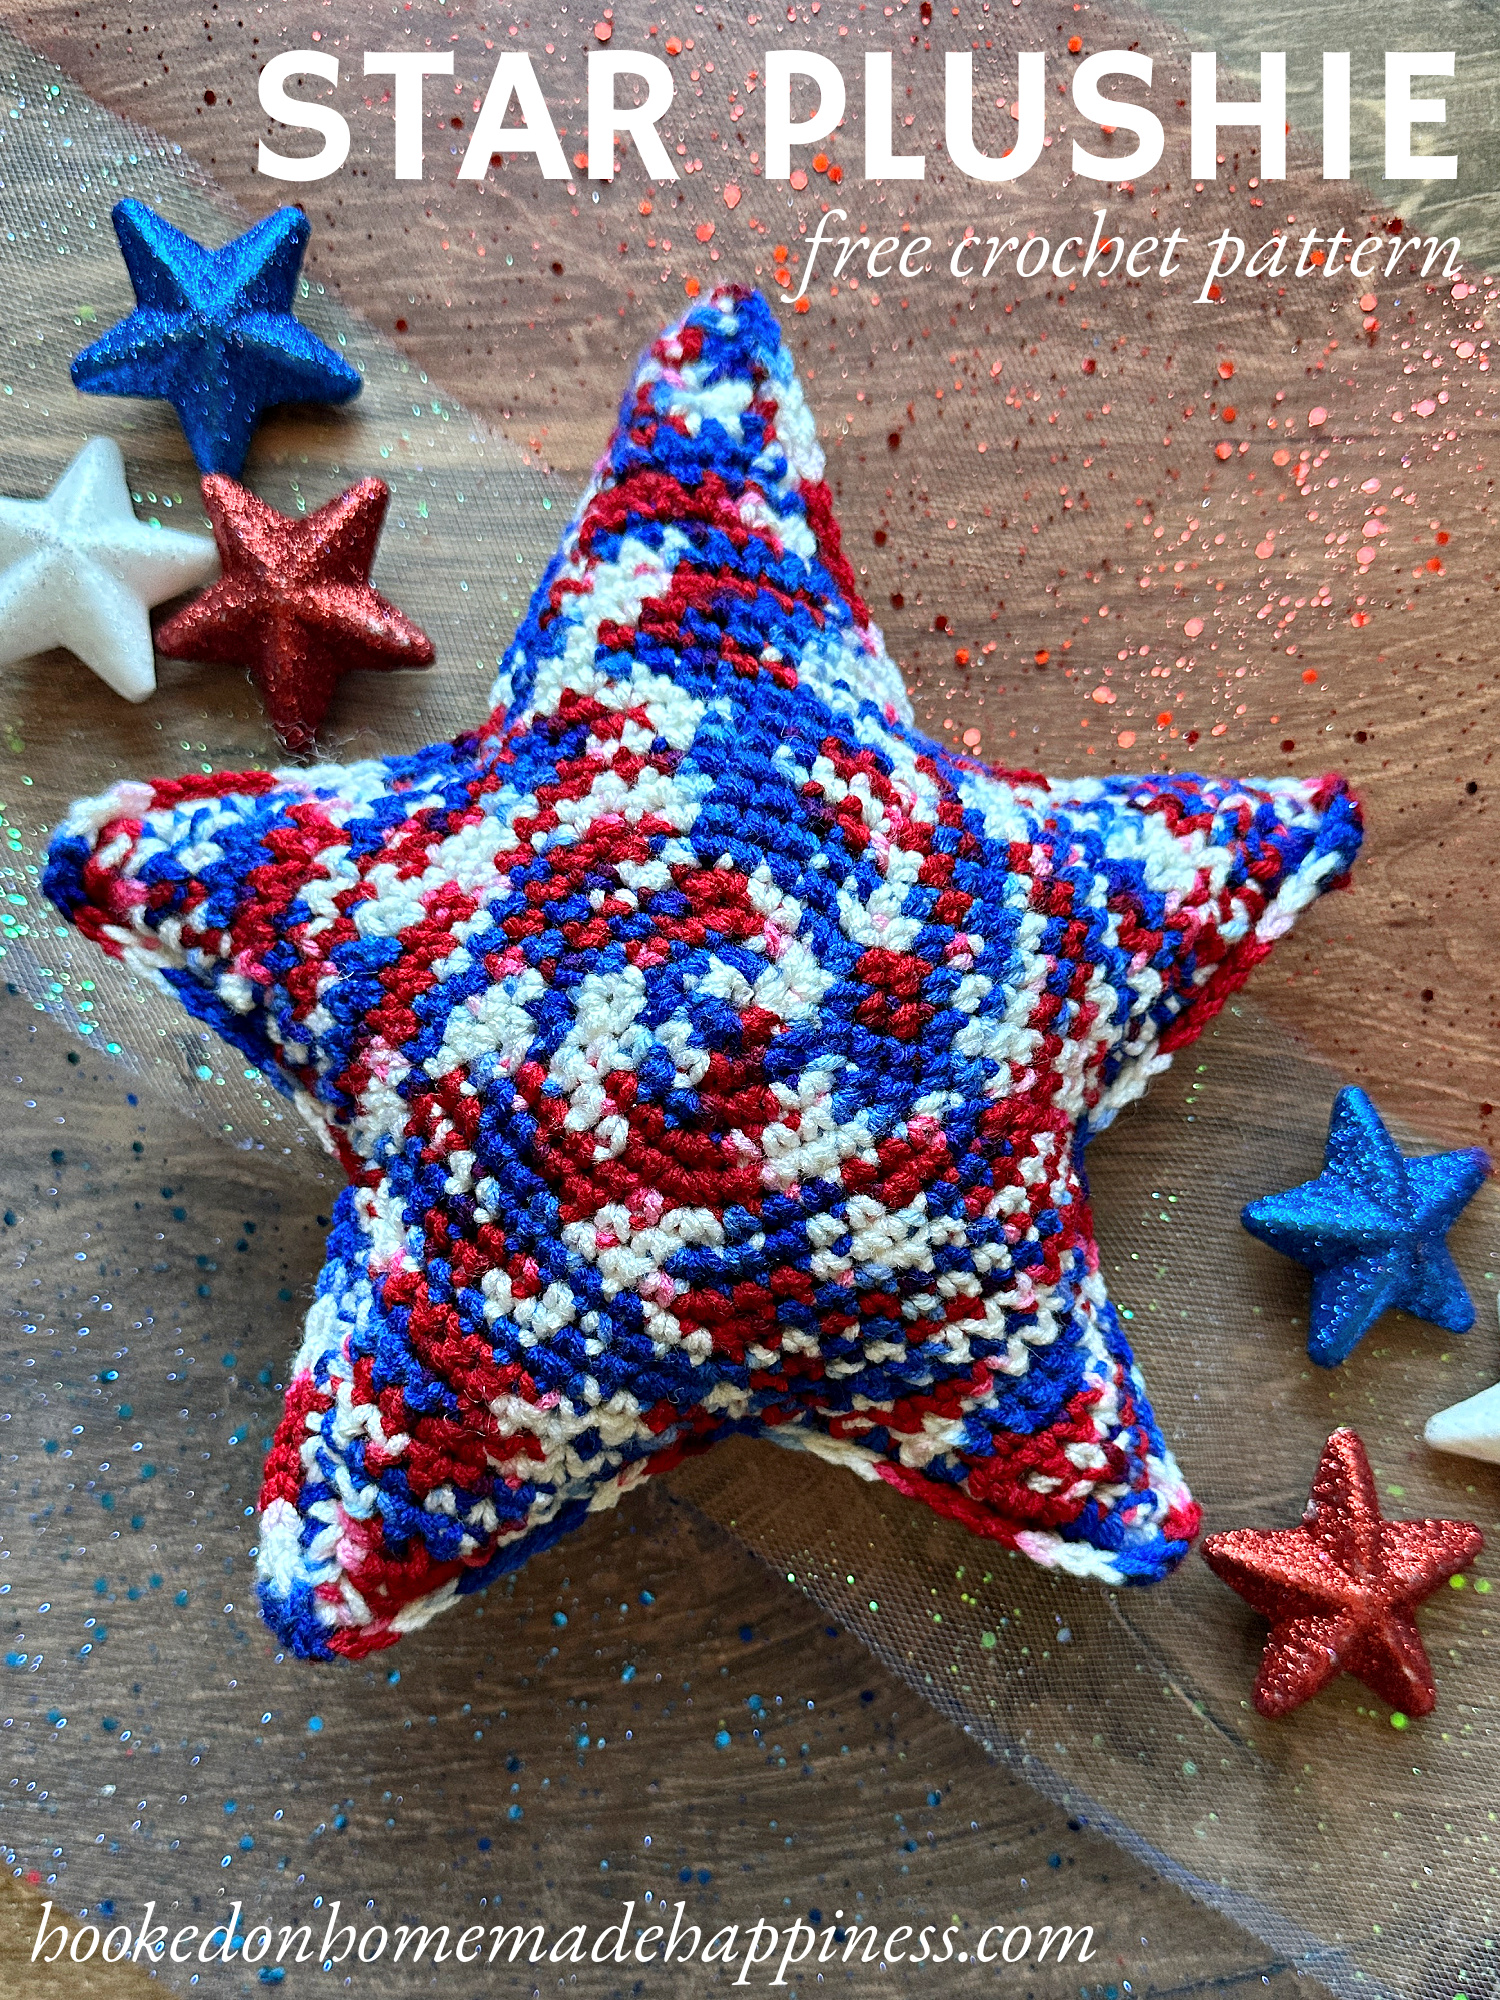
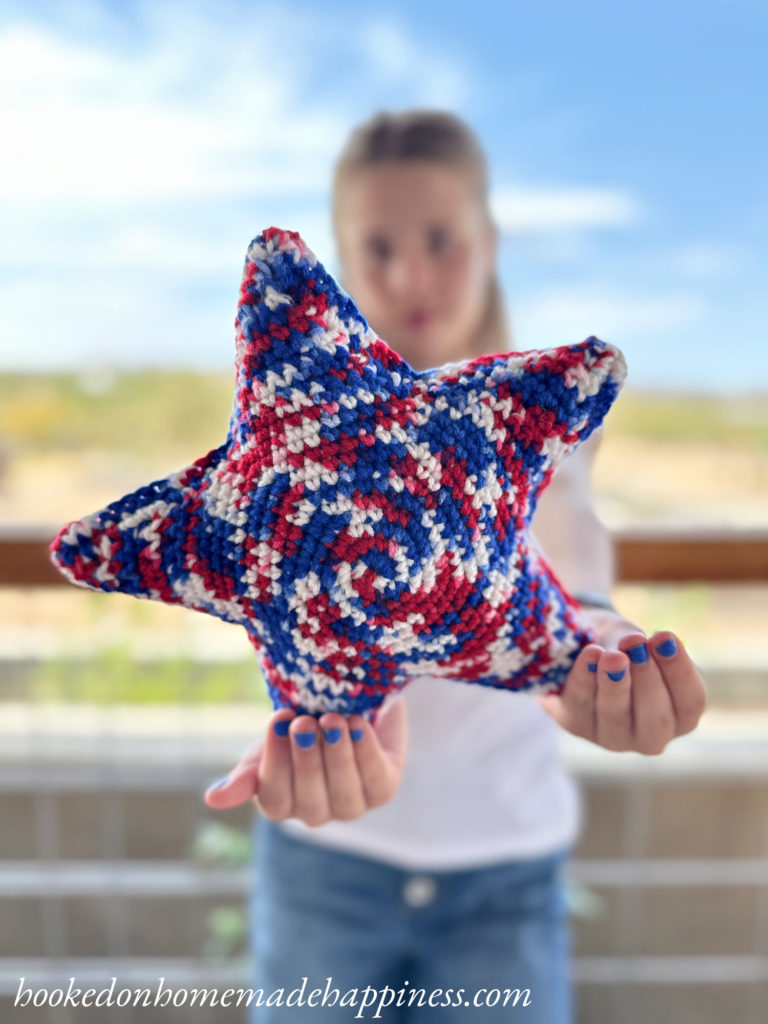
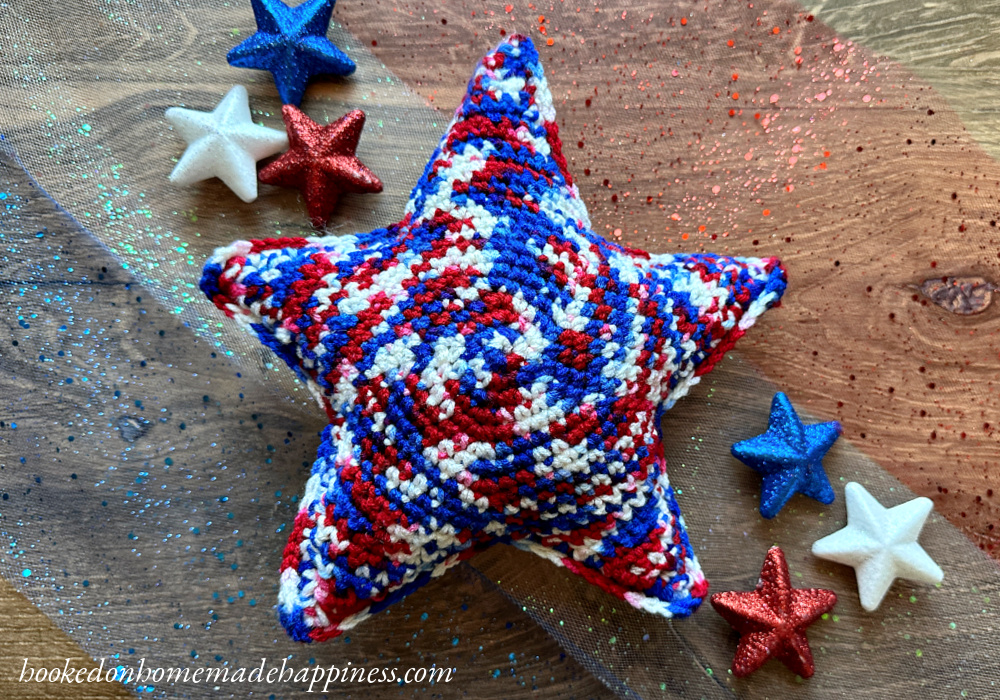
This Star Plushie Crochet Pattern is much easier than it looks! It’s perfect for a beginning amigurumi maker. With just two identical pieces sewn together, it can be made in no time. I used patriotic yarn for this star, but any color of yarn can be used. Use coral or light blue for a sea star look!


click here to pin for later >>>
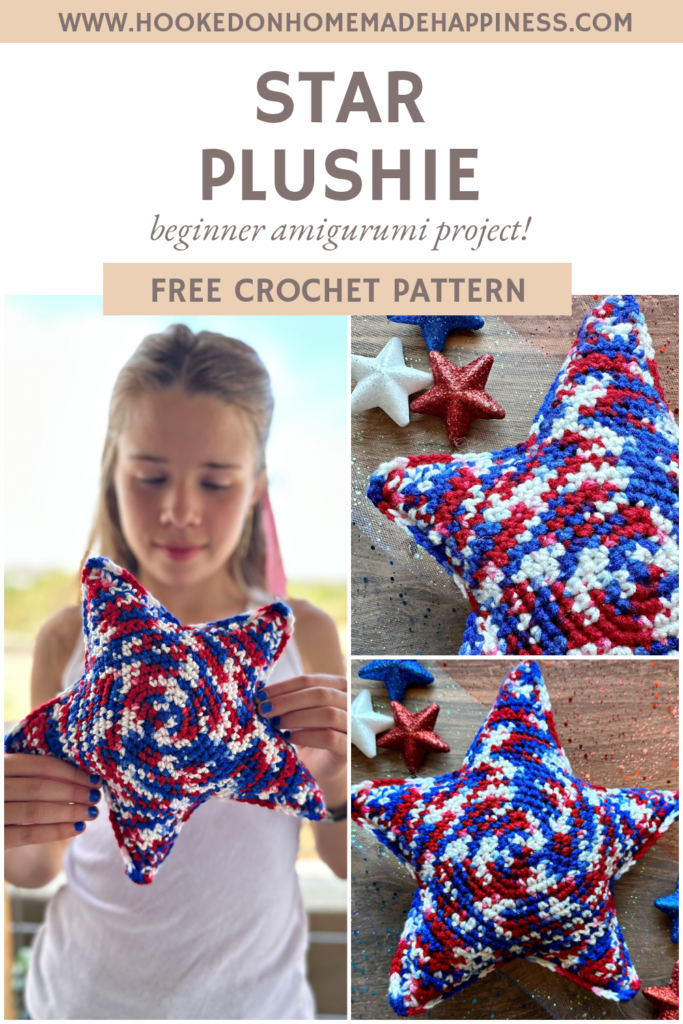
Star Plushie Crochet Pattern
PIN for later HERE
Add to your Ravelry Queue HERE
Materials
70 worsted weight acrylic yarn (I used I Love This Yarn in Old Glory)
G/4.0 mm hook
yarn needle
scissors
stitch markers
fiber fill
Level
intermediate
Pattern Notes & Stitches to Know
magic ring
ch – chain
sl st – slip stitch
sc – single crochet
sc2tog – single crochet 2 together
· Written in US terms
· ch 1 does not count as sc
· This star is made from the center outwards. The center in made in continuous rounds. Then each point is made in turned rows.
· Make 2 stars and sew together
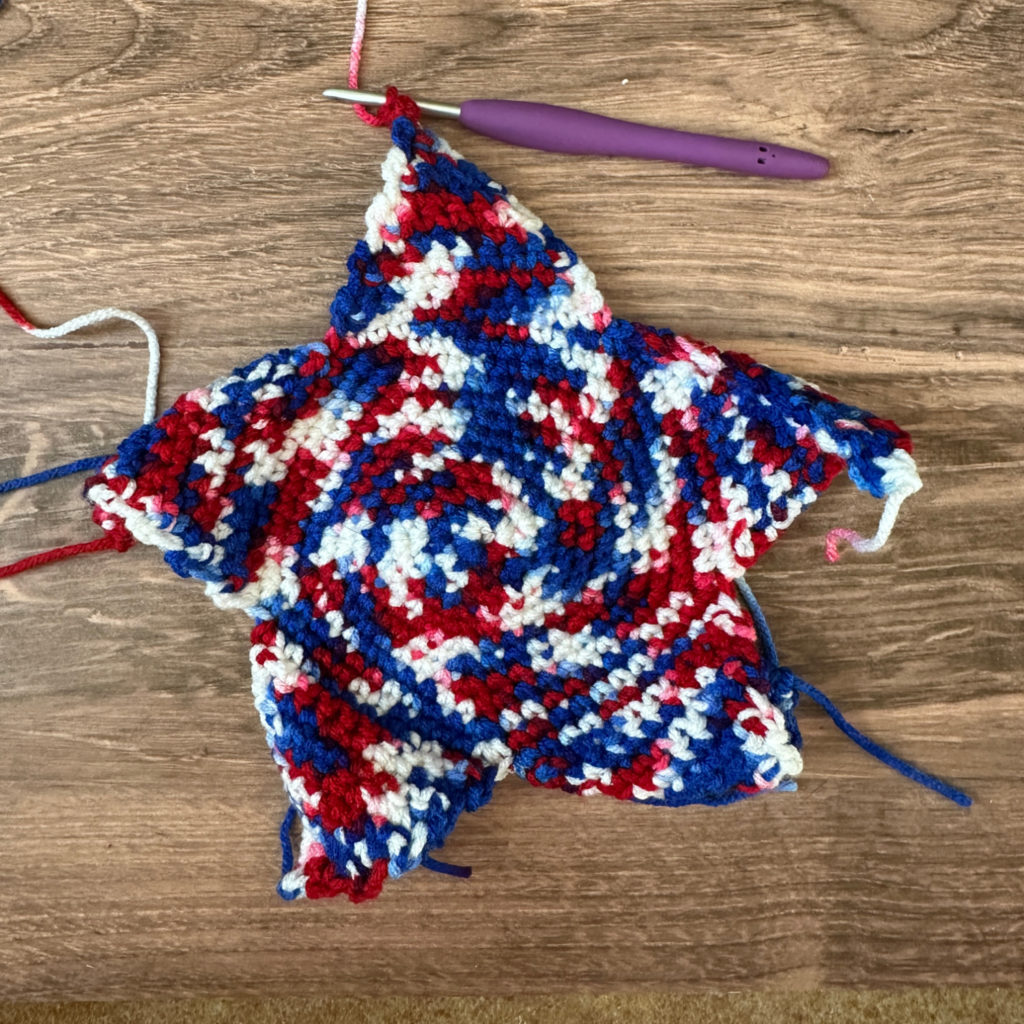
STAR PLUSHIE CROCHET PATTERN
FRONT AND BACK (make 2)
Make a magic ring
Round 1: ch 1, sc 10 in magic ring, pull ring closed tight (10 sc)
Do not join. Continue the next round working in the first stitch of round 1. You will be working in a spiral. Place your stitch marker in the first sc of the next round
Round 2: *sc in 1 stitch, 2 sc in next* repeat from * to * around (15 sc)
Round 3: *sc in 2 stitches, 2 sc in next* repeat from * to * around (20 sc)
Round 4: *sc in 3 stitches, 2 sc in next* repeat from * to * around (25 sc)
Round 5: *sc in 4 stitches, 2 sc in next* repeat from * to * around (30 sc)
Round 6: *sc in 5 stitches, 2 sc in next* repeat from * to * around (35 sc)
Round 7: *sc in 6 stitches, 2 sc in next* repeat from * to * around (40 sc)
Round 8: *sc in 7 stitches, 2 sc in next* repeat from * to * around (45 sc)
Round 9: *sc in 8 stitches, 2 sc in next* repeat from * to * around (50 sc)
Round 10: *sc in 9 stitches, 2 sc in next* repeat from * to * around (55 sc)
Round 11: *sc in 10 stitches, 2 sc in next* repeat from * to * around, (60 sc)
The first star point starts in the next row
Do not cut yarn.
You will only work partway across
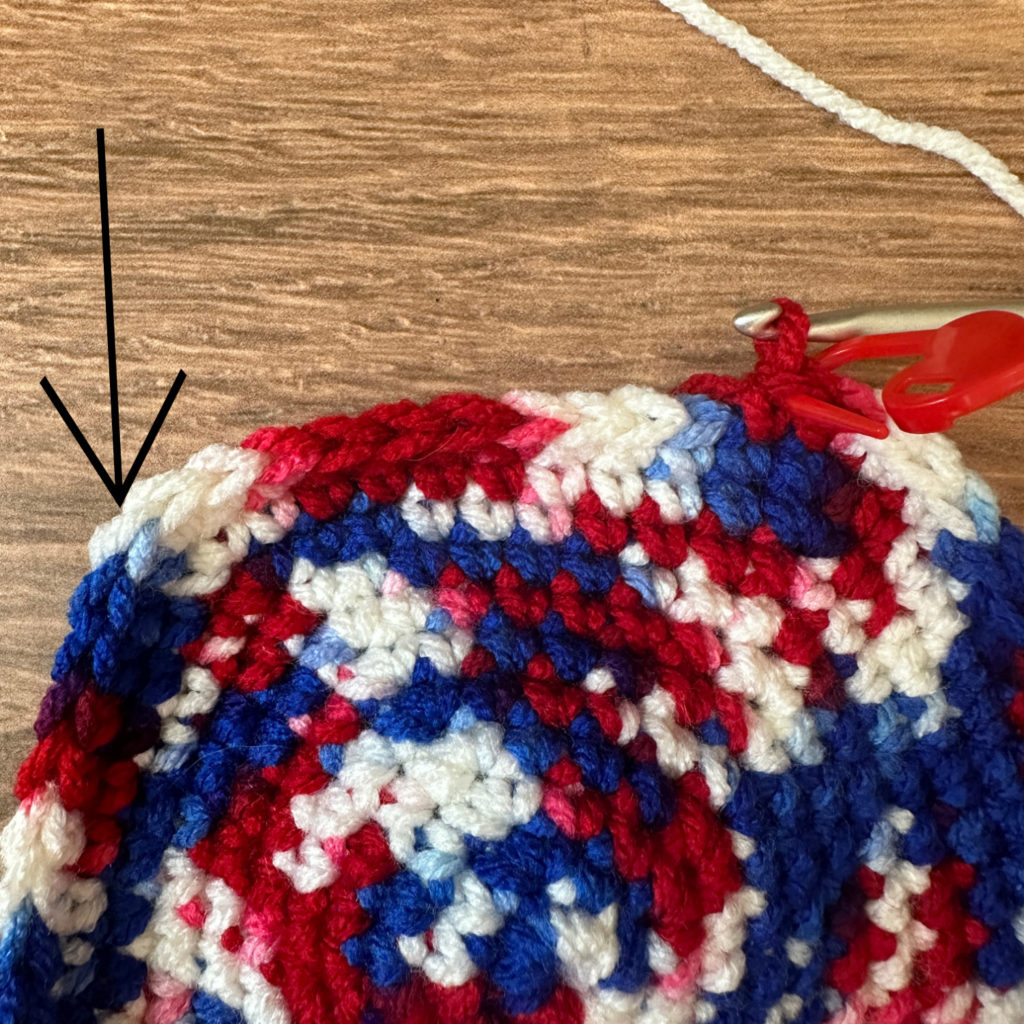
Row 1: sc in 12 stitches (12 sc)
Row 2: ch 1, turn, sc2tog, sc in each stitch across to last 2 stitches, sc2tog (10 sc)
Row 3: ch 1, turn, sc in each stitch across (10 sc)
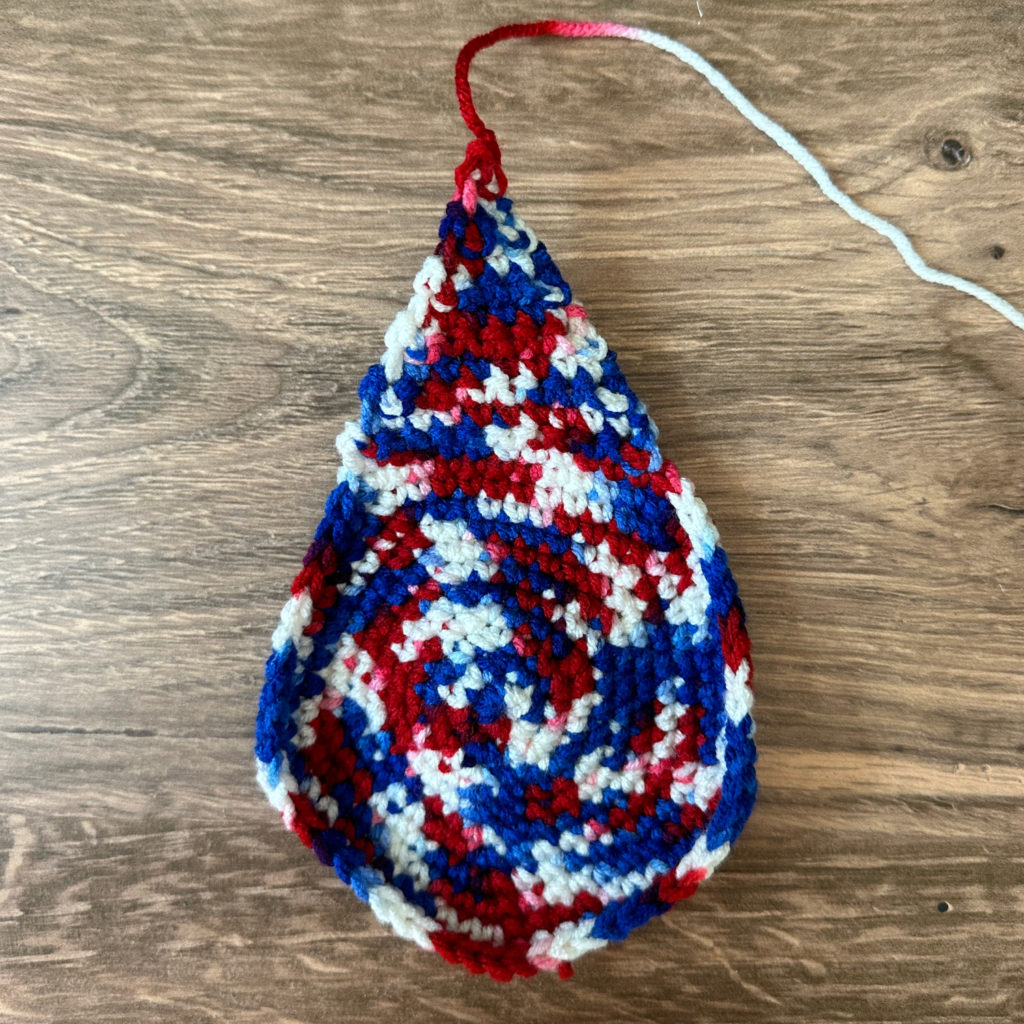
Repeat row 2 & 3 to Row 9 –each even row will decrease by 2 stitches (4 sc)
Row 10: ch 1, turn, sc2tog, sc2tog (2 sc)
Row 11: ch 1, turn, sc in each stitch (2 sc)
Row 12: ch 1, turn, sc2tog (1 sc)
Fasten off.
Rejoin yarn to circle in stitch to the left of the point just made.
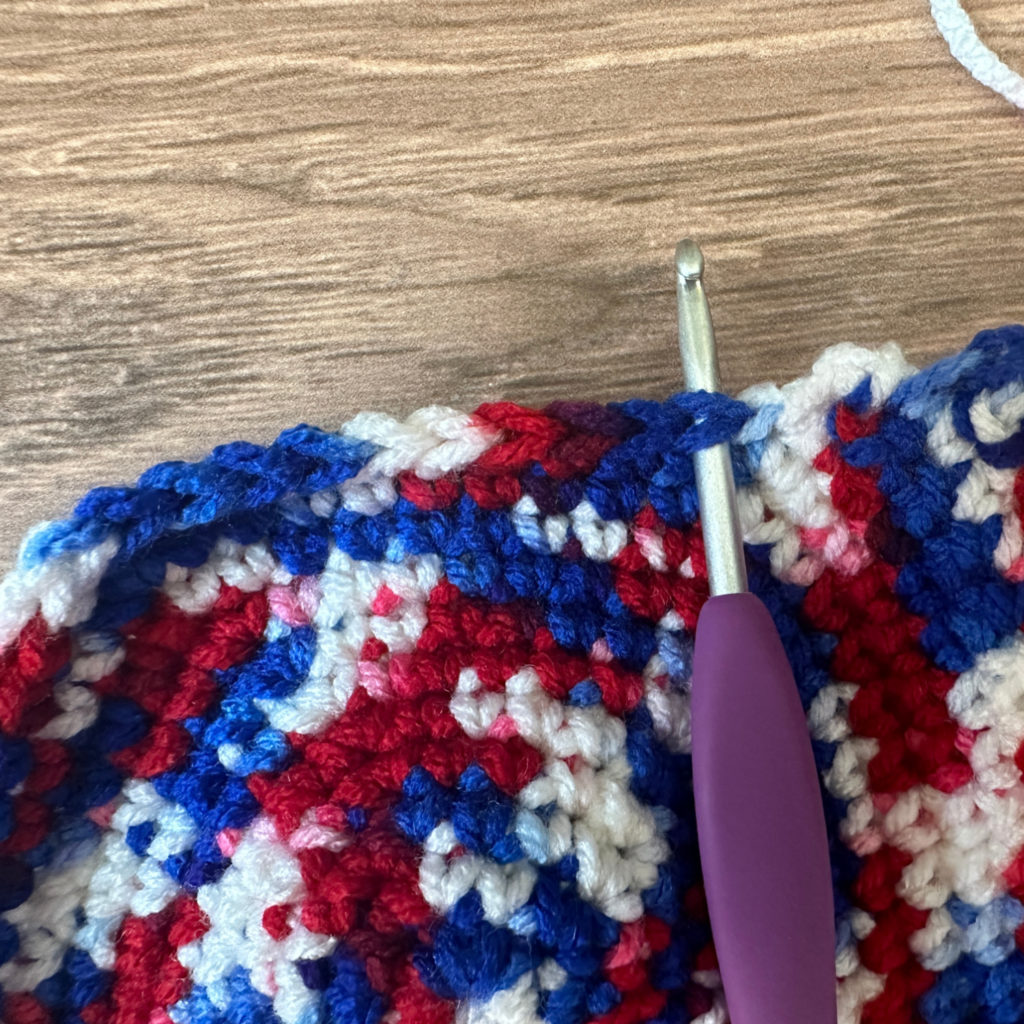
Repeat star point pattern 4 more times for a total of 5 points.
Do not fasten off after the last point
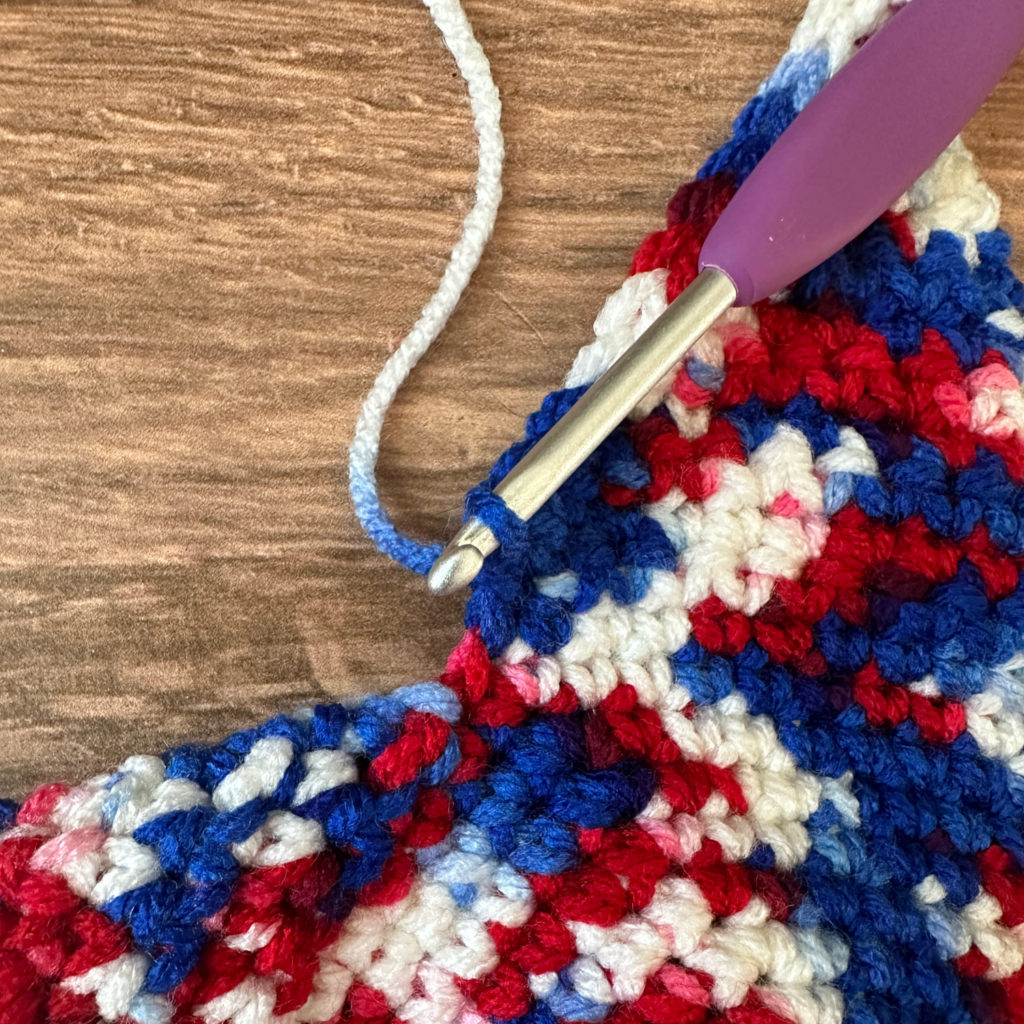
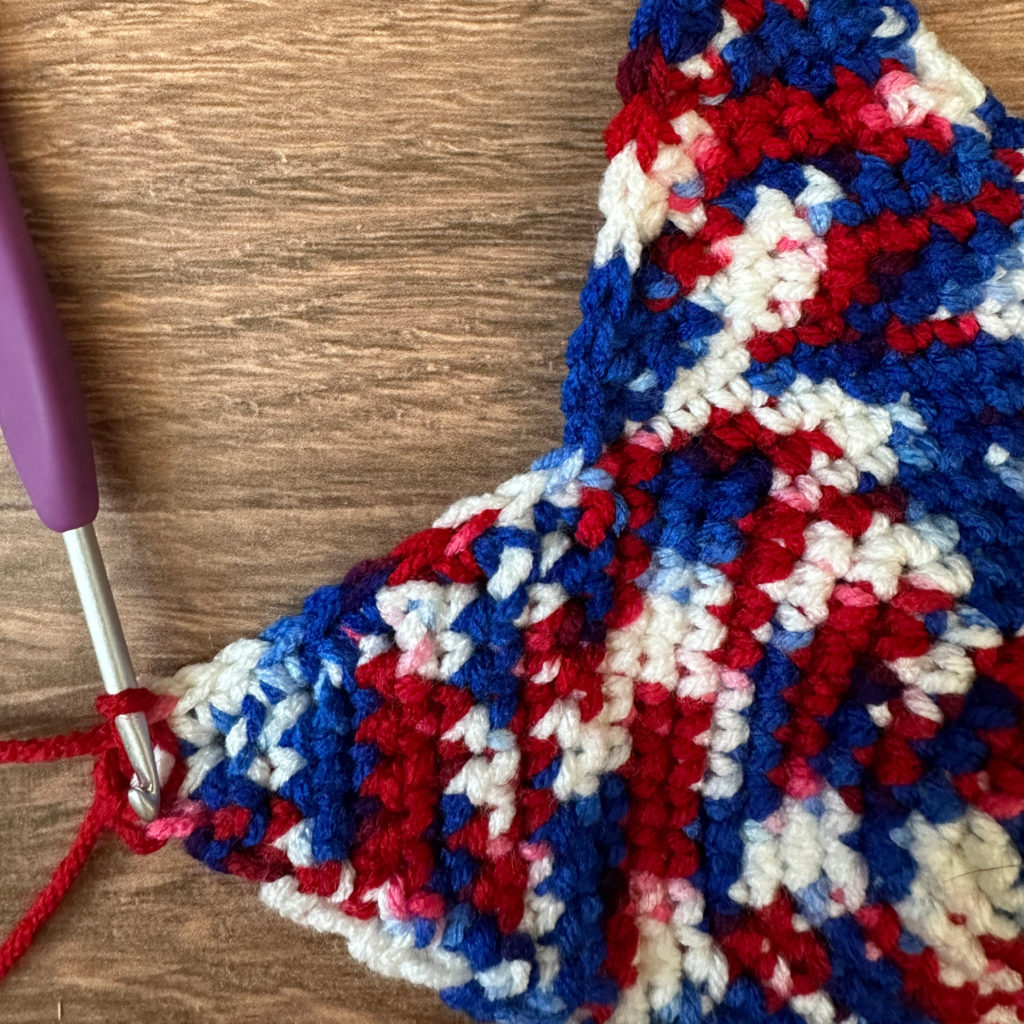
Sc around entire star.
Ch 1, *(sc, ch 1, sc) in tip of point, sc down the side of the point (placing 1 sc in the side of each row), sl st in dip between points, sc up the side of the next point (placing 1 sc in the side of each row)* repeat from * to * around, join to first sc with sl st. Fasten off.
SEWING
Put both stars together, right side facing out. Use stitch markers to keep them in place. Sew together using sc around. Join yarn to a ch-1 space on the tip of one point.
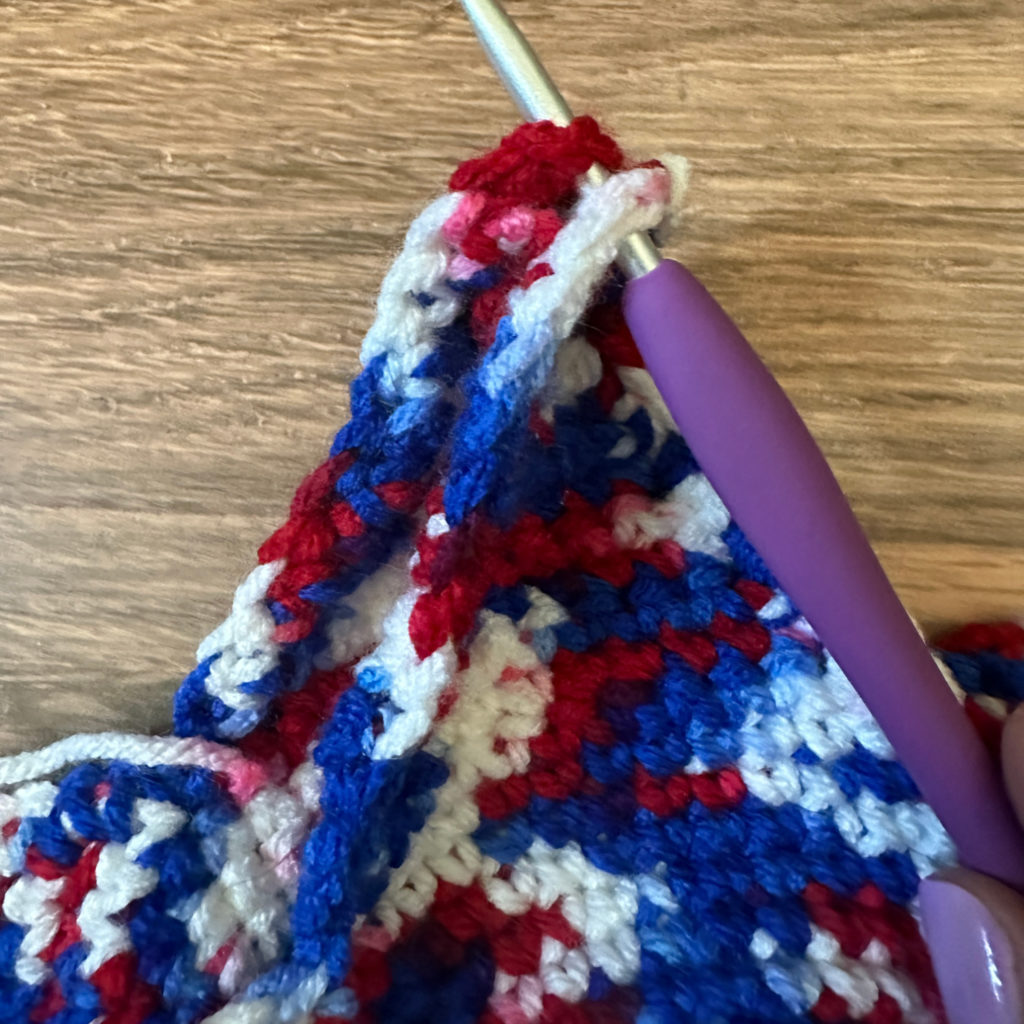
*(sc, ch 1, sc) in ch-1 space, sc in each stitch down the side of the point, sl st in dip between points, sc in each stitch up the side of the next point* repeat from * to * around, join to first sc with sl st.
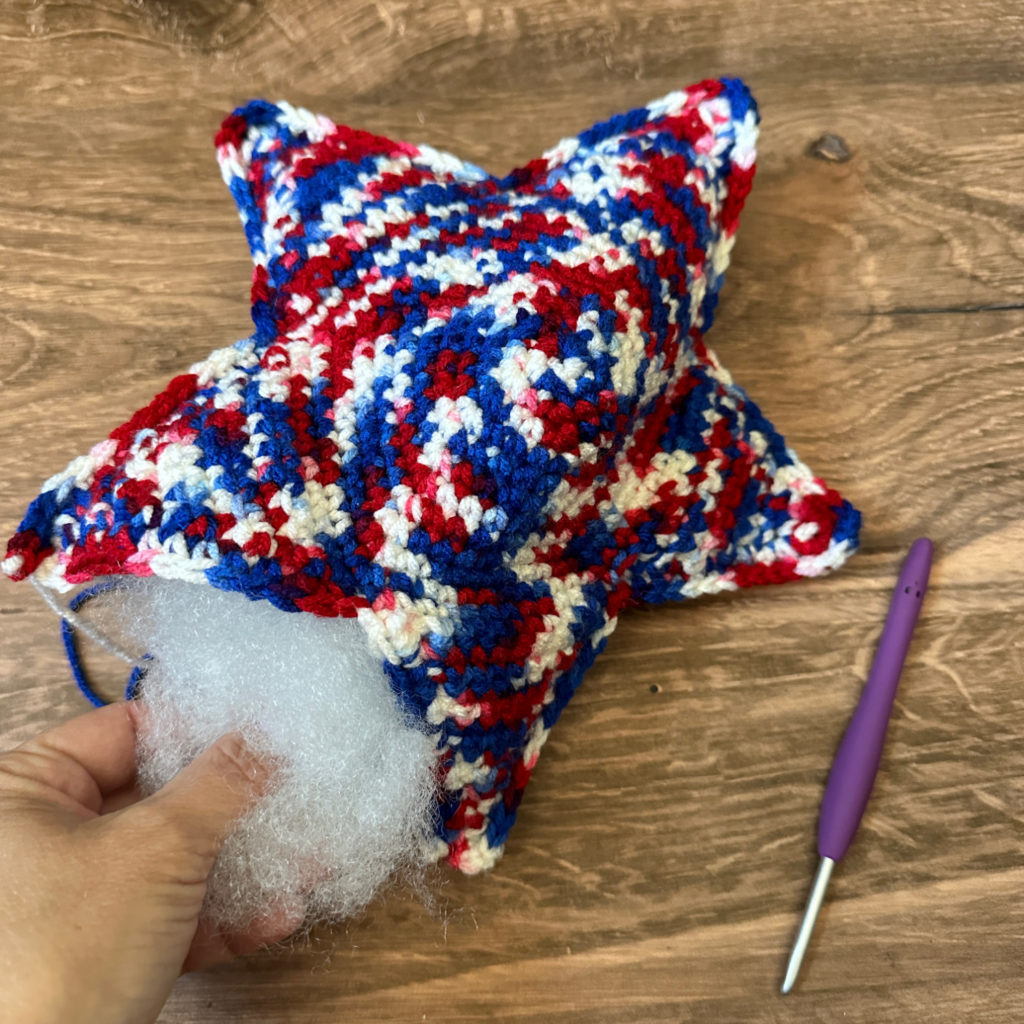
Begin stuffing about halfway around. Continue stuffing with fiber fill as it closes up.
Fasten off. Weave in th ends.

Looking for more patterns? Follow me on Facebook, Instagram, and Pinterest! Please share a pic of your finished product with me. I’d love to see it!