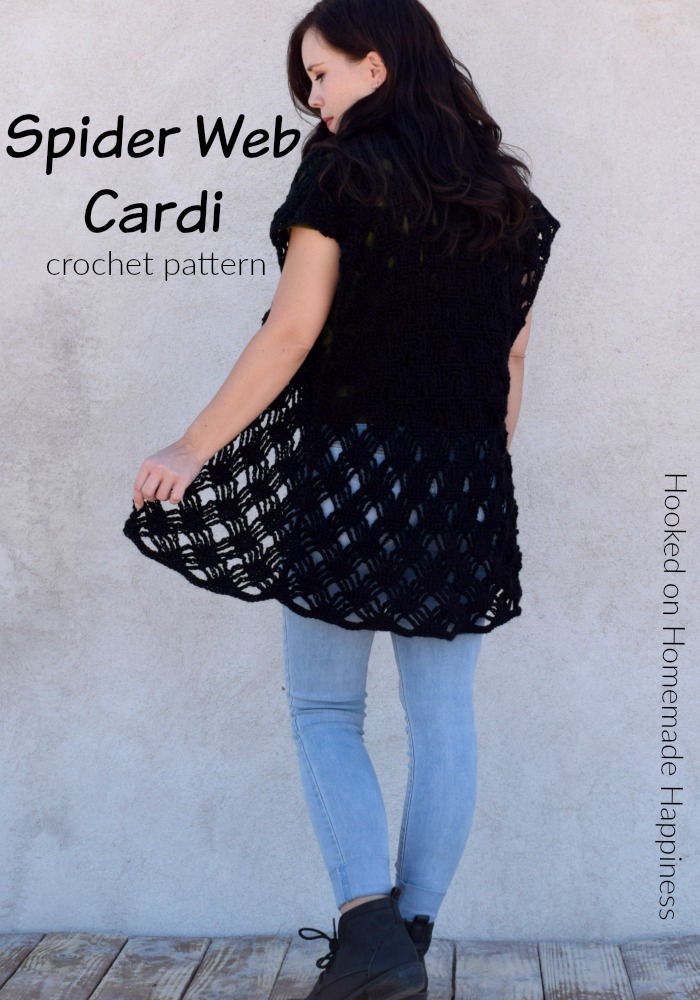
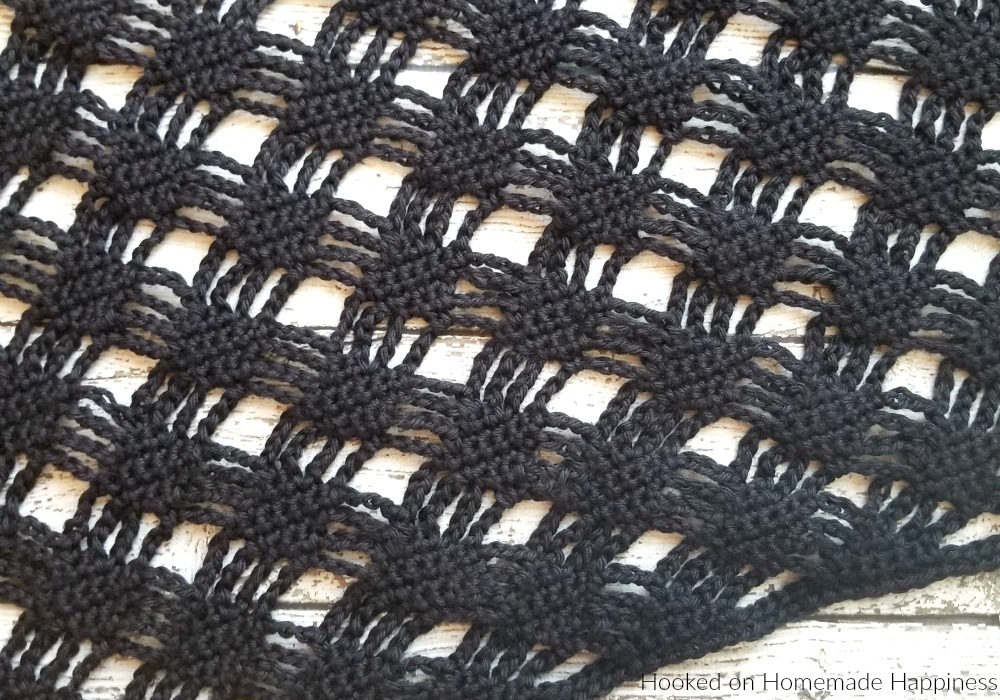
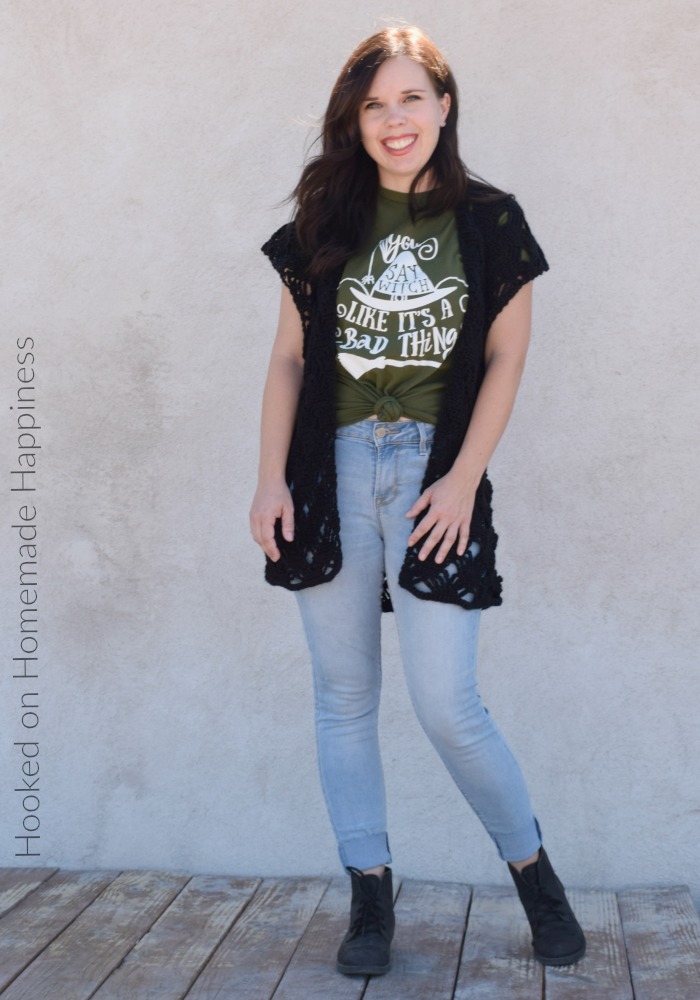
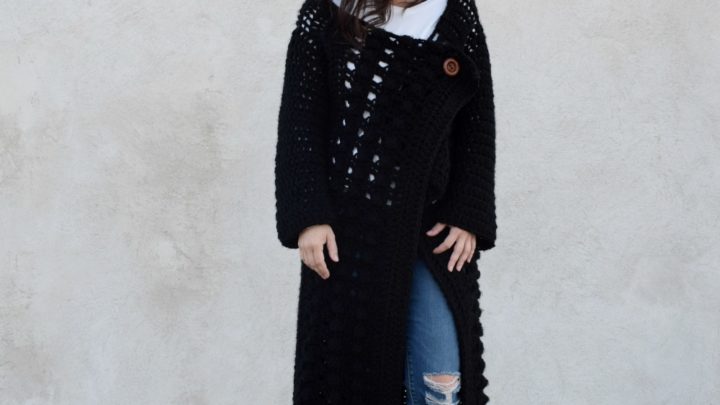
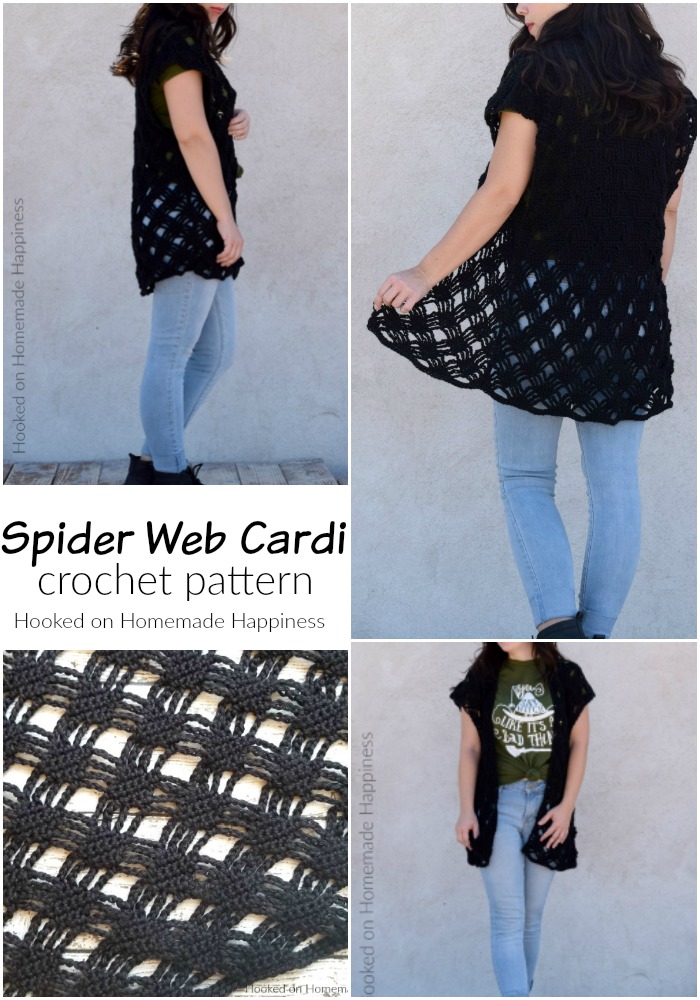
This Spider Web Cardigan Crochet Pattern is just what you need for October! And what I love about it is that you can wear it year round. It’s Halloween-ish, but not so obvious that you can’t pull it off anytime. For the cardigan I used the Spider Web Stitch. It looks complicated, but once you get the repeat down it’s a quick and pretty easy pattern.
click here to pin for later >>>
Spider Web Cardigan Crochet Pattern
Get the full pattern below or purchase the ad-free, printable PDF in my Ravelry Shop!
PIN for later HERE
Add to your Ravelry Queue HERE
Materials
Worsted weight cotton or acrylic yarn (I used Caron Simply Soft in Black 2 for S & M, 3 for L & XL))
H/5.0 mm hook
Stitch markers
Yarn needle
Scissors
Level
Intermediate
Pattern notes & stitches to know
Ch – chain
Sc – single crochet
Tr – treble
Written in US terms
Ch 1 does not count as sc
Approximate Finished Size—blocked (S pictured in 5’0” model)
Width: S (20”) M (23”) L (26”) XL (29”)
Length: S (28”) M (31.5”) L (35”) XL (38.5”)
Gauge:
13 sc = 4”
14 rows = 4”
SPIDER CARDIGAN
– Pattern is written in S, M noted in ( ), L noted in [ ], XL noted in { }
– Cardigan is made from 3 rectangles sewn together
BACK
Leave a long beginning end for sewing
Ch 86 (98) [110] {122} (mult of 12 + 2 more ch)
Row 1: sc in 2nd ch from hook and in each ch across
Row 2: ch 1, turn, sc in first 4 stitches , ch 7, skip next 5 ch, *sc in next 7 stitches, ch 7, skip next 5 stitches* repeat from * to * across to last 4 stitches, sc in last 4 stitches
Row 3: Ch 1, turn, sc in first 3 sc, ch 5, skip next sc, sc in ch 7 space, ch 5, skip next sc, *sc in next 5 sc, ch 5, skip next sc, sc in ch 7 space, ch 5, skip next sc* repeat from * to * across to last 3 stitches, sc in last 3 sc
Row 4: Ch 1, turn, sc in first 2 sc, ch 5, skip next sc, sc in ch 5 space, sc in next sc, sc in ch 5 space, ch 5, skip next sc, *sc in next 3 sc, ch 5, skip next sc, sc in ch 5 space, sc in next sc, sc in ch 5 space, ch 5, skip next sc* repeat from * to * across to last 2 stitches, sc in last 2 stitches
Row 5: Ch 1, turn, sc in first sc, *ch 5, skip next sc, sc in ch 5 space, sc in next 3 sc, sc in ch 5 space, ch 5, skip next sc, sc in next sc* repeat from * to * across
Row 6: Ch 7, turn, *sc in ch 5 space, sc in next 5 sc, sc in ch 5 space, ch 7, skip next sc* repeat from * to * across ending with sc in ch-5 lp, ch 3, tr in last sc,
Row 7: Ch 1, turn, sc in tr, skip ch 3, *ch 5, skip next sc, sc in next 5 sc, ch 5, skip next sc, sc in ch 7 space* repeat from * to *across ending with ch 5, skip next sc, sc in fourth ch of turning ch,
Row 8: Ch 1, turn, *sc in sc, sc in next ch 5 space, ch 5, skip next sc, sc in next 3 sc, ch 5, skip next sc, sc in ch 5 space* repeat from * to * across to last stitch, sc in last stitch
Row 9: Ch 1, turn, sc in first 2 stitches, *sc in ch 5 space, ch 5, skip next stitch, sc in next sc, ch 5, skip next sc, sc in next ch 5 space, sc in next 3 stitches* repeat from * to * across ending with sc in last 2 stitches
Row 10: Ch 1, turn, sc in first 3 sts, sc in ch 5 space, *ch 7, skip next sc, sc in next ch 5 space, sc in next 5 sc, sc in next ch-5 lp* repeat from * to * across ending with ch 5, sc in next ch 5 space, sc in last 3 sc
Repeat rows 3 – 10 to row 65 (73) [81] {89}
Row 66 (74} [82] {90}: Ch 1, turn, sc in first 3 sts, sc in ch 5 space, *ch 5, skip next sc, sc in next ch 5 space, sc in next 5 sc, sc in next ch-5 lp* repeat from * to * across ending with ch 5, sc in next ch 5 space, sc in last 3 sc
Row 67 (75) [83] {91}: ch 1 sc in each sc and ch across (85 (97) [109] {123} sc)
Fasten off, leave a long end for sewing.
FRONT (make 2)
Ch 38 (50) [50] {62}
Repeat back pattern for front.
SEWING
Lay the two front pieces evenly on top of the back. Use stitch markers to keep the pieces in place. Use the long ends and the yarn needle to whip stitch the shoulders closed.
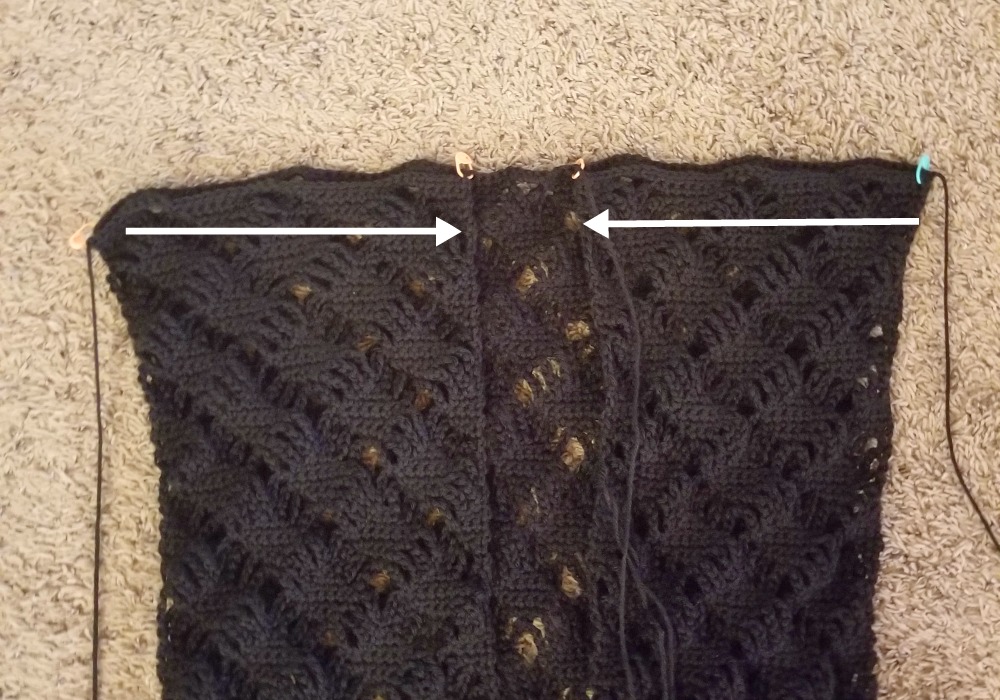
Try the cardigan on at this point. Mark where you want the sleeves to begin.
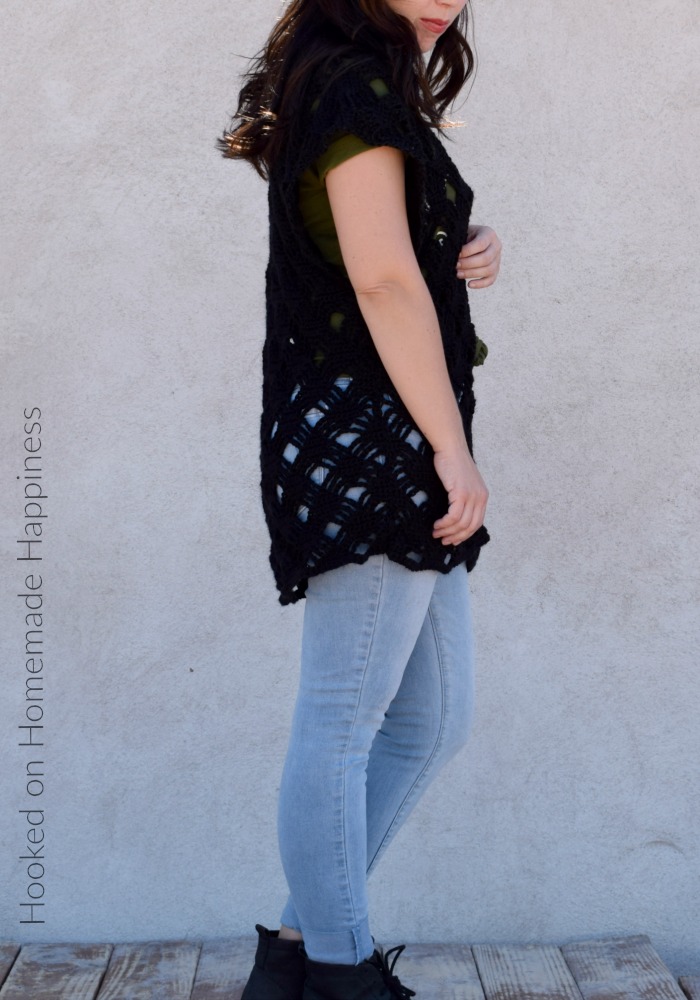
I wanted deep sleeves so I marked about the center
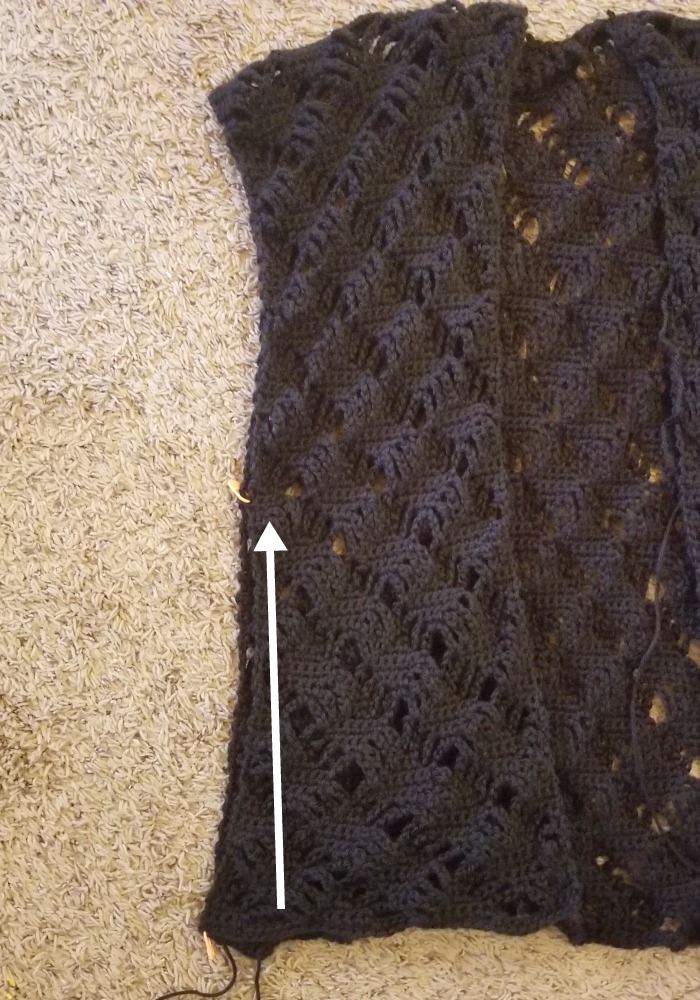
Use the long end and the yarn needle to whip stitch the sides closed.
Fasten off, weave in all ends.
Turn right side out.
Wet block the cardigan for best results.
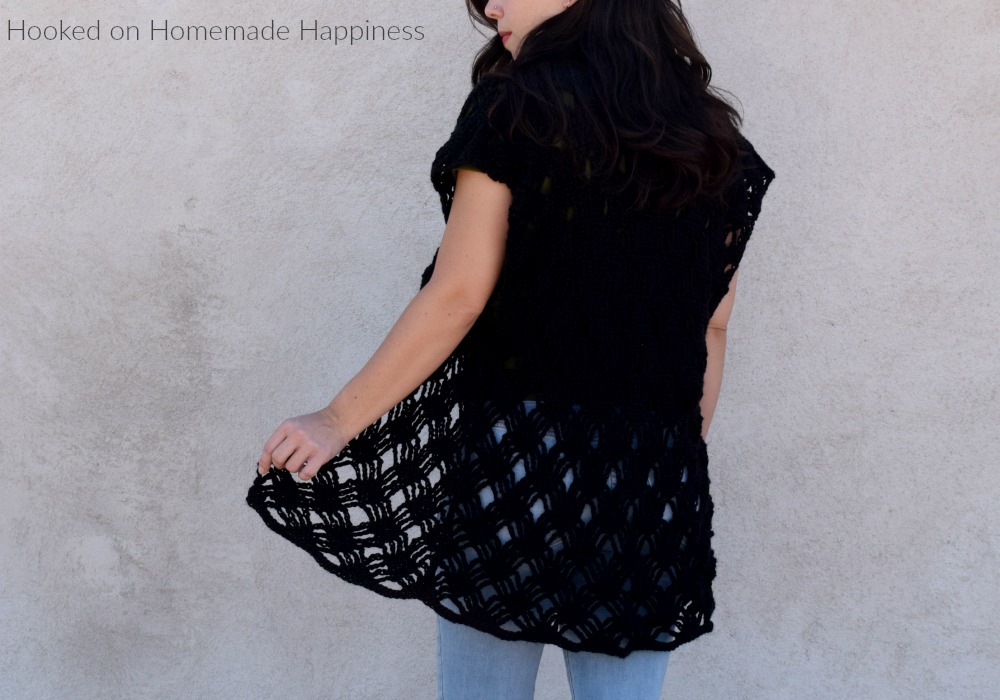
And you’re all done with your Spider Cardigan!!
Looking for more patterns? Follow me on Facebook, Instagram, and Pinterest! Please share a pic of your finished product with me. I’d love to see it!





OMG, so cute! Perfect for Halloween and beyond!
Thank you!!
Help! I’m trying to decide what size to make. According to your size widths the small should fit me but you look tiny and this makes me think I need to go up to a medium.
Hi! I am 5’0″ and have a 34″ bust. So the bust measurement is 6″ larger than my actual bust size. Hope that helps!!
I have another question. I’m on row 6 and when you say to sc in next 5 sc…I don’t have 5 sc to do that in. What am I missing? Thanks!
Yes, thank you! I’m a little bigger than you but think the small will work fine. I’m using Shawl in a Ball in Feng Shui Grey that has been in my stash for a while.
I have probably a really dumb question. The front pieces. Why is the original chain shorter than the back? Wouldn’t it be the same as the 1st row on the back piece? I’m making mine bigger…cause I’m fat. lol
I made the front panels a little shorter than the back to leave space in the center for the neckline 🙂
Thank you!
Thanks Breann! Beautiful fall piece I will enjoy making and wearing.
Were are the instructions for the sleeves?
Hi! There are no sleeves added. It’s just the “overhang” from the front an back panels.
I couldn’t crotchet till l came across your blog I have learnt to make a couple of your beanies and I did the Catalina Cardigan I m going to try yesterday’s jumper and the spiderweb cardigan Thank you