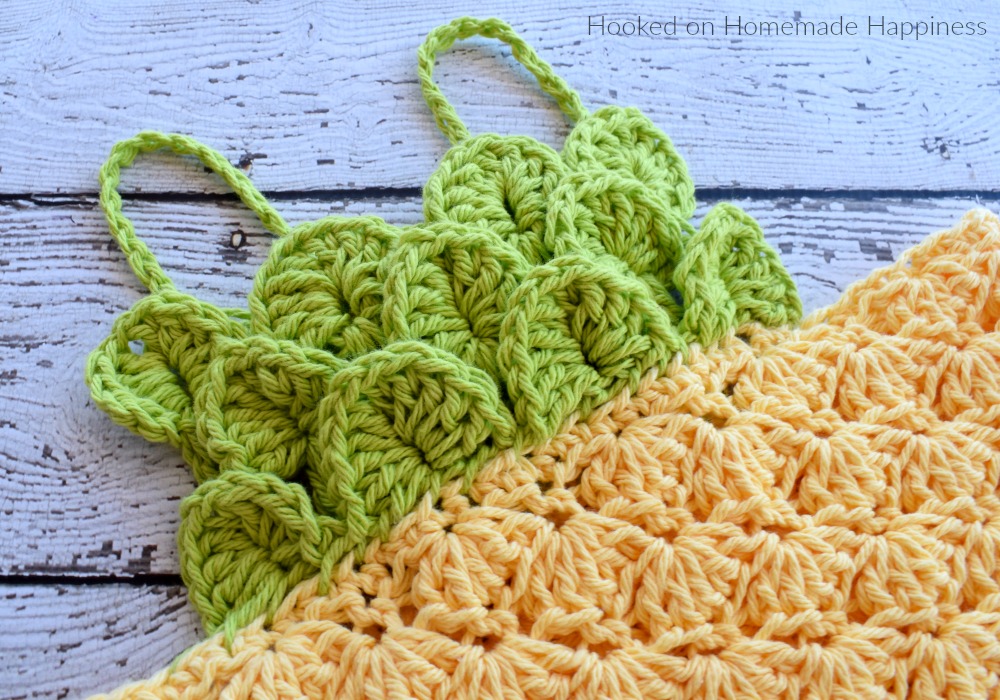
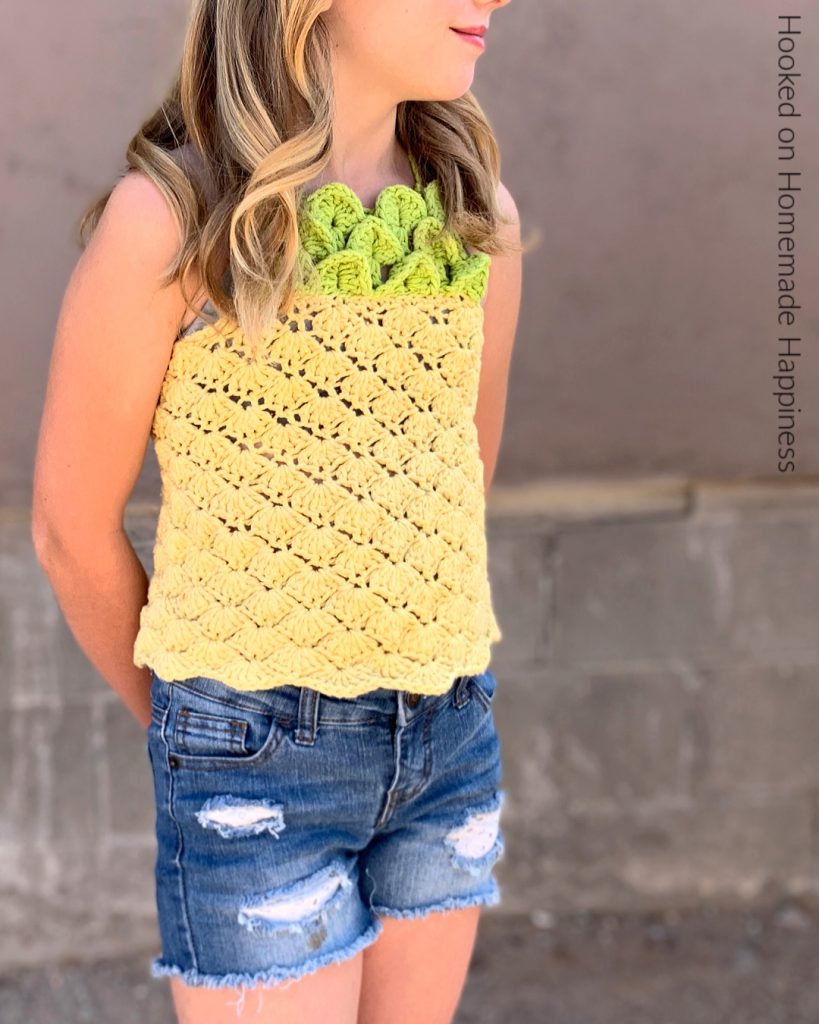
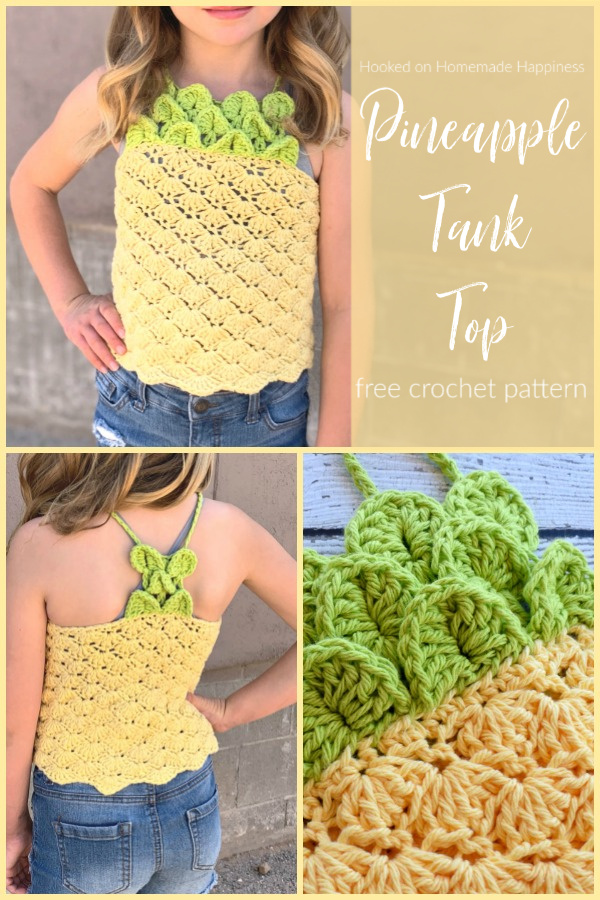
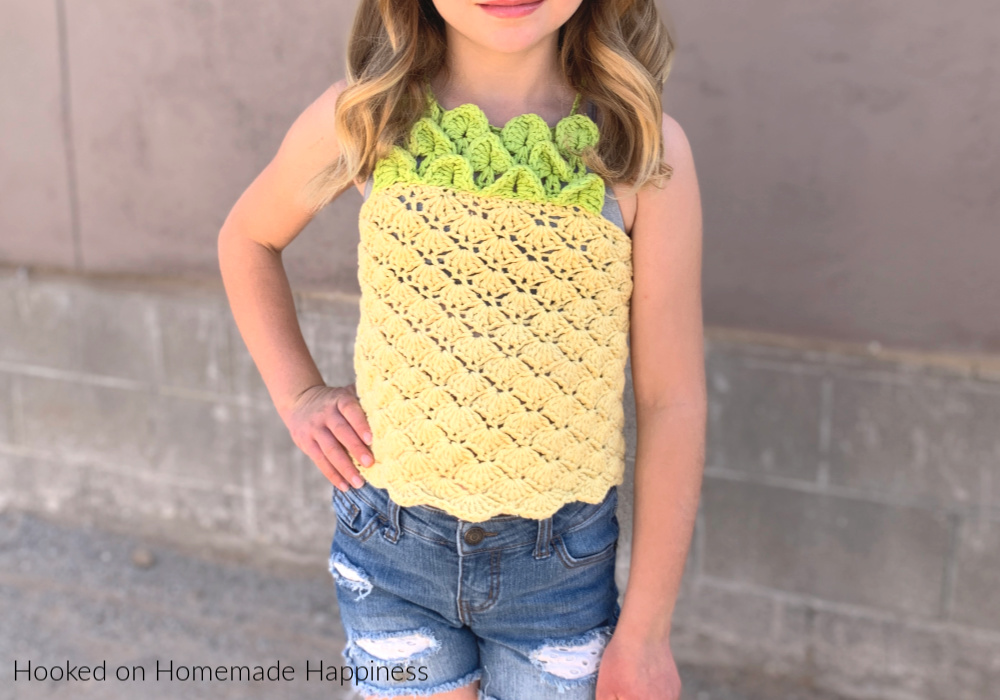
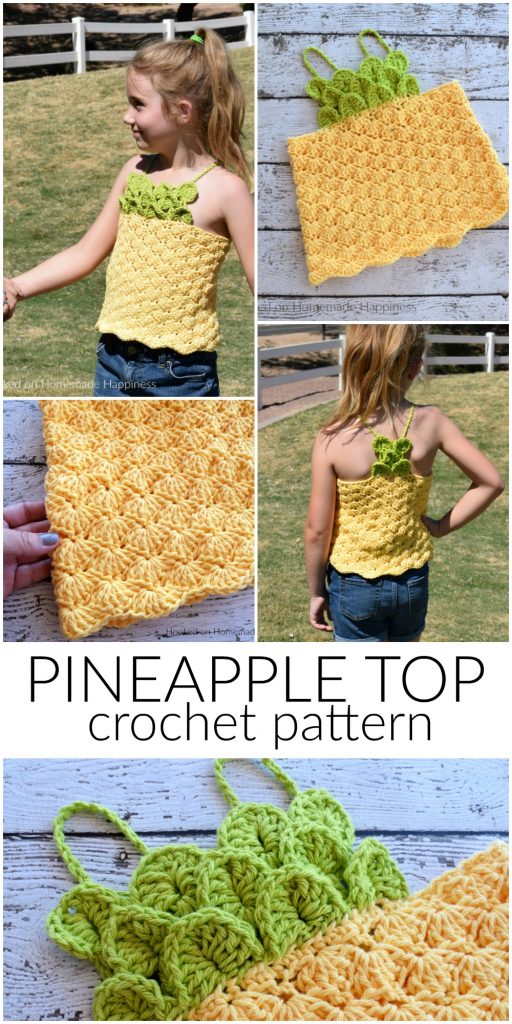
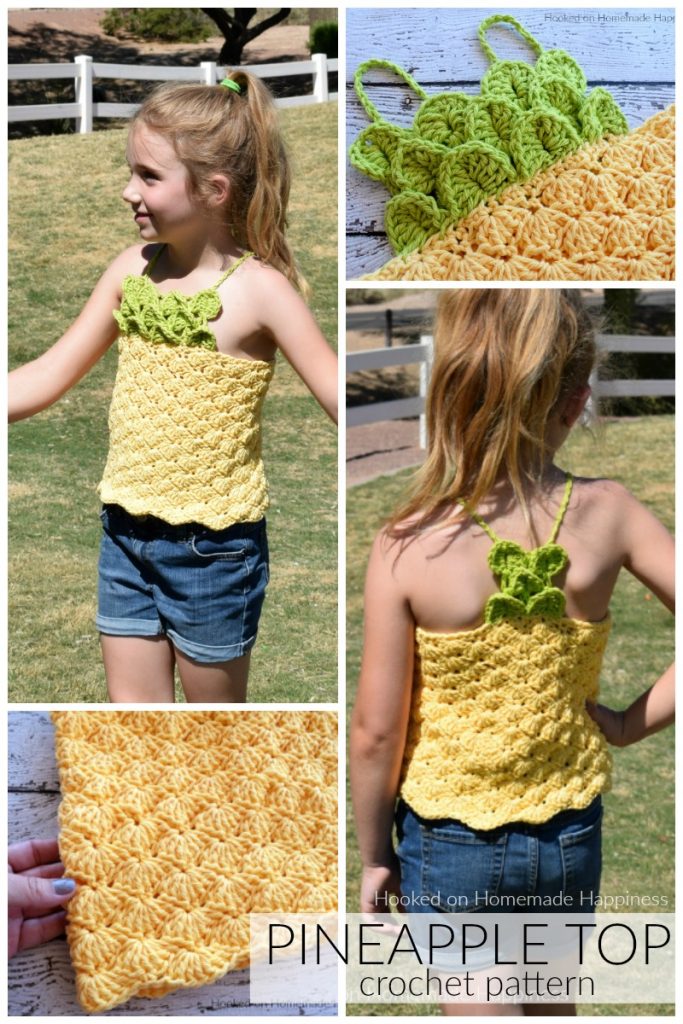
The Pineapple Crochet Top Pattern is such fun! I used a pretty shell stitch for the body of the top to give it some of that pineapple-y texture. And for the pineapple top I used the crocodile stitch. I used some cotton yarn so it’s an ideal top for summer. The fabric these stitches creates is solid, so your girl doesn’t need to wear anything underneath. It’s so cute with a pair of shorts! I just absolutely love how it turned out. I know you will, too!
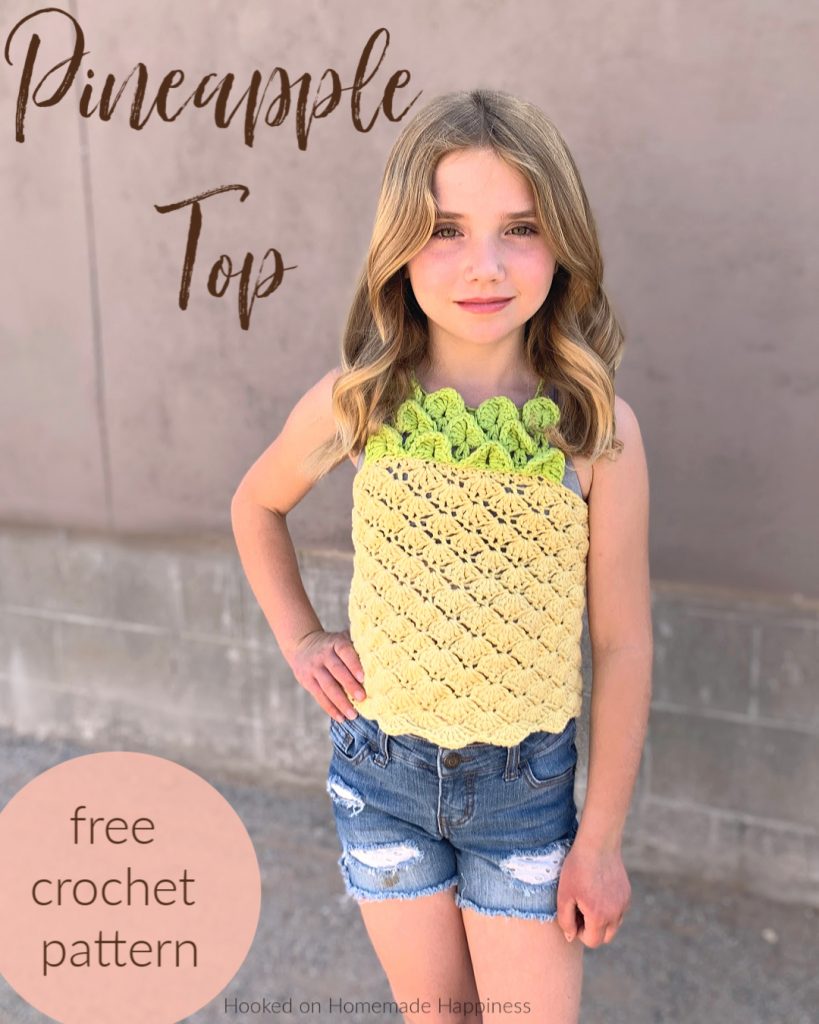
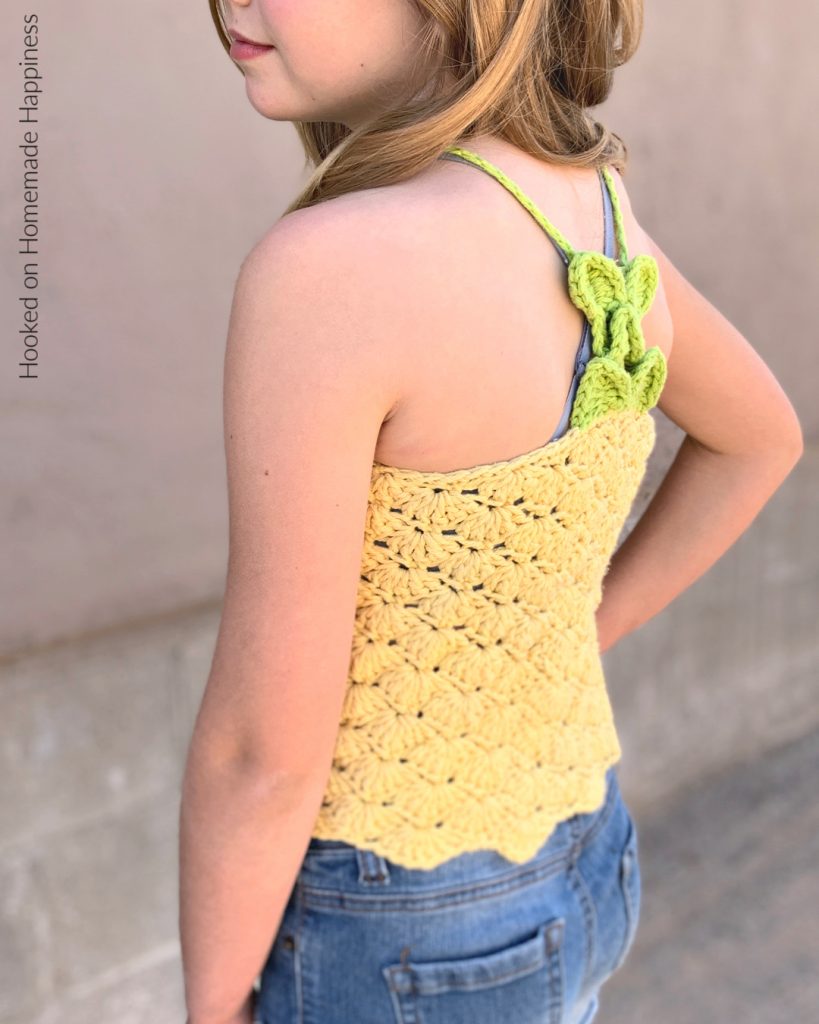
For this top I used Sugar ‘n Cream cotton. While it’s not my favorite cotton, I do love the stitch definition. I think it really makes the shell stitch and the crocodile stitch pop!
More Homemade Happiness:

Summer Tunic // Boho Vest // Circle Vest
Pineapple Crochet Top Pattern
– Get the free pattern below or this pattern is also available as an inexpensive, clearly formatted, PDF instant download in my Etsy Shop or Ravelry Shop!
– PIN for later HERE
– Add to your Ravelry Queue HERE
Materials
Lily’s Sugar ‘n Cream in Yellow (2 skeins for S/M, 3 skeins for L) and Hot Green (1 skein)
H/5.0 mm hook
Yarn needle
Scissors
Level
Intermediate
Pattern notes & stitches to know
Ch – chain
Sc – single crochet
Dc – double crochet
Approximate Finished Sizes:
Width across the top of the yellow: S 6/7 (10”) M 8/9 (12.5”) L 10/12 (15”)
Length of the yellow body: S 6/7 (8.5” ) M 7/8 (10”) L 10/12 (11.5”)
Gauge:
2 shells = 4”
6 rows = 4”
PINEAPPLE CROCHET TOP PATTERN
Pattern written in S, M noted in ( ), L noted in [ ]
Ch 67 (73) [79] (any multiple of 6 + 1 – this is the width around the top)
Row 1: sc in 2nd ch from the hook and in each ch across (66 sc (72 sc) [78 sc])
Join to first sc to make a round, use the beginning tail to sew the space closed
Round 2: ch 1, sc in same stitch, skip 2 stitches, 5 dc in next (this is a shell), *skip 2 stitches, sc in next, skip 2 stitches, 5 dc in next* repeat from * to * around to last 2 stitches, skip 2 stitches, join to first sc with sl st (11 shells (12 shells) [13 shells])
Round 3: ch 2, 5 dc in same stitch, sc in 3rd dc of next shell, *5 dc in next sc, sc in 3rd dc of next shell* repeat from * to * around, join to first dc with sl st (11 shells (12 shells) [13 shells])
Round 4: sl st to the 3rd dc of the shell, ch 1, sc in same stitch, 5 dc in next sc, *sc in 3rd dc of next shell, 5 dc in next shell* repeat from * to * around, join to first sc with sl st (11 shells (12 shells) [13 shells])
Repeat rounds 3 & 4 to round 9
In the remaining rounds the shells will have 7 dc to create a slight increase
Round 10: sl st to the 3rd dc of the shell, ch 1, sc in same stitch, 7 dc in next sc,*sc in 3rd dc of next shell, 7 dc in next shell* repeat from * to * around, join to first sc with sl st (11 shells (12 shells) [13 shells])
Round 11: ch 2, 7 dc in same stitch, sc in 4th dc of next shell, *7 dc in next sc, sc in 4th dc of next shell* repeat from * to * around, join to first dc with sl st (11 shells (12 shells) [13 shells])
Round 12: sl st to the 4th dc of the shell, ch 1, sc in same stitch, 7 dc in next sc,*sc in 4th dc of next shell, 7 dc in next shell* repeat from * to * around, join to first sc with sl st (11 shells (12 shells) [13 shells])
Repeat rounds 11 & 12 to round 17 (19) [21] or until desired length
Fasten off, weave in all your ends.
GREEN TOP PORTION
With green ch 22
Row 1: dc in 4th ch from the hook (ch 3 counts as dc), *ch 1, skip 2 ch, 2 dc in next* repeat from * to * across. Position your work so it is going downwards towards you
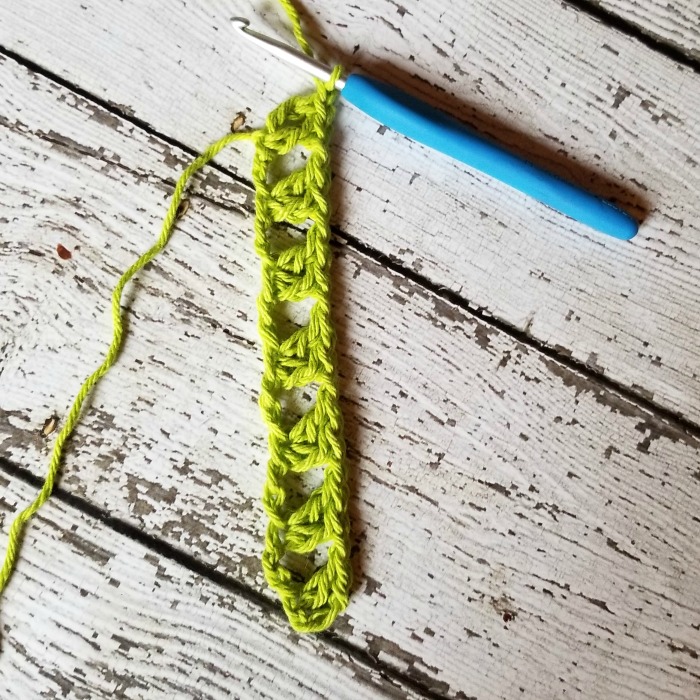
Row 2: ch 3 (counts as dc), work 4 dc along the first dc
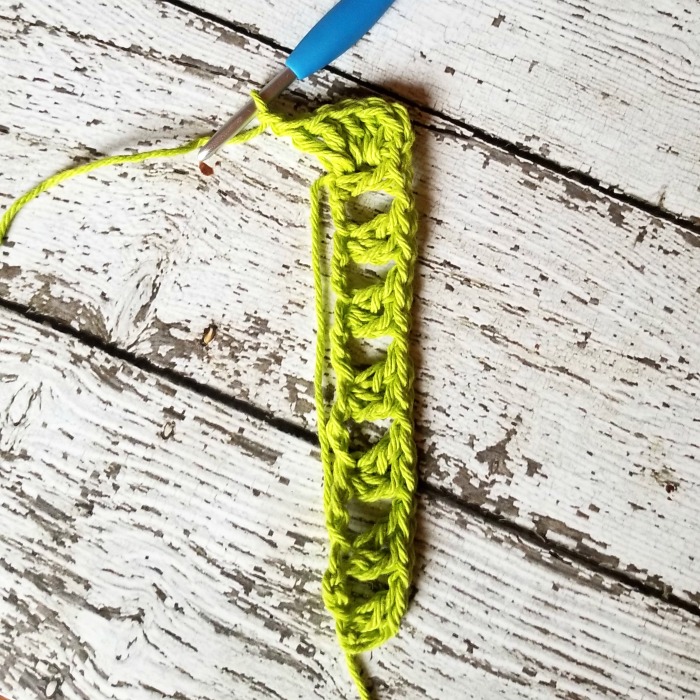
Ch 1, turn your work so it’s going up, 5 dc along the next dc (this is your first “scale”)
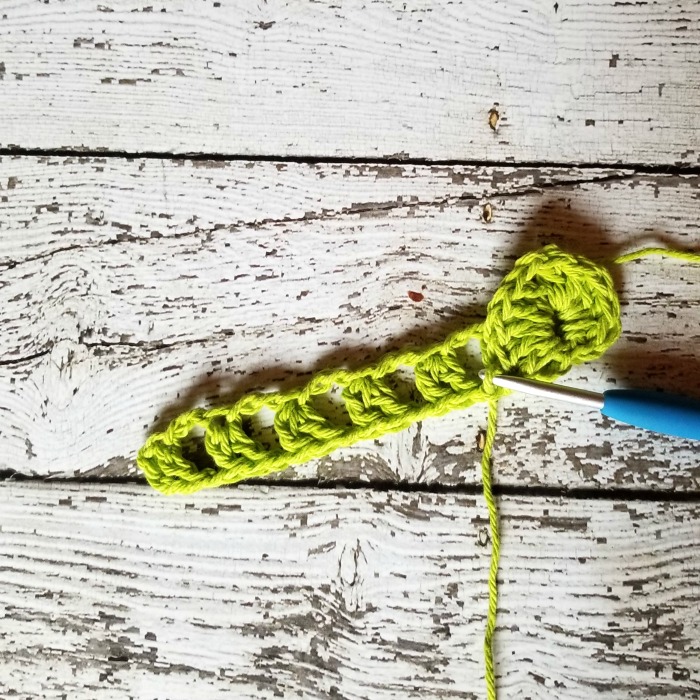
Ch 1, turn work downwards again, skip the next pair of dc, work another scale in the next pair of dc, repeat across (4 scales)
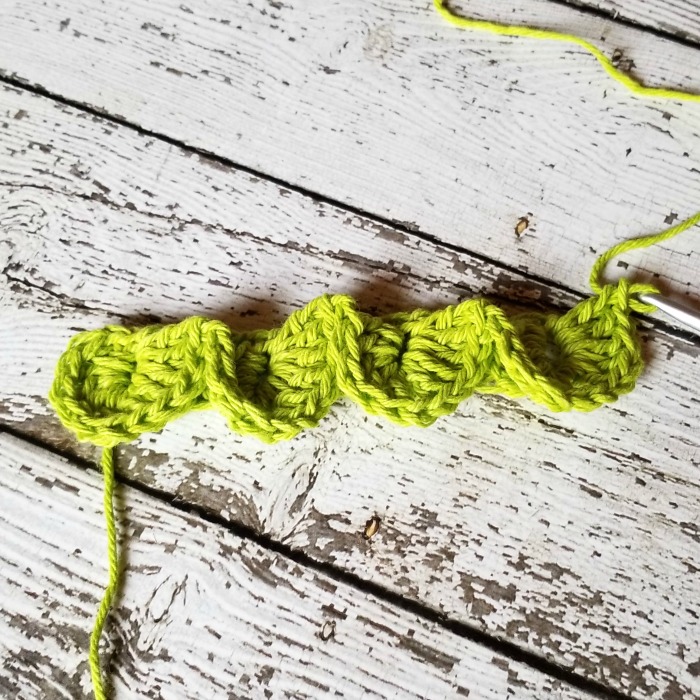
Row 3: sl st into the center of the first scale, ch 3 (counts as dc), turn, dc in same space
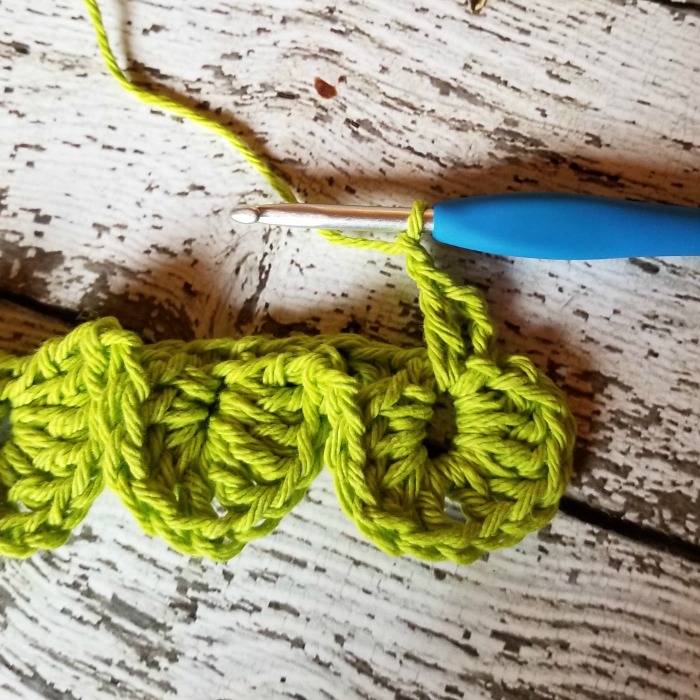
Ch 1, 2 dc in the space between the first 2 scales, ch 1
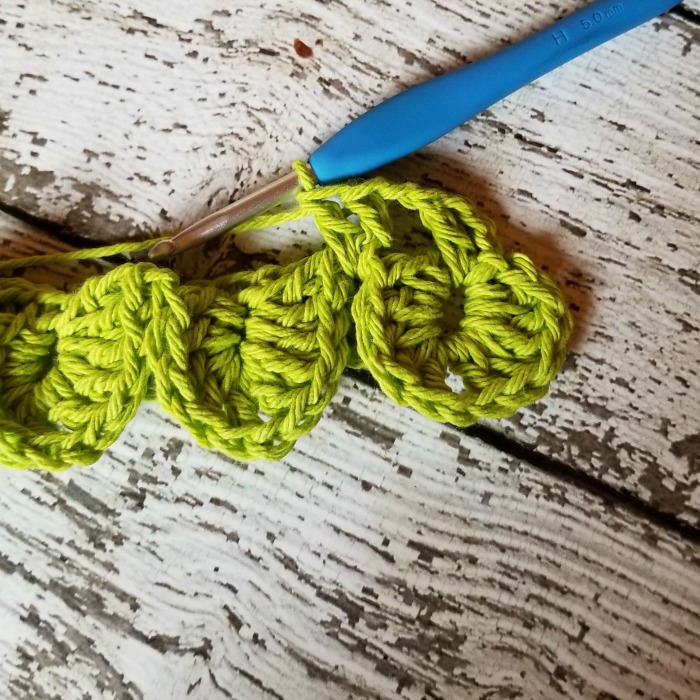
Repeat across
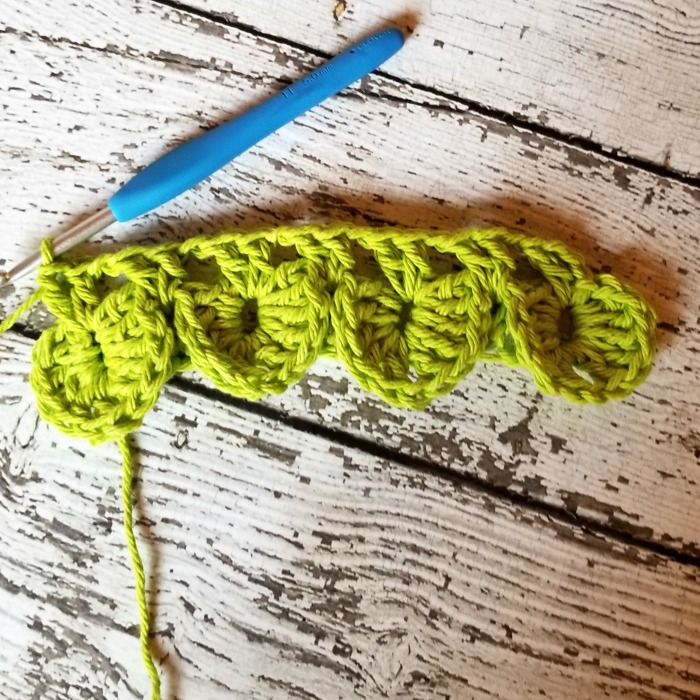
Row 4: skipping the first pair of dc, work a scale with the second pair of dc, repeat across, sl st to the middle of the last pair of dc (3 scales)
Row 5: repeat row 3
Row 6: repeat row 2
Fasten off, leave a long tail for sewing
Make another one for the back. This time with a starting ch of 10. The back will have alternating rows of 2 scales and 1 scale
Sew the larger on to the center of the front and the small on the back with a whip stitch
Fasten off, weave in the ends.
Join yarn to the top corner of one piece, ch a strap of 15 (17) [19] or desired length, attach to back, repeat for other strap. Fasten off, weave in the ends
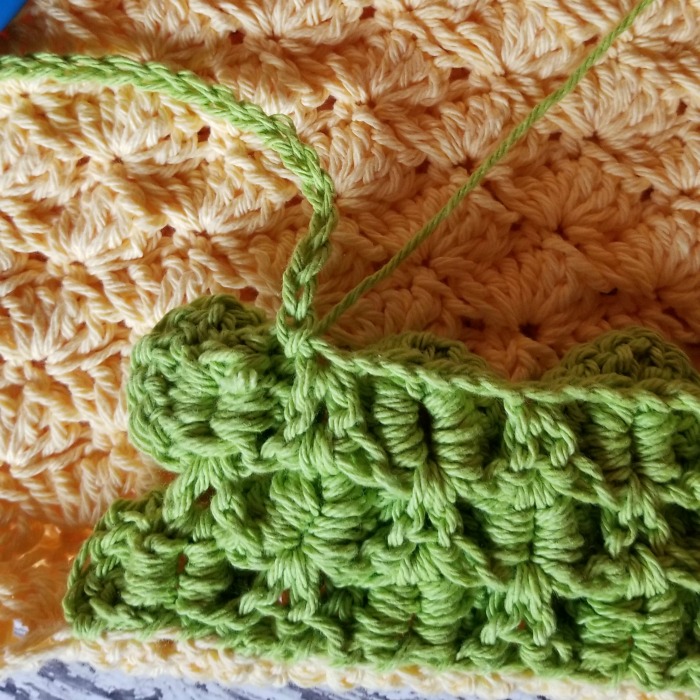
And you’re done! I hope you love this fun top!
Looking for more patterns? Follow me on Facebook, Instagram, and Pinterest! Please share a pic of your finished product with me. I’d love to see it!




Do you have a pattern for the watermelon top shown in the picture with the pineapple top?
Yes! I just posted it yesterday 🙂
What a wonderful design. The leaf details on the back just make this piece perfect. I love the fruit theme you have going on with this and the watermelon top. The shell stitch was also a perfect choice for the pineapple texture. I can tell a lot of through went into creating this piece. Great job!
my 7 year old loves this top. im trying hard at making it ive only been crocheting for 2 years could someone help me with the green portion id greatly appreciate it
Hi! What part of the stitch are you needing help with? The stitch used is called the crocodile stitch. If you search on youtube there will probably be a video tutorial. I hope that helps!!
How would I make an adult size??
Your starting ch can be any length as long as it’s a multiple of 6 + 1 more ch 🙂
Love this pattern but I’m cnfused. Are the shells made in the sc of the previous row. If not do u make the shell in the middle dc of the next shell. Like on row 4 u said to do 5dc in the next shell after u do a sc in the previous shell. Thanks
Hi! The shells are in the sc from the previous row ?