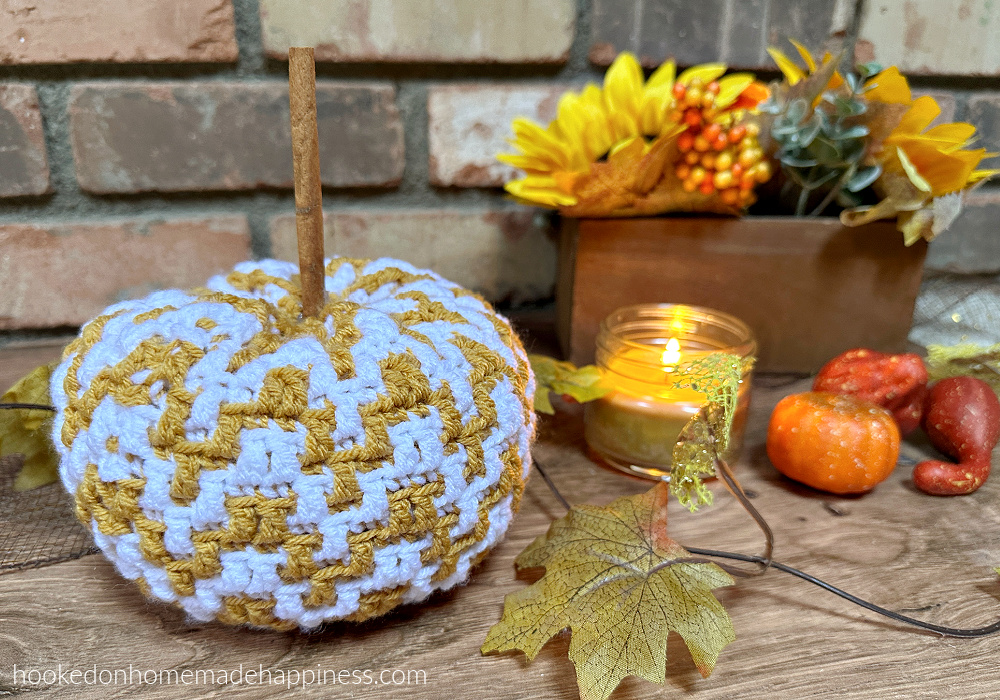
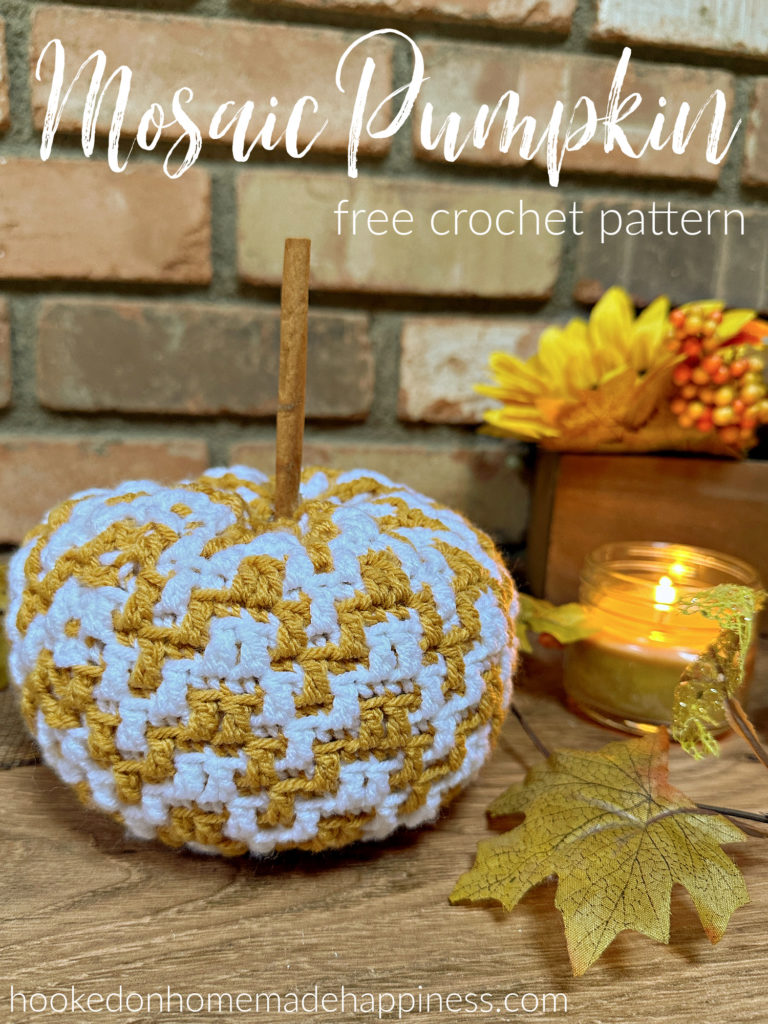
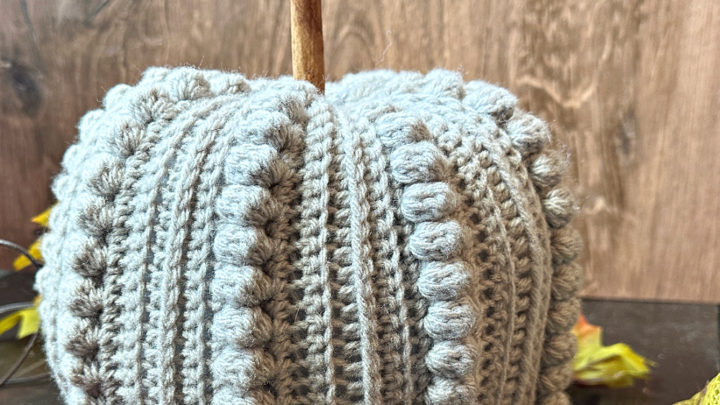
As the leaves start to turn vibrant shades of red and gold, it’s the perfect time to elevate your crochet skills and bring a touch of fall into your home decor. Imagine creating this stunning Mosaic Pumpkin Crochet Pattern that will impress all your friends and family. In this detailed guide + video tutorial, we’ll show you how to master the intricate mosaic stitch technique, choose the right yarn and hook, and provide you with tips and tricks to perfect your crochet skills. This Mosaic Pumpkin Crochet Pattern is so much easier than it looks! With just a 3 row repeat, without any color changes within a round, you can create this chevron style pattern!
Choosing the Right Yarn and Hook
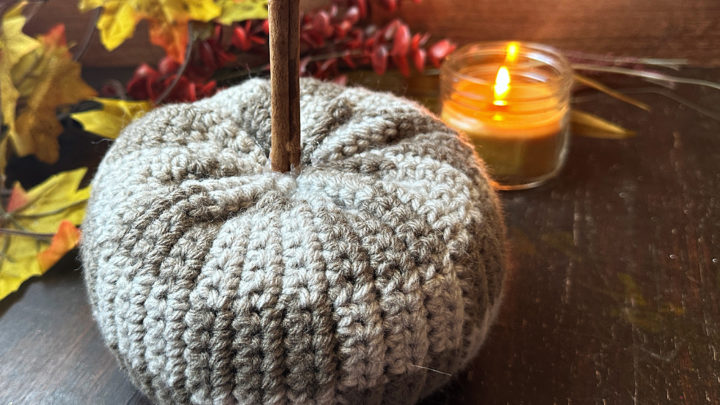
When it comes to choosing the right yarn and hook for your crochet project, it’s essential to consider the texture, weight, and color of the materials. The pattern calls for a worsted weight acrylic yarn. I used I Love This Yarn from Hobby Lobby. But your favorite worsted weight acryli , (such as Red Heart Super Saver, Loops & Threads Impeccable, WeCrochet Brava, etc) will work perfectly! You can opt for a yarn that complements the fall theme, such as warm oranges or deep browns, to enhance the pumpkin design. Additionally, selecting a hook size that is slightly smaller than your chosen yarn weight recommends will ensure that your stitches are tight and your project turns out beautifully.
Understanding the Mosaic Stitch Technique
To truly master the mosaic stitch technique in crochet, it’s important to understand the fundamentals behind this unique stitch. The mosaic stitch involves a combination of basic stitches such as single crochet, double crochet, and chains, but with the added complexity of color changes and pattern repeats. By following a specific pattern, you can create intricate designs that mimic the look of mosaic tiles, adding depth and dimension to your crochet projects. This particular mosaic design is just a 3 row repeat, with color changes only happening at the end of the round. It’s a great stitch for a beginner mosaic crocheter! Plus, there is a stitch video tutorial included.
click here to pin for later
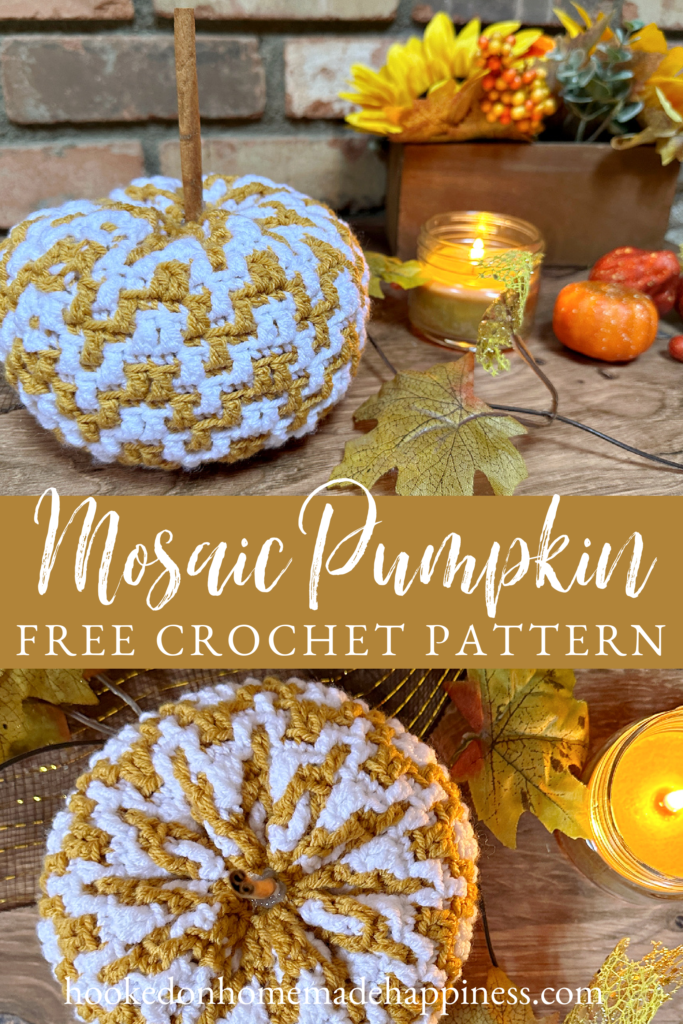
Mosaic Pumpkin Crochet Pattern
PIN for later HERE
Add to your Ravelry Queue HERE
Materials
worsted weight acrylic yarn in 2 colors
G/4.0 mm hook
yarn needle
scissors
poly-fil
hot glue
cinnamon stick
Level
intermediate
Pattern Notes & Stitches to Know
ch – chain
sl st – slip stitch
sc – single crochet
dc – double crochet
sc blo – single crochet back loop only
ldc flo – long double crochet (work stitch in the row below the previous row) in the front loop only
· written in US terms
· ch 1 does not count as sc or dc
· This pumpkin is made in joined rounds. Do not cut the yarn, carry the yarn throughout the pattern VIDEO TUTORIAL
· Change color every row (2 colors are needed)
MOSAIC PUMPKIN CROCHET PATTERN
>>>STITCH VIDEO TUTORIAL<<<
Note: the video tutorial is for just the stitch pattern worked in rows
ch 2
Row 1: starting in the 2nd ch from the hook fsc 60, join to first sc with sl st (60 sc)
If you would rather start with a chain, ch 61, sc in 2nd ch from the hook and across
Work in joined rounds for remainder of the pattern
Round 2: ch 1, sc blo in each stitch around, join to first sc with sl st (60 sc)
Round 3: ch 1, *sc blo in 2 stitches, ldc flo in next, sc blo in 2 stitches* repeat from * to * around, join to first sc with sl st (60)
Round 4: ch 1, ldc flo in next, sc blo in 3 stitches, *ldc flo in next 2, sc blo in 3 stitches* repeat from * to * around to last stitch, ldc flo in last, join to first dc with sl st (60)
Round 5: ch 1, *sc blo in next stitch, ldc flo in next, sc blo in next, ldc flo in next, sc blo in next* repeat from * to * around, join to first sc with sl st (60)
Round 6 – 28: repeat rows 3 – 5, ending with a round 4 repeat
Fasten off. Leave a long end for sewing.
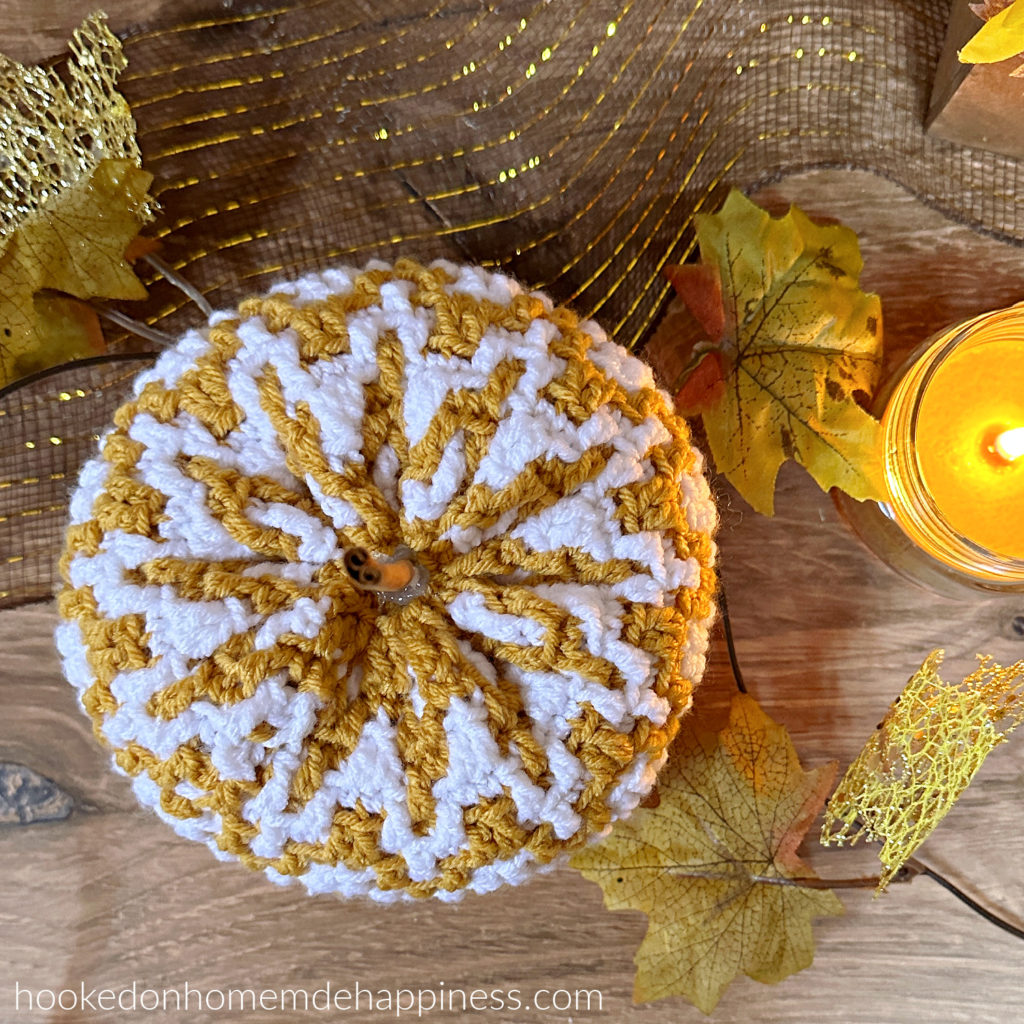
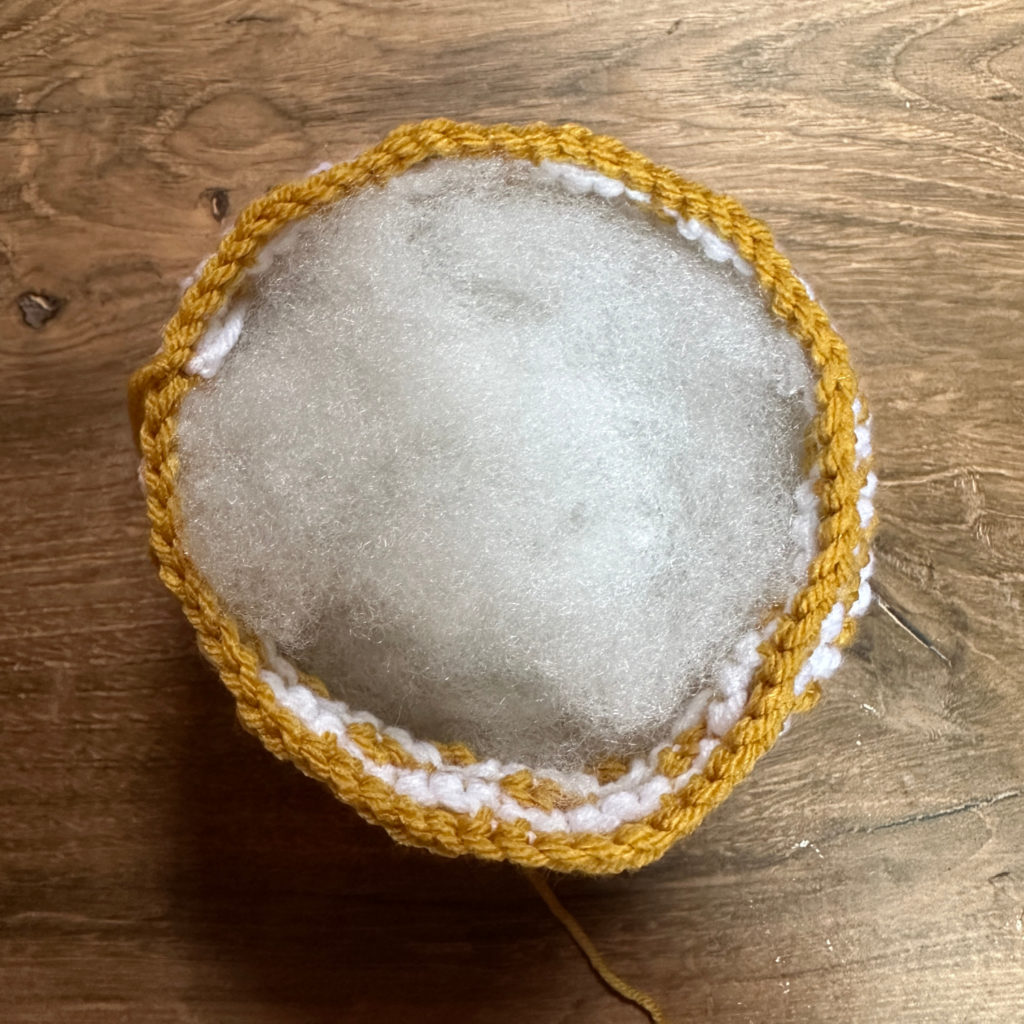
Now the rectangle in a tube, weave the end in and out around the bottom edge. Cinch the bottom closed. Sew the bottom closed tight. Fasten off. Weave in the end.
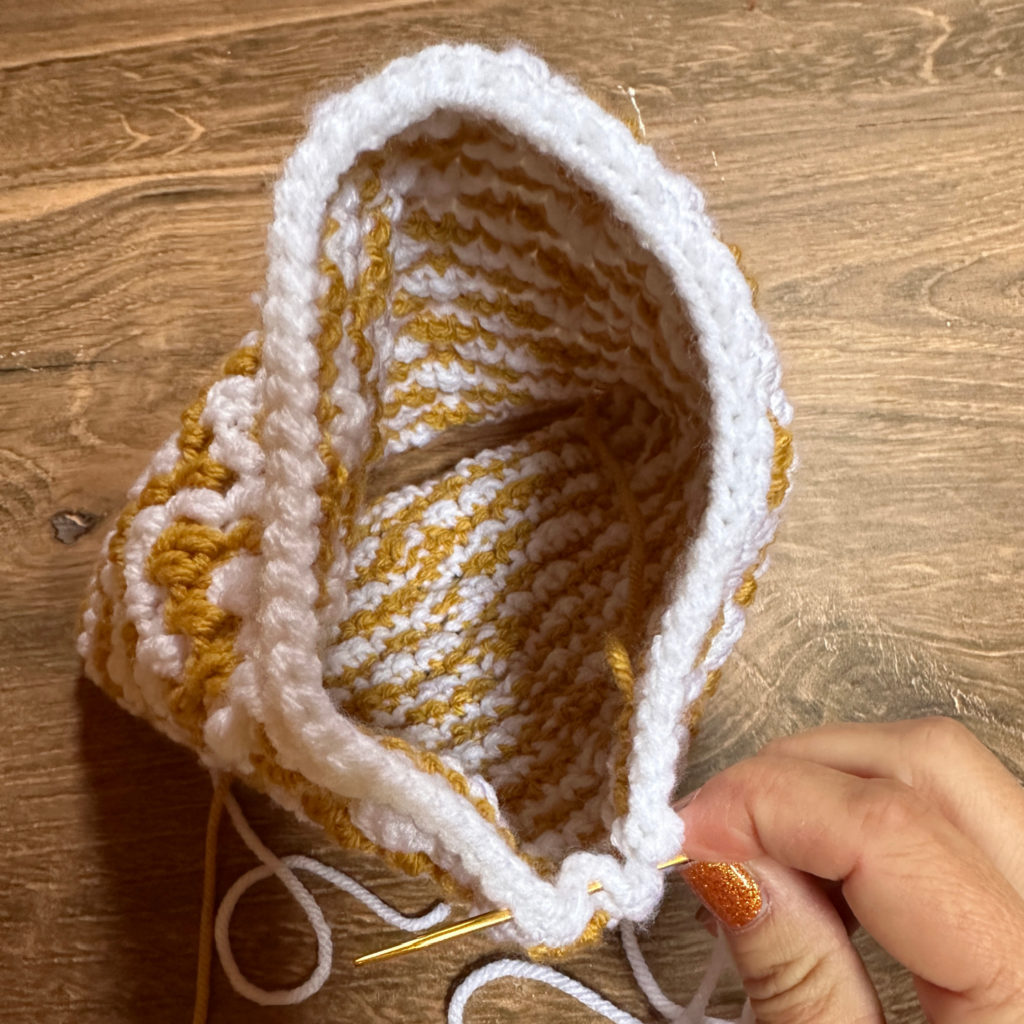
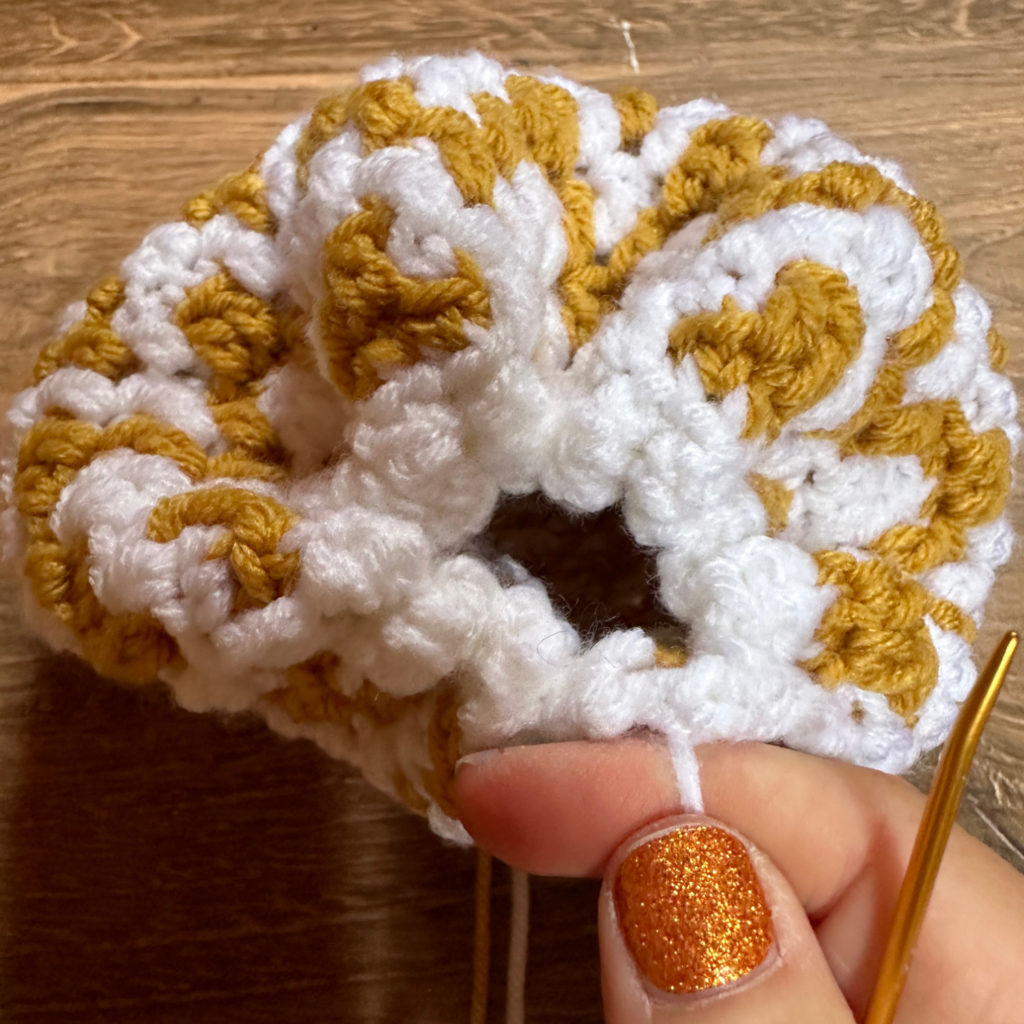
Add fiber fill. Use the long end on the other side to weave in and out around the top edge. Add more fiber fill. Cinch top closed. Sew the top closed tight.

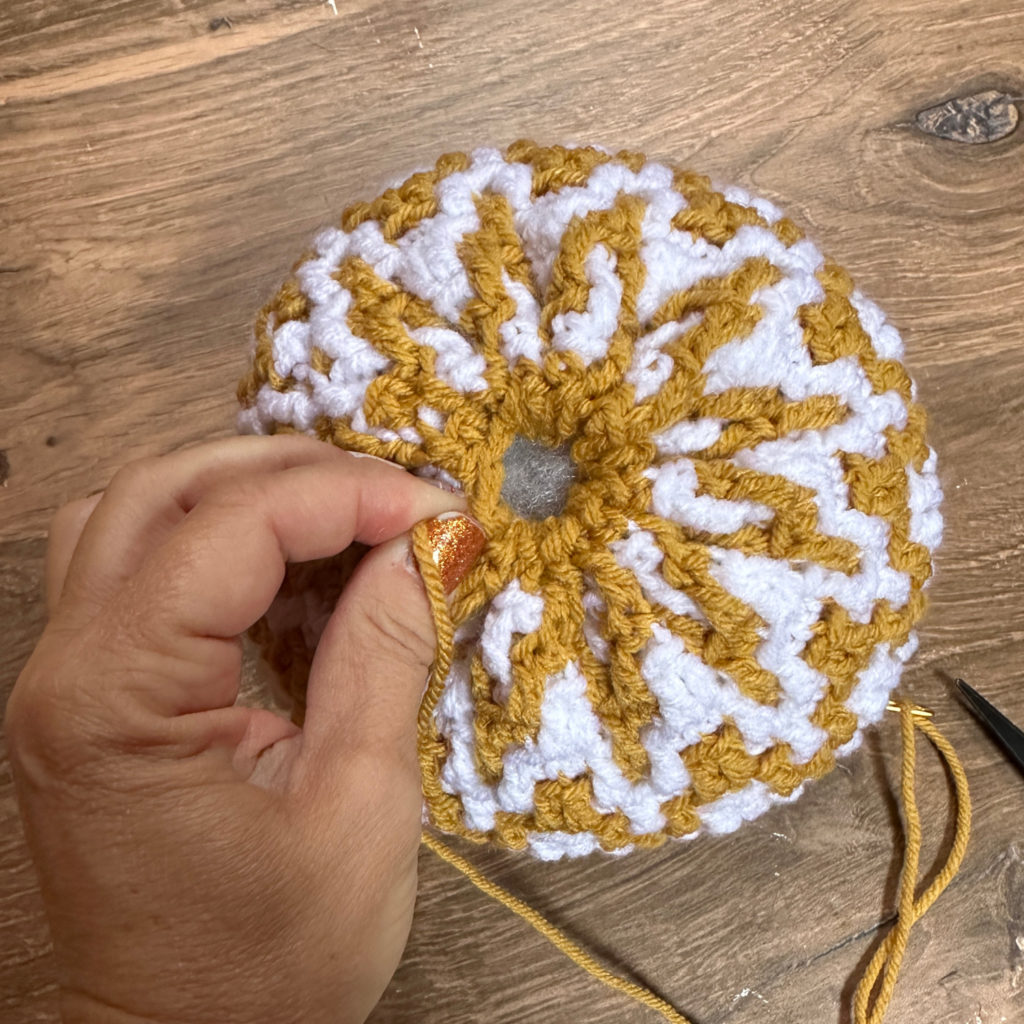
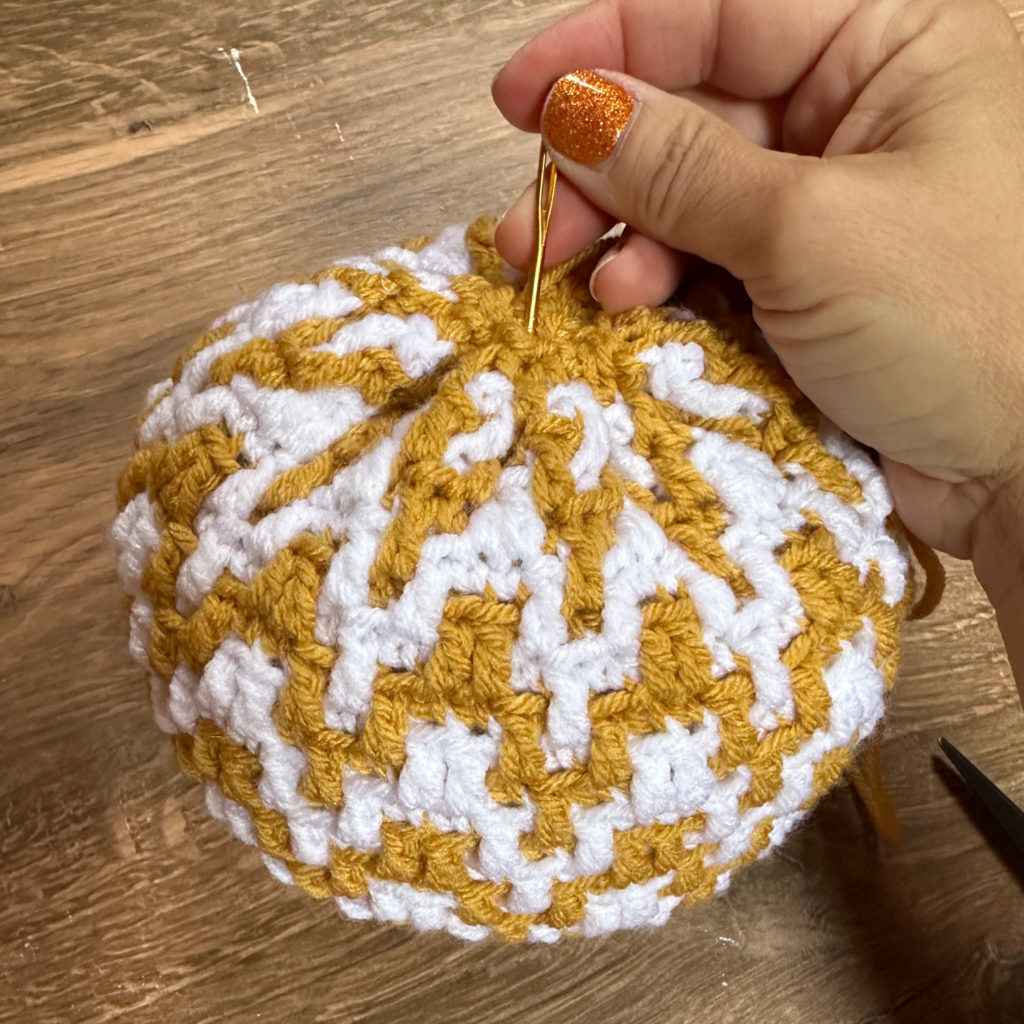
Push the needle with the long end through the middle of the top, through the pumpkin, and out the middle of the bottom. Pull tight to make the pumpkin squatty. Push the needle back up towards the top middle. Pull yarn tight, knot it, and fasten off.
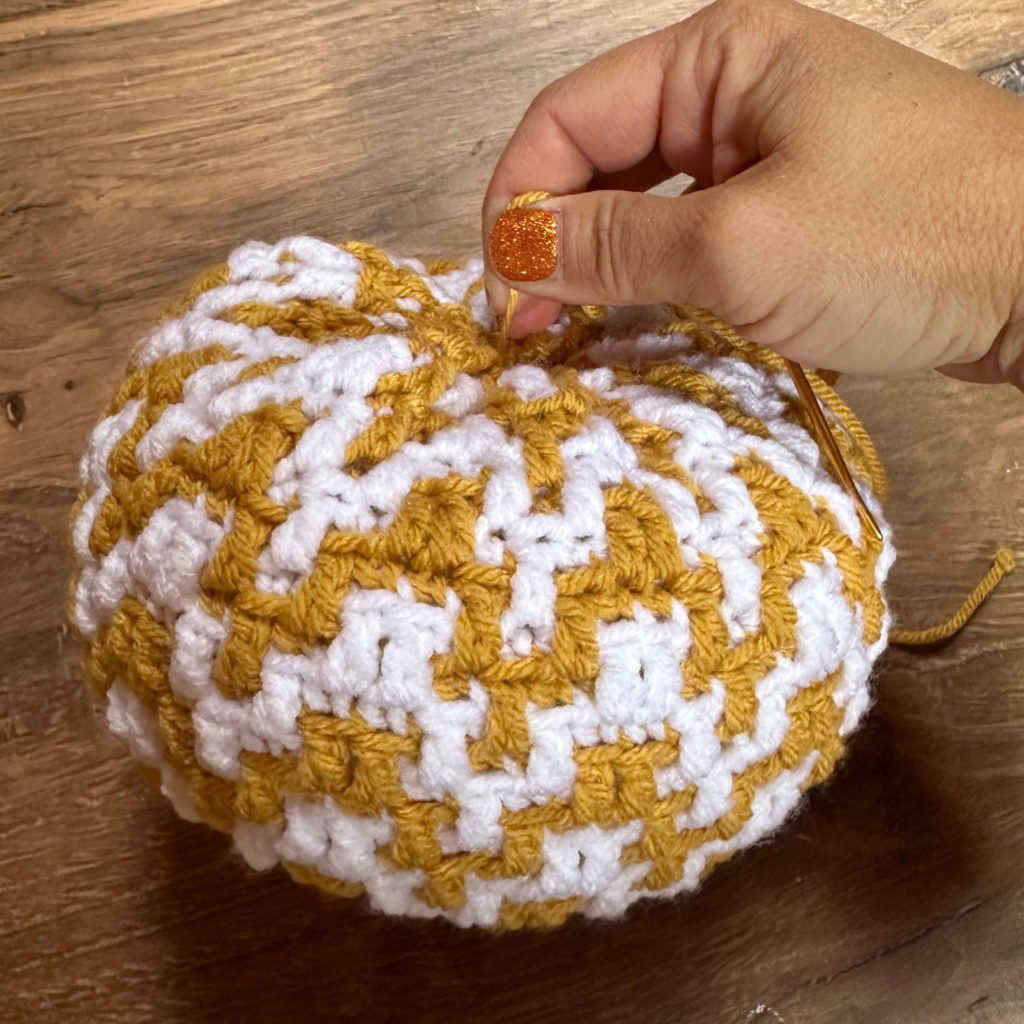
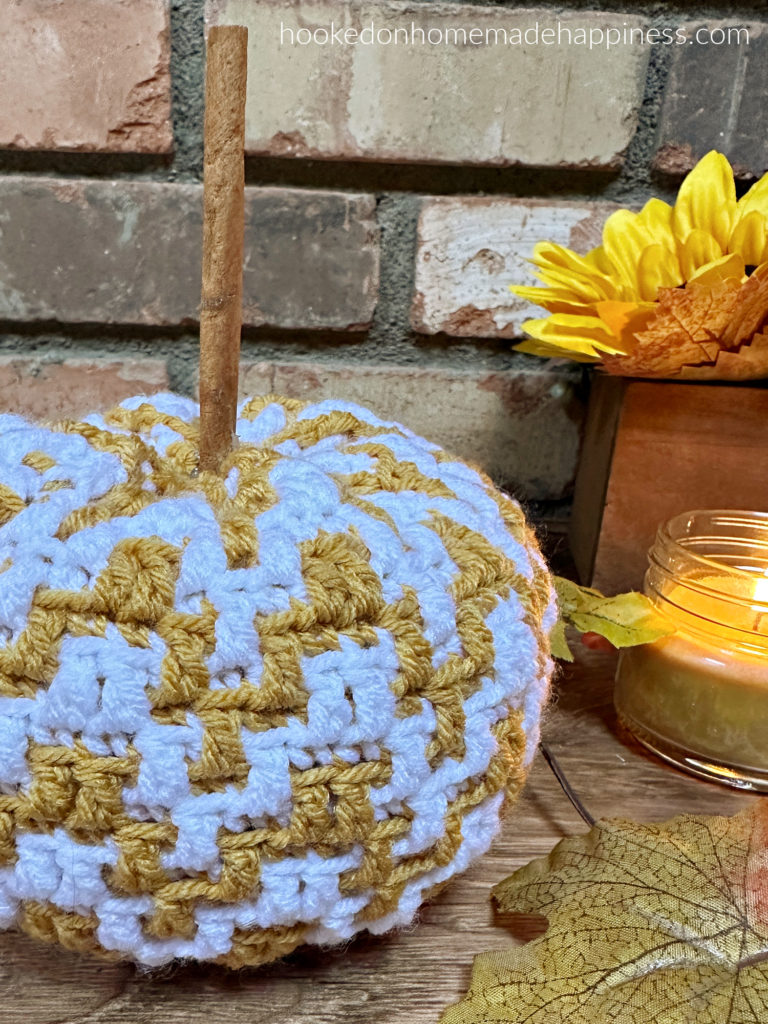
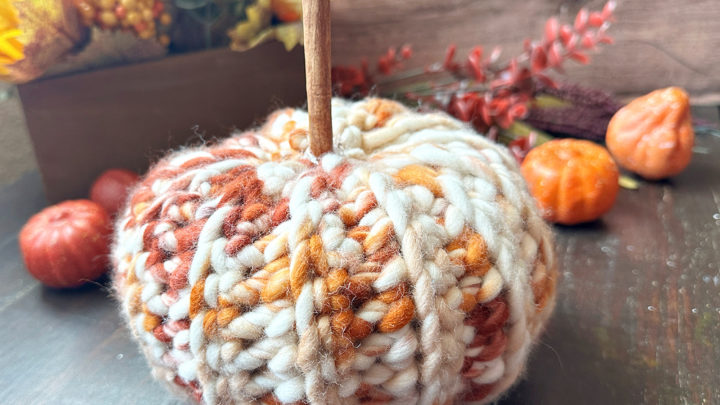
Hot glue a cinnamon stick for a stem.
Looking for more patterns? Follow me on Facebook, Instagram, and Pinterest! Please share a pic of your finished product with me. I’d love to see it!