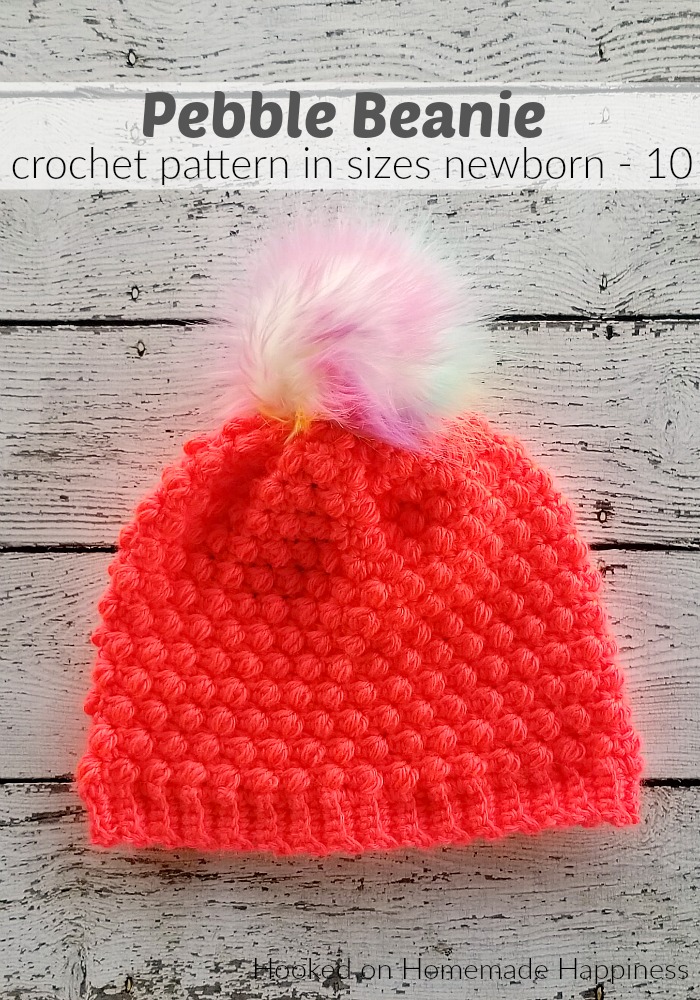
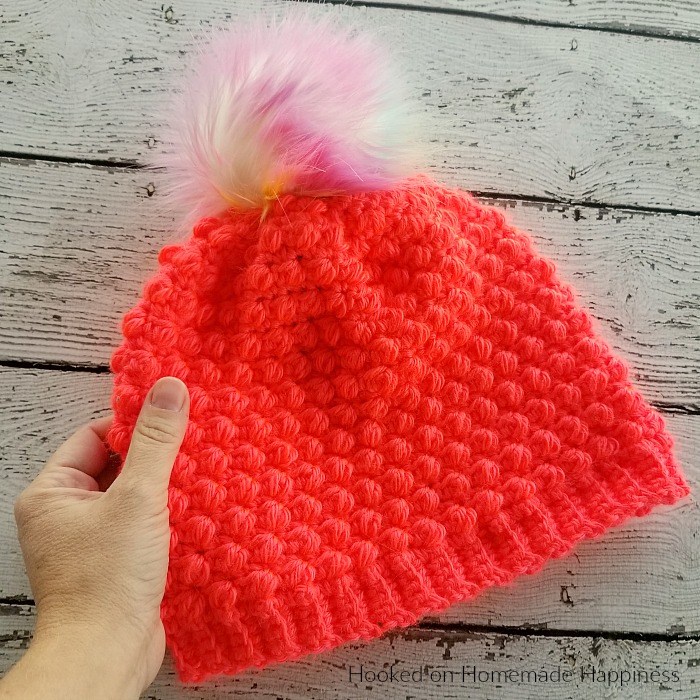
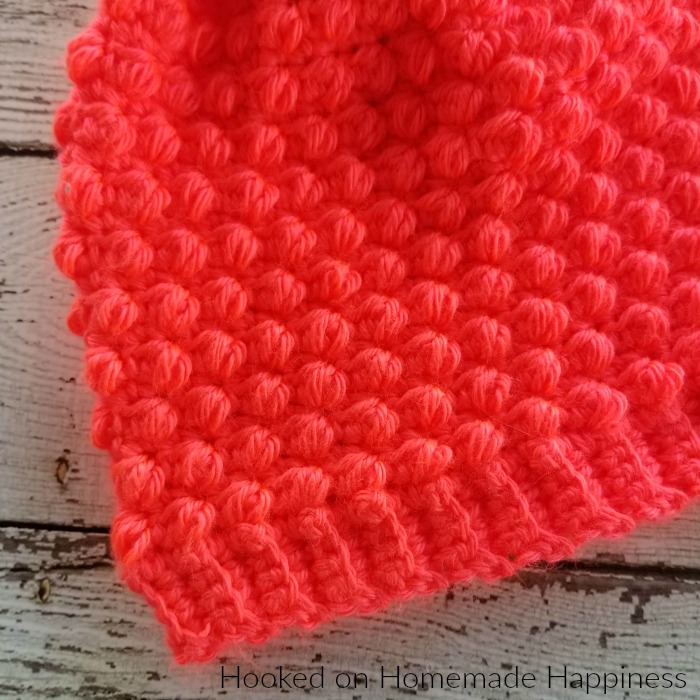
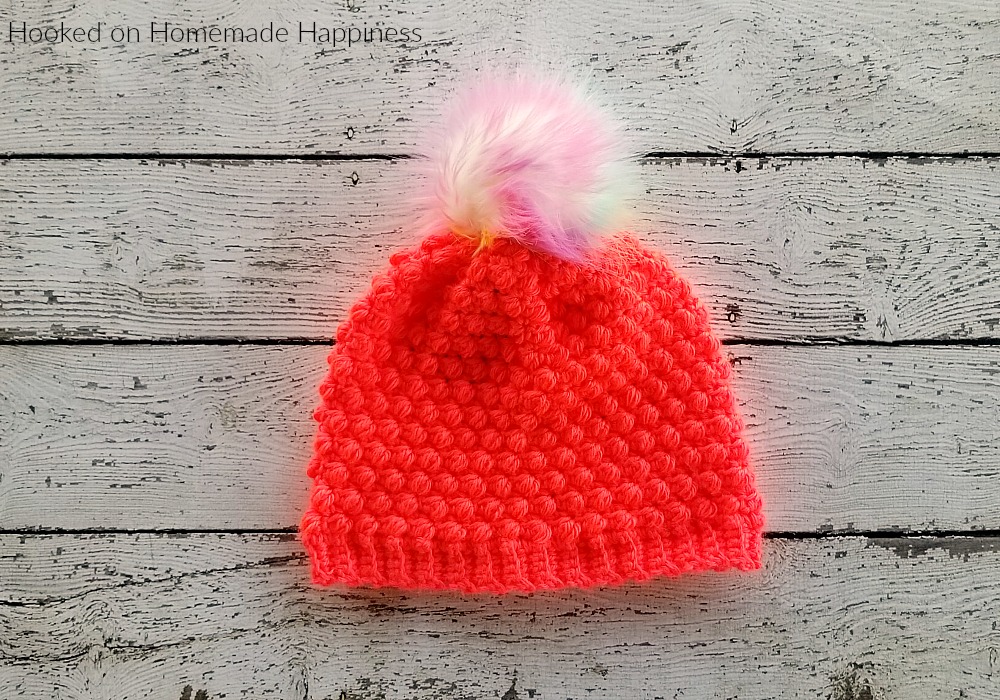
The Pebble Beanie is one of my most popular patterns. So I decided to make a Kid’s Pebble Beanie Crochet Pattern in sizes newborn through age 10! You can find this pattern in adult sizes HERE and a detailed tutorial of the pebble stitch HERE.


More Homemade Happiness:

Shell Stitch Beanie // Sunshine & Roses Floppy Hat // Circle Vest

Kid’s Pebble Beanie Crochet Pattern
– Get the free pattern below or purchase the ad-free, printable PDF in my Etsy Shop or Ravelry Shop
– PIN for later HERE
– Add to your Ravelry Queue HERE
Materials
Worsted weight yarn (I used Yarn Been Soft Secret or Caron Simply Soft)
H/5.00 mm hook
Yarn needle
Scissors
Pom pom (optional)
Level
Easy to intermediate —you must be familiar with basic crochet stitches
Pattern notes & stitches to know
Sl st – slip stich
Sc – single crochet
Sc blo – single crochet back loop only
Puff Stitch – *yarn over, insert hook into stitch, pull up a loop the height of a dc* repeat 2 more times, yarn over and pull through all 7 loops on hook (photo tutorial in pattern)
RS – right side of the fabric
WS – wrong side of the fabric
Written in US terms
Ch 1 does not count as stitch
Beanie is worked from the bottom up
Finished Size:
Circumference: Newborn (13”) 3 – 6 mo (14”) 6 – 12 mo (16”) 1 – 3 yrs (17”) 4 – 10 yrs (18”)
Length: Newborn (5”) 3 – 6 mo (6”) 6 – 12 mo (6.5”) 1 – 3 yrs (7.5”) 4 – 10 yrs (8”)
Adult sizes can be found >> HERE
KID’S PEBBLE BEANIE
Pattern written in Newborn, 3 – 6 mo noted in ( ), 6 – 12 mo noted in [ ], 1 – 3 noted in { }, 4 – 10 noted in < >
Ch 6 (leave a long end for sewing)
Row 1: sc in 2nd ch from the hook and across (5 sc)
Row 2 – 45 (49) [53] {61} <65>: ch 1, turn, sc blo in each stitch across (5 sc blo)
Adjust band length as needed – The band can be any size – number of rows must be a multiple of 4 + 1
Do not fasten off
You will now work across the long side of the band
Row 1: (RS) Ch 1, turn and sc in each row across the top of the band (45 (49) [53] {61} <65>)
Row 2: (WS) ch 1, turn, *sc, puff stitch in next* repeat from * to * across (45 (49) [53] {61} <65>)
Row 3: (RS) ch 1, turn, sc in each stitch across (45 (49) [53] {61} <65>)
Row 4: (WS) ch 1, turn, sc in first 2 stitches, *puff stitch in next, sc in next* repeat from * to * across to last 2 stitches, sc in last 2 stitches (45 (49) [53] {61} <65>)
Row 5: (RS) repeat row 3 (45 (49) [53] {61} <65>)
Repeat rows 2 – 5 to row 15 (19) [21] {25} <27> (or desired length)
Leave a long tail for sewing
Bring the sides together and whip stitch them together using the long starting tail. Weave in the end
Weave the second end in and out of the tops of the last row. Pull tight to cinch the top closed. Sew the top closed.
(how to sew the top closed photo tutorial HERE)
Fasten off, weave in your ends
Add a pom pom!
And you’re done!
Looking for more patterns? Follow me on Facebook, Instagram, and Pinterest! Please share a pic of your finished product with me. I’d love to see it!


Only registered users can comment.