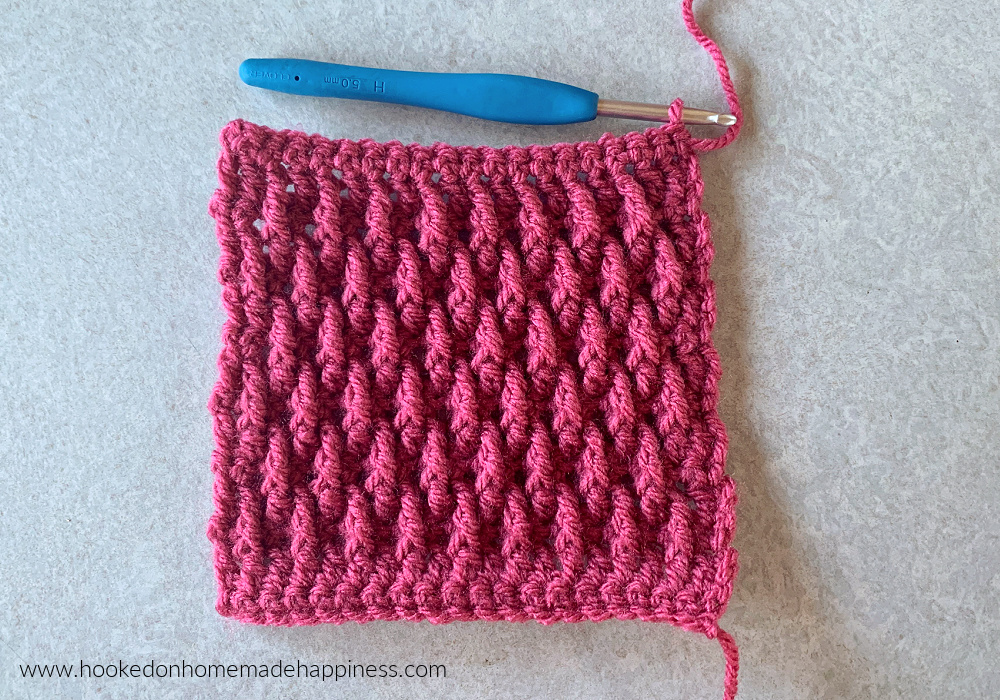
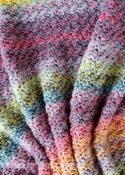
In this photo tutorial I am going to show you How to Crochet the Alpine Stitch! I love this textured stitch and the design it creates. I’ve used this stitch in some of my designs like the Daytrip Cinch Backpack and the Pinetop Beanie.
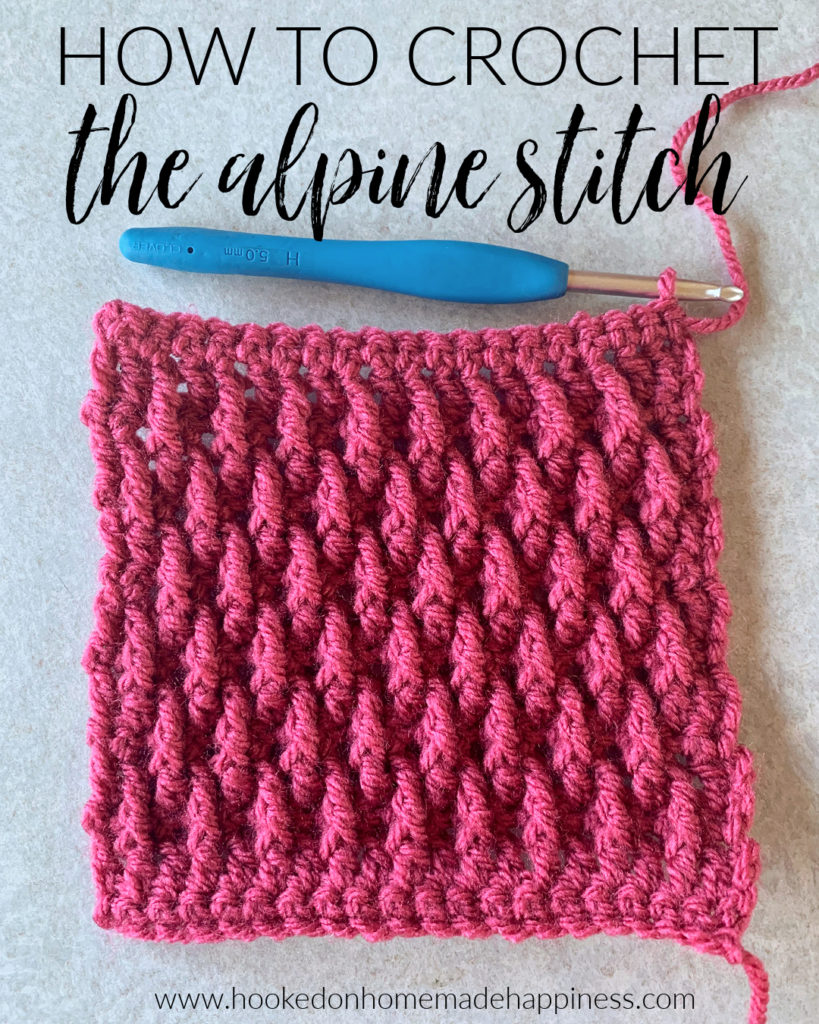
How to Crochet the Alpine Stitch
– PIN for later HERE
Materials
worsted weight yarn
H/5.0 mm hook
yarn needle
scissors
Level
intermediate
Pattern Notes & Stitches to Know
ch – chain
sc – single crochet
dc – double crochet
tr – treble crochet
fptr – front post treble crochet
rs – right side
ws – wrong side
– written in US terms
– ch 1 does not count as sc
– ch 2 does not count as dc
– This stitch does curl in the corners naturally. Blocking and/or a border can help with this.
– Any weight yarn can be used for this stitch. Adjust the hook size accordingly.
ALPINE STITCH
ch any even number (for this swatch I chained 20)
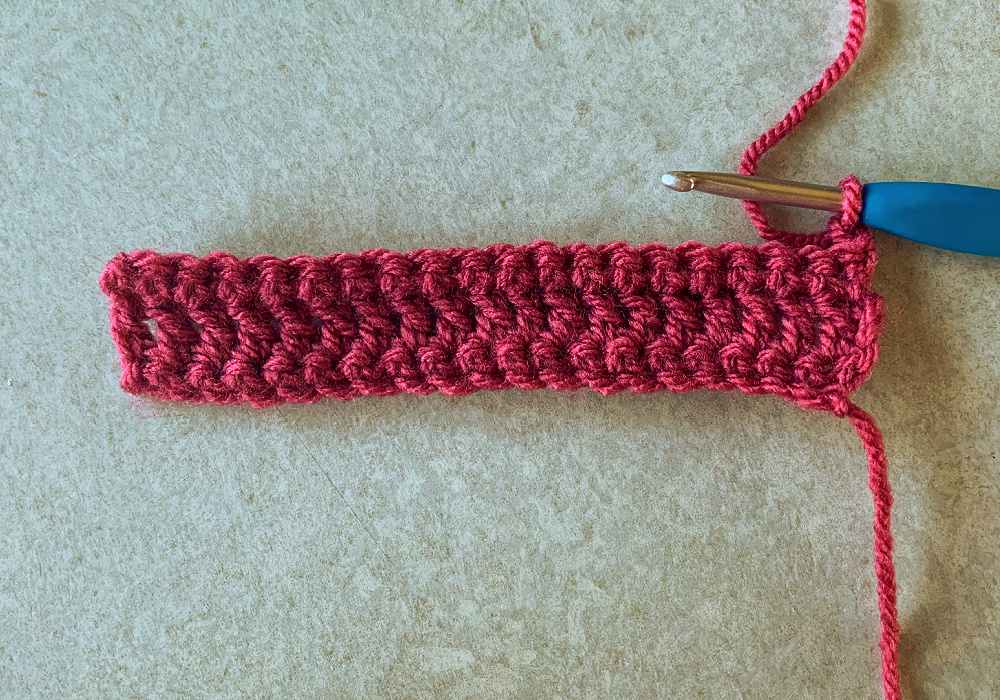
Row 1 (ws): sc in 2nd ch from the hook and across
Row 2 (rs): ch 2, turn, dc in each stitch across
Row 3 (ws): ch 1, turn, sc in each stitch across
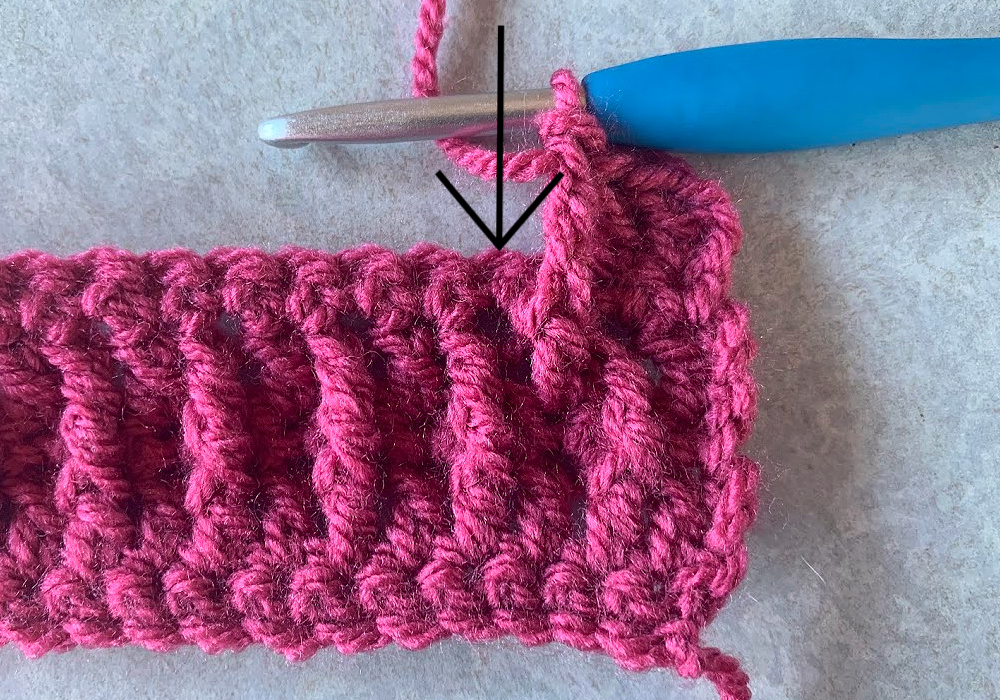
Row 4 (rs): ch 2, turn, dc in first stitch,
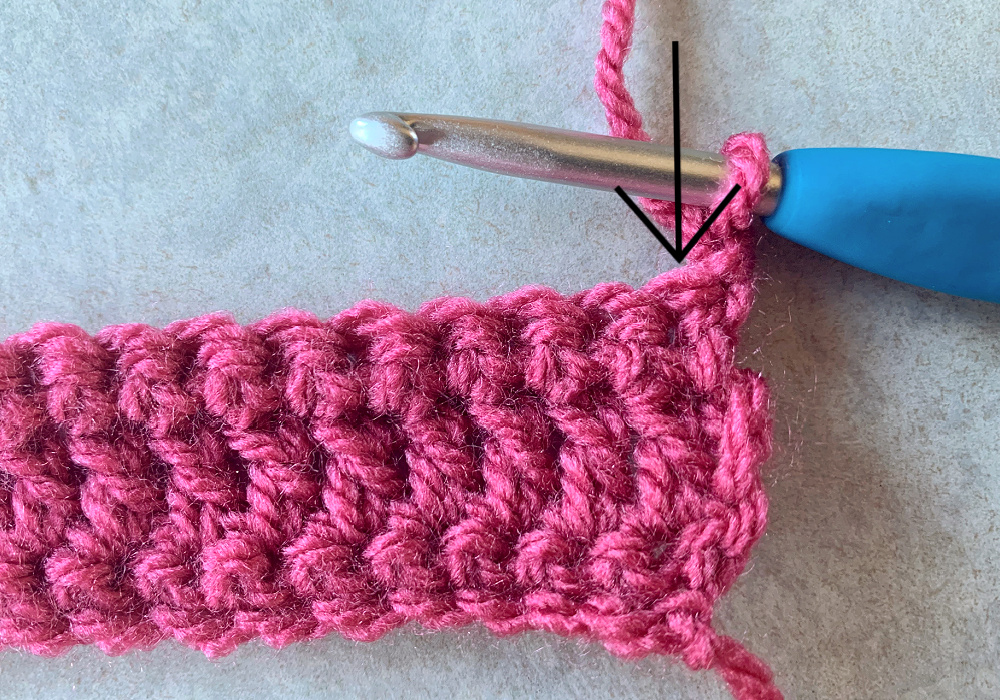
*fptr in the dc in the row below the next stitch,
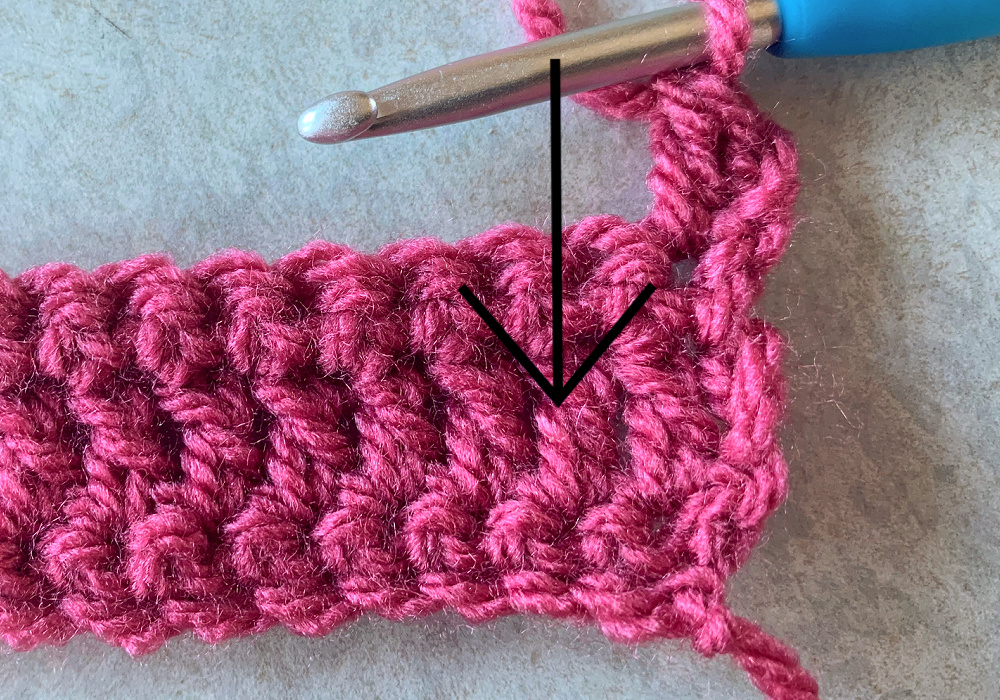
dc in next sc*
repeat from * to * across
Row 5 (ws): ch 1, turn, sc in each stitch across
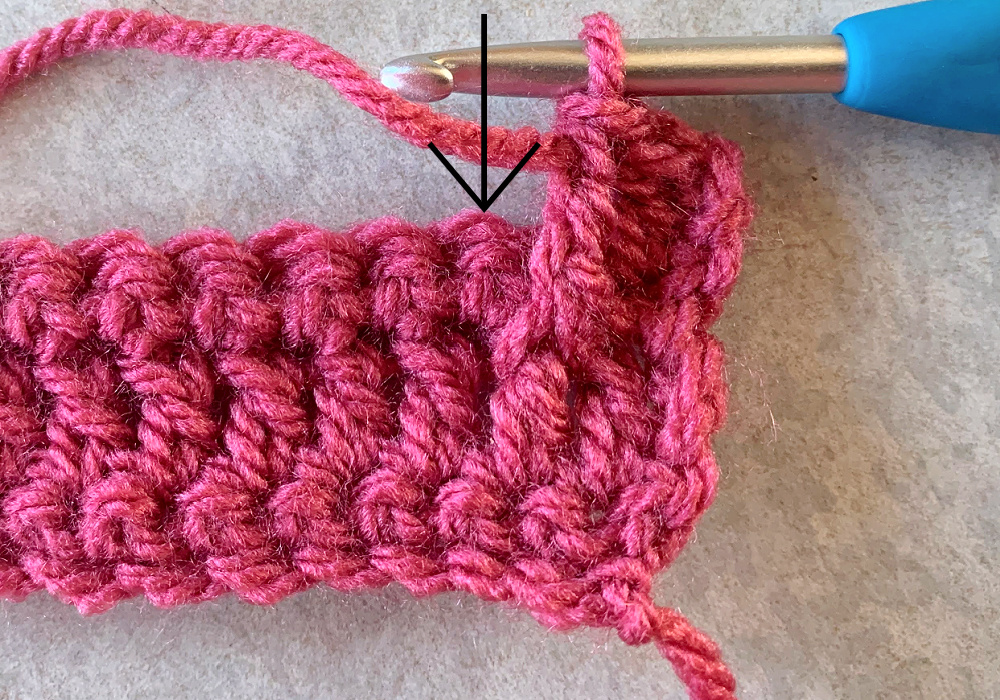
Row 6 (rs): ch 2, turn, dc in first 2 stitches, *fptr in the dc in the row below the next stitch,
dc in next sc*
repeat from * to * across to the last stitch, dc in last stitch
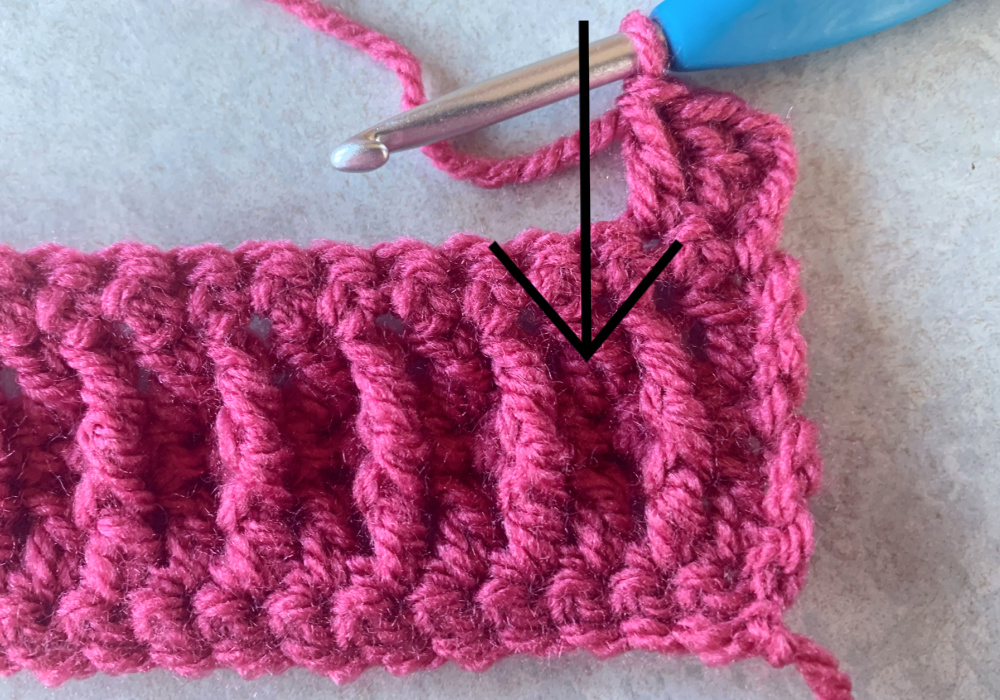
Row 7 (ws): ch 1, turn, sc in each stitch across
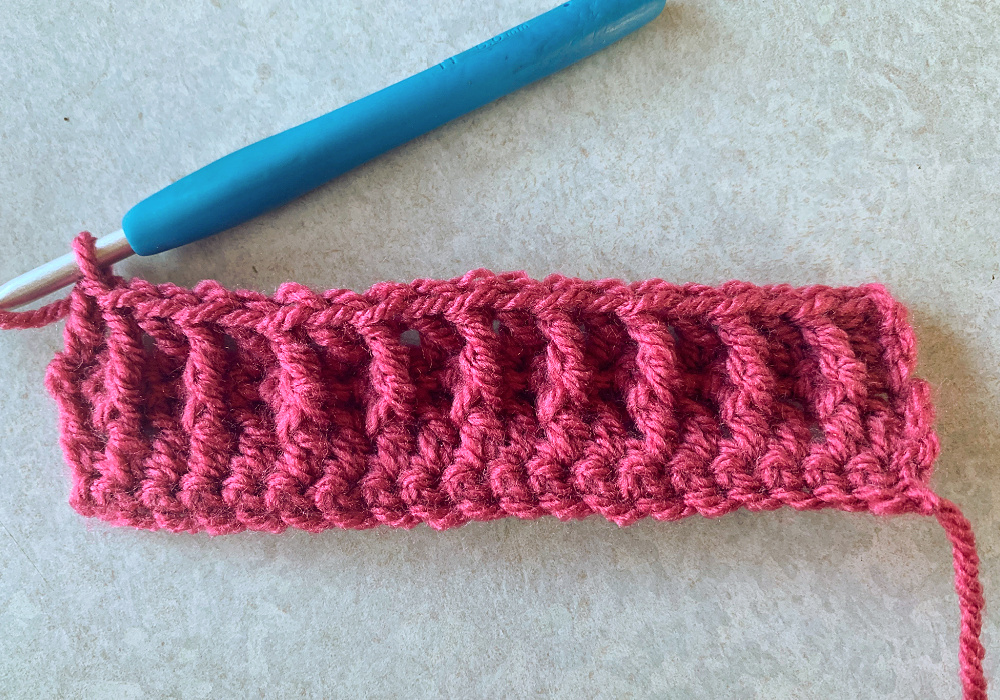
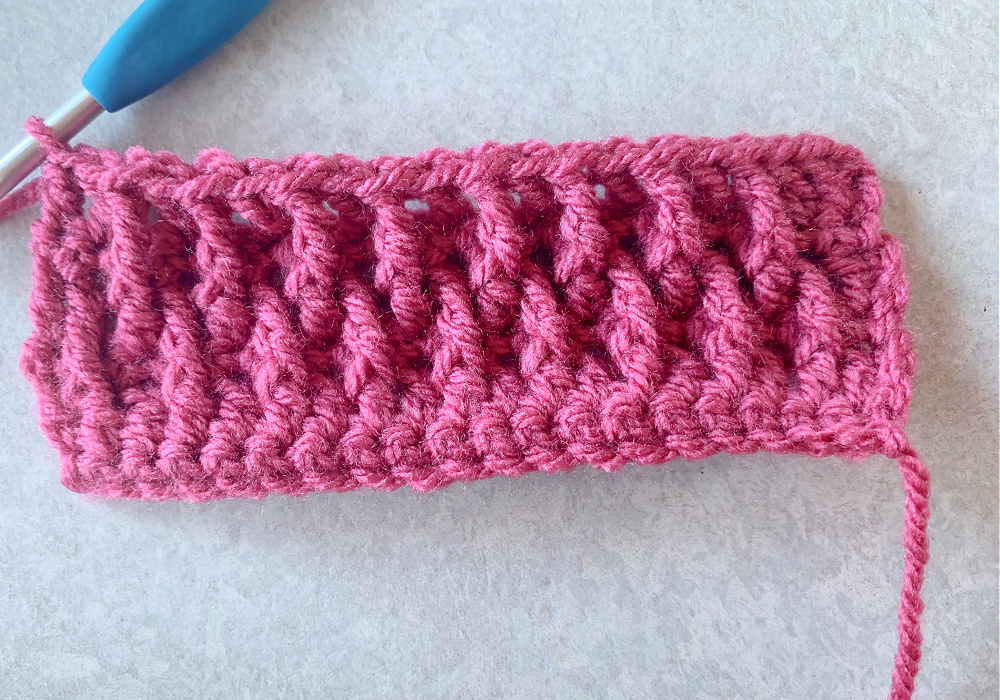
Repeat rows 4 – 7 for pattern. End with a sc row.
And that’s all there is to it! I hope you love this stitch!
Looking for more patterns? Follow me on Facebook, Instagram, and Pinterest! Please share a pic of your finished product with me. I’d love to see it!


Only registered users can comment.