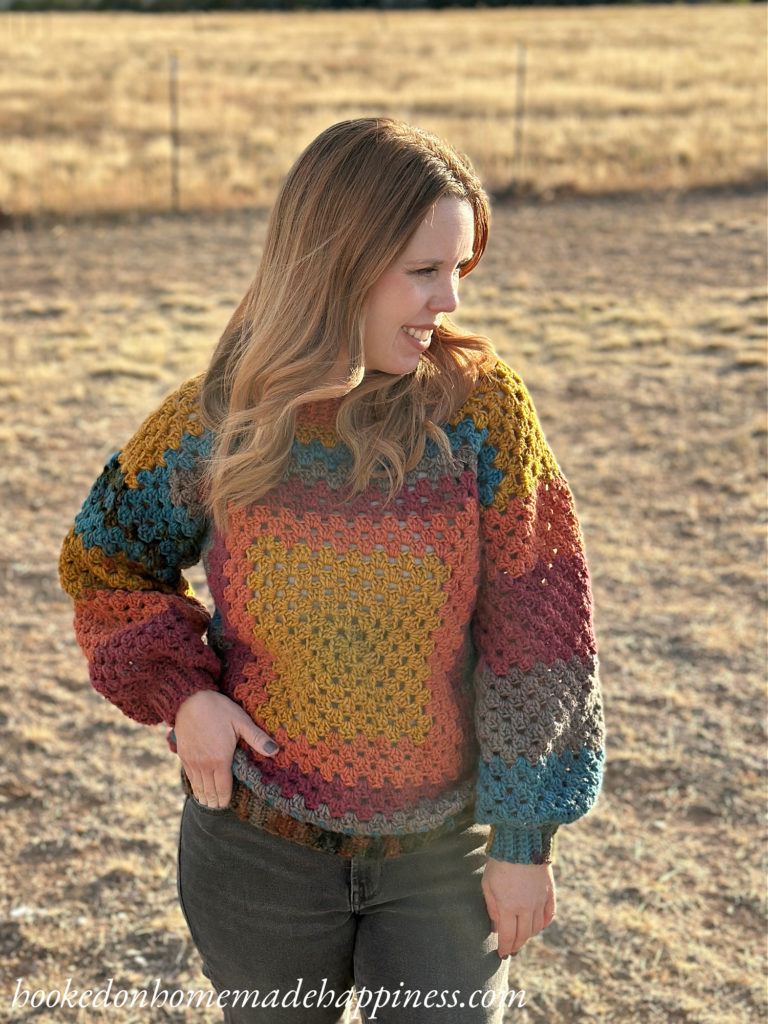
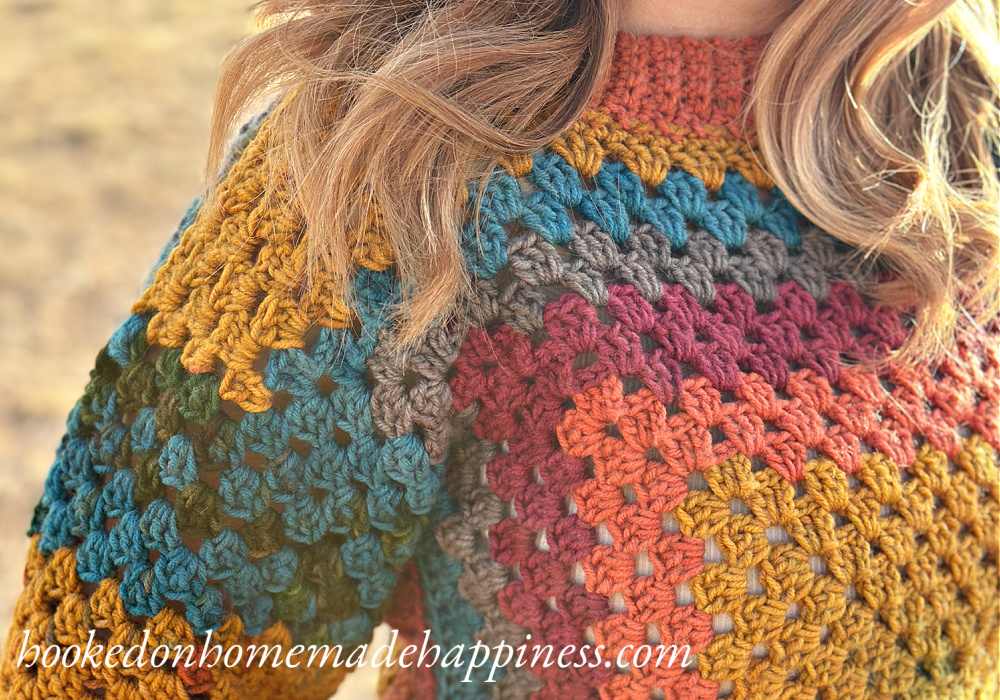
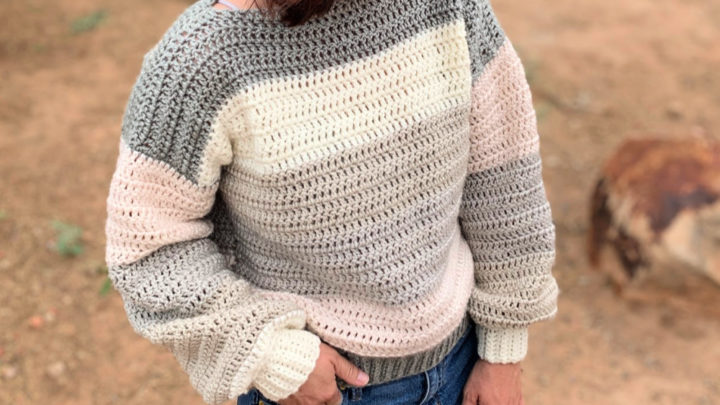
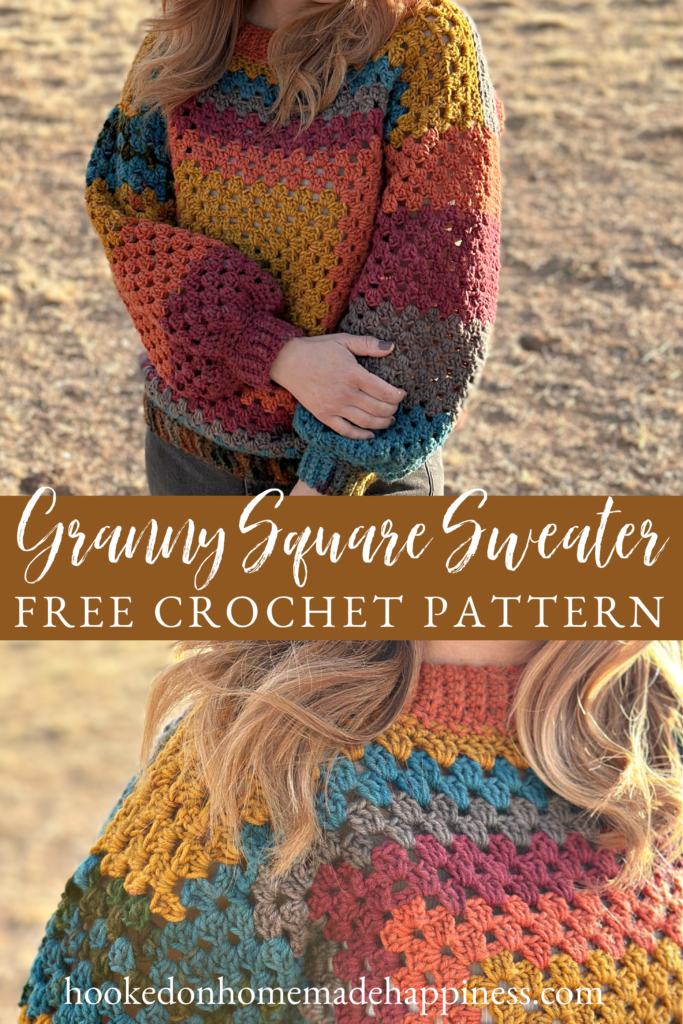
As the weather starts to cool and the leaves begin to change, there’s nothing cozier than snuggling up in a warm sweater. And what better way to stay stylish and comfortable than with a hand-crocheted Granny Square Sweater? Whether you’re a seasoned crochet pro or just starting out, this classic pattern is a must-have in every wardrobe. With its easy design and endless color combinations, the Granny Square Sweater is a timeless piece that can be adapted to any style. The Granny Square Sweater Crochet Pattern starts with just 2 basic granny squares, plus a little bit of shaping, sleeves, and ribbing details.
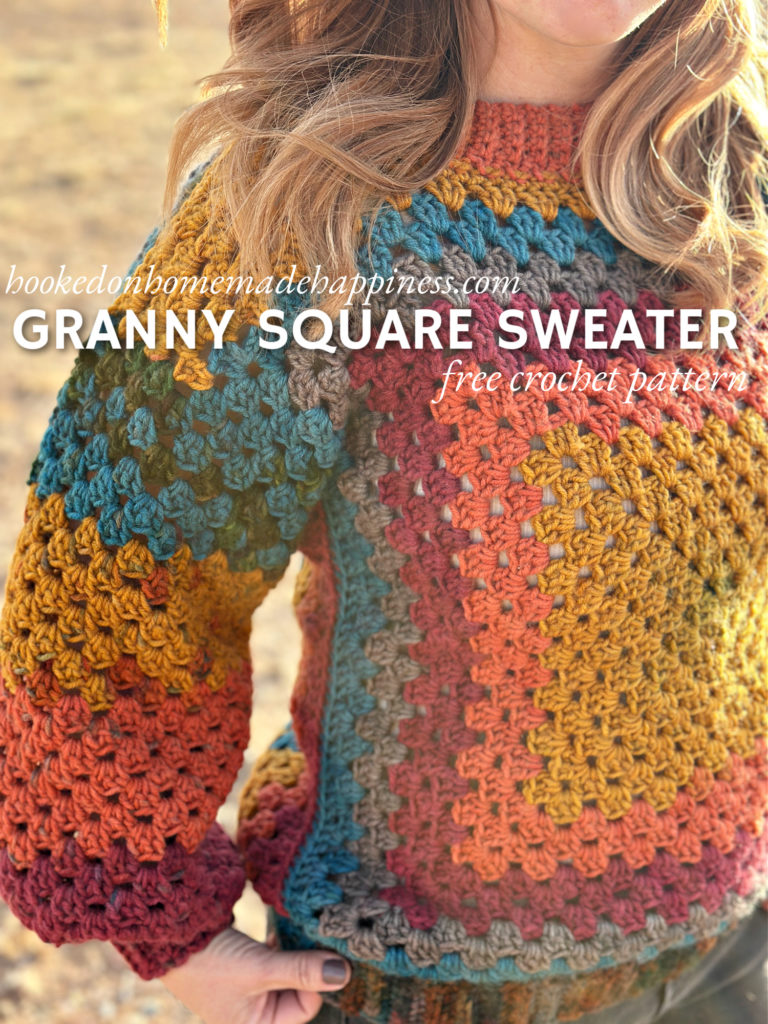
Let’s talk yarn! I used Caron Big Cakes, which eliminates the ends to weave in and the need to create a color palette. For this sweater (size S) I used 2 Caron Big Cakes. Any worsted weight yarn will work for this pattern. I love using self-striping yarn for projects like this. Self-striping yarn, as its name suggests, automatically creates stripes when crocheted. It comes packaged with different colors spun together in a single ball or skein. Each shade runs a certain length before transitioning to the next, thus forming stripes in the finished crochet work.
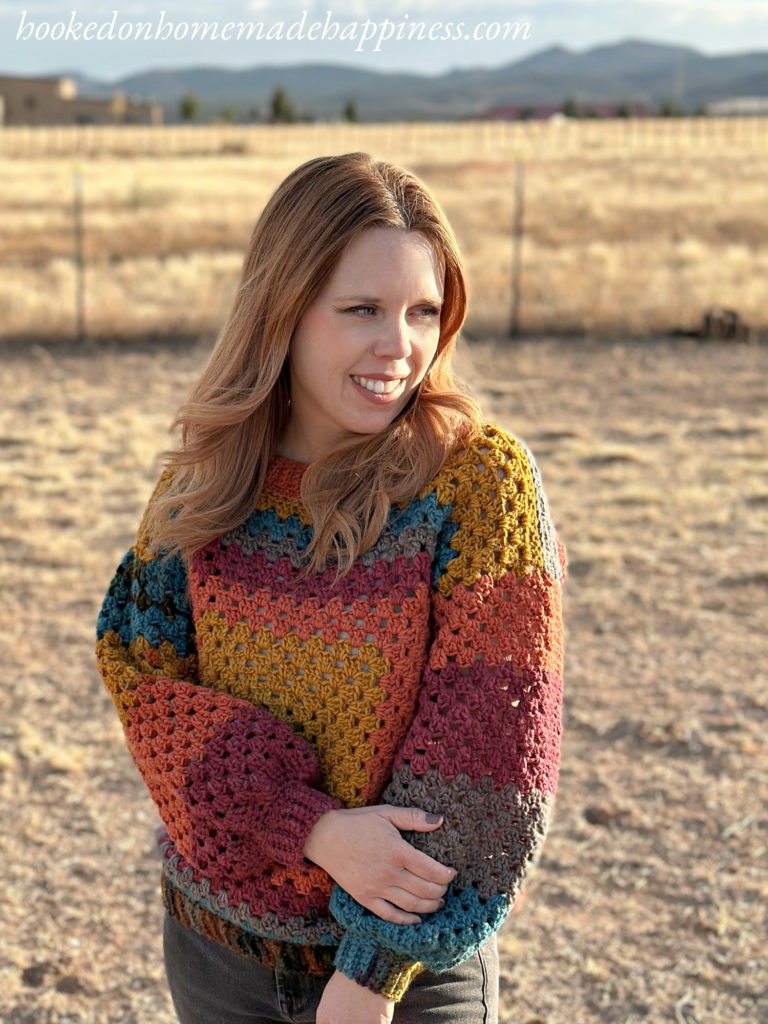
Reasons to try self-striping yarn:
- Saves time and effort – Instead of manually changing colors by attaching new strands of yarn, self-striping yarn does the job for you. This drastically reduces the time spent on color transitions, also minimizing the number of yarn tails to weave in at the end of the project.
- Offers a variety of colors – Self-striping yarn is available in a plethora of color combinations. It can elevate your crochet projects by incorporating multiple hues that blend seamlessly into one another, thus creating an interesting visual appeal.
- Enhances creativity – Using self-striping yarn sparks innovation. It is exciting to witness how different colorations emerge and intermingle. This spontaneous display of colors can result in unique and surprising patterns, adding an element of wonder to your crochet journey.
- Eliminates color matching dilemmas – Picking the right color combinations can be tricky. Self-striping yarn takes away those concerns by providing pre-matched color palettes, minimizing the risk of color clashes.
- Convenient for beginners –For those new to crocheting, using self-striping yarn is a great starting point. It allows them to focus on mastering the stitches without worrying about the intricacy of color transitions.
click here to pin the pattern for later >>>
Granny Square Sweater Crochet Pattern
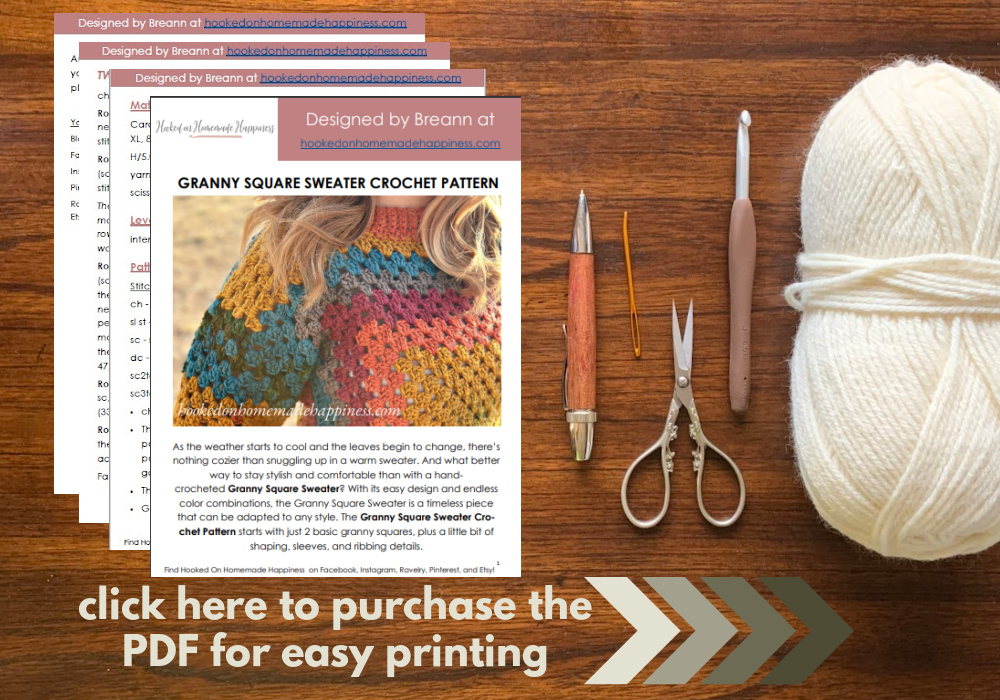
Get the free pattern below or purchase the ad-free, printable PDF in my Ravelry Shop
PIN for later HERE
Add to your Ravelry Queue HERE
Materials
Caron Big Cakes (2 skeins for S, 3 skeins for M/L/XL, 4 skeins for 2X/3X)
I/5.5mm hook
Yarn needle
Scissors
Level
advanced beginner/intermediate
Pattern notes & stitches to know
sl st – slip stitch
ch – chain
dc – double crochet
sc – single crochet
blo – back loop only
· written in US terms
· ch 1 does not count as sc
· ch 3 counts as dc
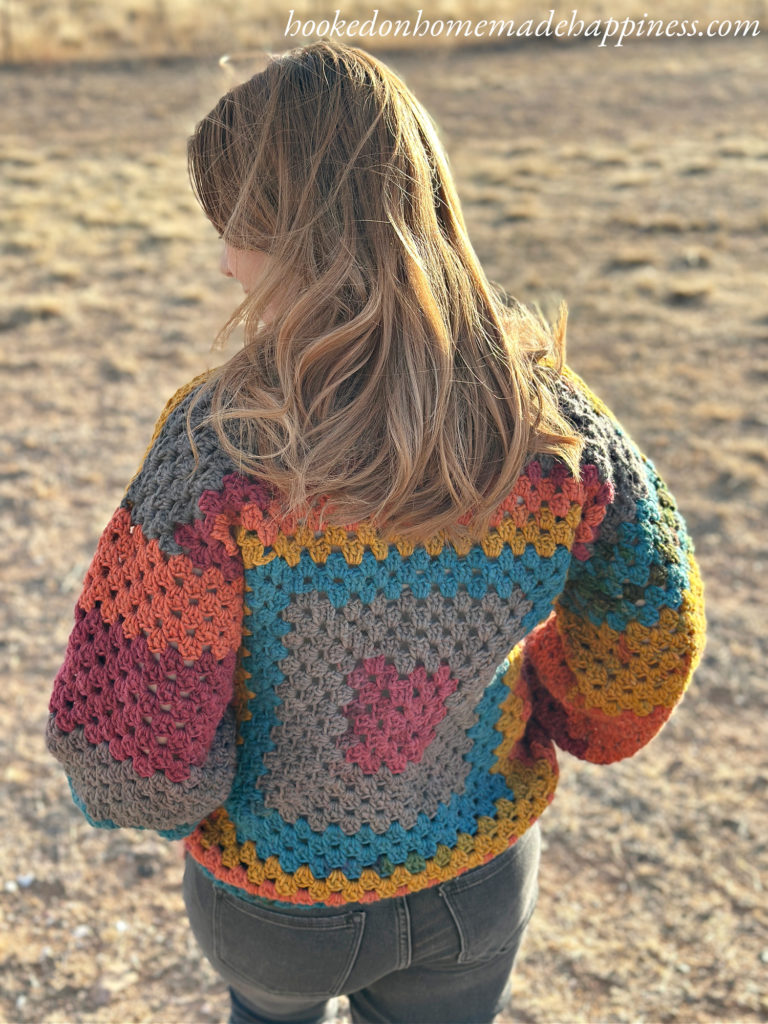
· This sweater is made with 2 granny squares (with some shaping around the neckline) sewn together. Then the collar, sleeves, and ribbing is added.
· Gauge: 3 rounds of granny square = 4” x 4”
Sizes:
(S, M, L) (XL, 2X, 3X) – The pattern is written in these sizes consecutively. Example, when the pattern gives the end of row count ((216, 240, 264) (288, 312, 336) dc) the 216 is for S, 240 is M, 264 is L, 288 is XL, 312 is 2X, 336 is 3X.
This top is loose fitting with some (approx. 4”) ease.
Approx Finished Size:
Bust: S (38”) M (42”) L (46”) XL (50”) 2X (54”) 3X (58”)
Length: S (23”) M (23”) L (26.5”) XL (26.5”) 2X (30”) 3X (30”)
Armhole: S (8”) M (8.5”) L (9”) XL (9.5”) 2X (10”) 3X (10.5”)
Sleeve (measured from neckline): S (24”) M (24.5”) L (25”) XL (25.5”) 2X (26”) 3X (26.5”)
Size Small pictured. I am 5’0” with 34” bust
GRANNY SQUARE SWEATER CROCHET PATTERN
FRONT
Ch 4, join to first ch with sl st to make a circle
Round 1: ch 3, (working in the circle), 2 dc, ch 2, 3 dc, ch 2, 3 dc, ch 2, 3 dc, ch 2, join to first dc with sl st (12 dc)
Round 2: sl st to ch-2 space, ch 3, (2 dc, ch 2, 3 dc) in ch-2 space, (3 dc, ch 2, 3 dc) in each ch-2 space around, join to first dc with sl st (24 dc)
Round 3: sl st to ch-2 space, ch 3, (2 dc, ch 2, 3 dc) in ch-2 space, 3 dc in space between the 3 dc groups, (3 dc, ch 2, 3 dc) in ch-2 space, 3 dc between the 3 dc groups* repeat from * to * around, join to first dc with sl st (36 dc)
Round 4: sl st to ch-2 space, ch 3, (2 dc, ch 2, 3 dc) in ch-2 space, 3 dc in space between the 3 dc groups across to ch-2 space, (3 dc, ch 2, 3 dc) in ch-2 space, 3 dc between the 3 dc groups across to ch-2 space* repeat from * to * around, join to first dc with sl st (48 dc)
Round 5 – (18, 20, 22) (24, 26, 28): repeat round 4 (each round will increase by 12 stitches) ((216, 240, 264) (288, 312, 336) dc)
Fasten off.
NECKLINE
With right side facing up, rejoin yarn to the top right corner ch-2 space.

Row 1: ch 3, dc in same space, [3 dc in space between the 3 dc groups] ((x4, x5, x6) (x7, x8, x9)), 2 dc in next space ((16, 19, 22) (25, 28, 31) dc)
Row 2: ch 3, turn, 3 dc in space between the 3 dc groups across, dc in last stitch ((17, 20, 23) (26, 29, 32) dc)
Row 3: ch 3, dc in same space, 3 dc in space between the 3 dc groups across, 2 dc in last stitch ((16, 19, 22) (25, 28, 31) dc)
Row 4 – (6, 6, 7) (7, 8, 8): repeat rows 2 & 3
Fasten off. Leave a long end for sewing.
Rejoin yarn (6, 7, 8) (9, 10, 11) spaces in from the left.

Row 1: ch 3, dc in same space, 3 dc in space between the 3 dc groups across, 2 dc in last ch-2 space ((16, 19, 22) (25, 28, 31) dc)
Row 2: ch 3, turn, 3 dc in space between the 3 dc groups across, dc in last stitch ((17, 20, 23) (26, 29, 32) dc)
Row 3: ch 3, dc in same space, 3 dc in space between the 3 dc groups across, 2 dc in last stitch ((16, 19, 22) (25, 28, 31) dc)
Row 4 – (6, 6, 7) (7, 8, 8): repeat rows 2 & 3, ending with a row 2 repeat
Fasten off. Leave a long end for sewing.
COLLAR
Rejoin yarn to top right corner of the neckline.

Ch 1, sc evenly around the neckline.

APPLIED RIBBING
ch 7
Row 1: sc in 2nd ch from the hook and in each ch across, sl st to the collar (6 sc)
Row 2: sl st to the next stitch of collar, turn, sc in first stitch, sc blo in next 4, sc in last stitch (6)
Row 3: ch 1, turn, sc in first stitch, sc blo in next 4, sc in last, sl st to next stitch of collar (6)
Repeat row 2 & 3 until you work all the way across the collar.
Fasten off, weave in the ends.
BACK
Ch 4, join to first ch with sl st to make a circle
Round 1: ch 3, (working in the circle), 2 dc, ch 2, 3 dc, ch 2, 3 dc, ch 2, 3 dc, ch 2, join to first dc with sl st (12 dc)
Round 2: sl st to ch-2 space, ch 2, (2 dc, ch 2, 3 dc) in ch-2 space, (3 dc, ch 2, 3 dc) in each ch-2 space around, join to first dc with sl st (24 dc)
Round 3: sl st to ch-2 space, ch 3, (2 dc, ch 2, 3 dc) in ch-2 space, 3 dc in space between the 3 dc groups, (3 dc, ch 2, 3 dc) in ch-2 space, 3 dc between the 3 dc groups* repeat from * to * around, join to first dc with sl st (36 dc)
Round 4: sl st to ch-2 space, ch 3, (2 dc, ch 2, 3 dc) in ch-2 space, 3 dc in space between the 3 dc groups across to ch-2 space, (3 dc, ch 2, 3 dc) in ch-2 space, 3 dc between the 3 dc groups across to ch-2 space* repeat from * to * around, join to first dc with sl st (48 dc)
Round 5 – (18, 20, 22) (24, 26, 28): repeat round 4 (each round will increase by 12 stitches) ((216, 240, 264) (288, 312, 336) dc)
Fasten off.
With right side facing up, rejoin yarn to the top right corner ch-2 space.
Row 1: ch 3, dc in same space, 3 dc in space between the 3 dc groups across, 2 dc in last stitch ((55, 61, 67) (73, 79, 85) dc)
Row 2: ch 3, turn, 3 dc in space between the 3 dc groups across, dc in last stitch ((56, 62, 68) (74, 80, 86) dc)
Row 3: ch 3, dc in same space, 3 dc in space between the 3 dc groups across, 2 dc in last stitch ((55, 61, 67) (73, 79, 85) dc)
Row 4 – 6: repeat rows 2 & 3, ending with a row 2 repeat
Fasten off. Leave a long end for sewing.
SEWING
With the wrong size facing out, lay the front on top of the back.
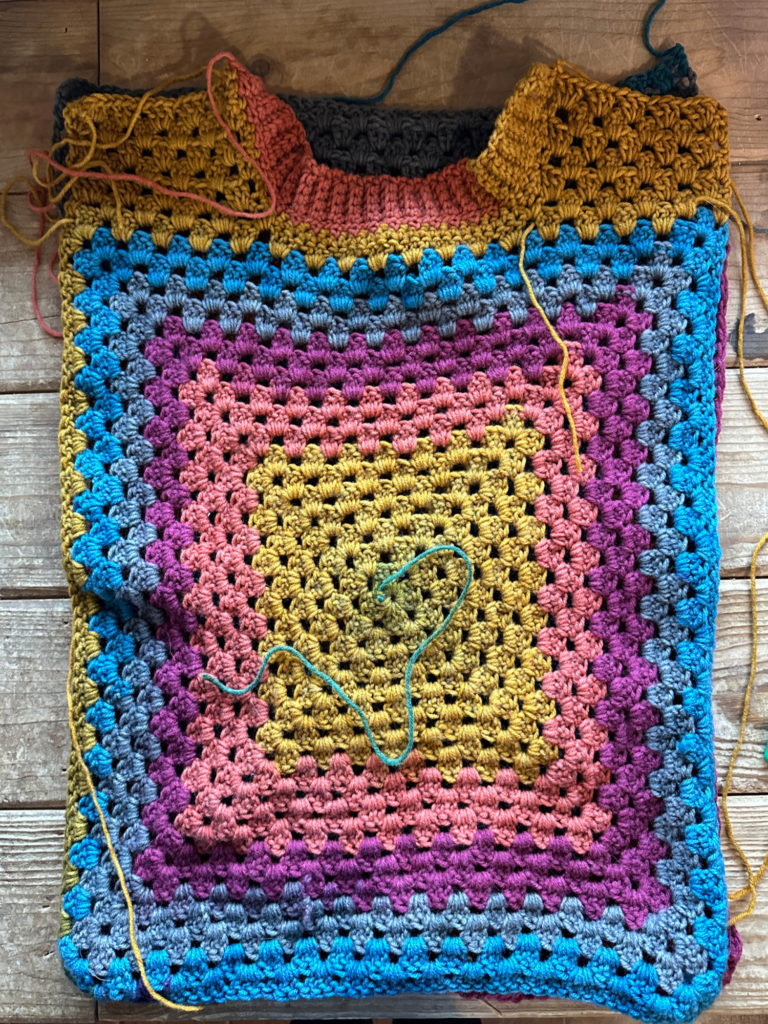
Using the long ends, whip stitch the shoulders closed. Then using the long ends, whip stitch the sides closed leaving an (8”, 8.5”, 9”) (9.5”, 10”, 10.5”) gap for the armhole.
Fasten off. Weave in the ends. Turn right side out.
SLEEVES
Join yarn to the seam at the bottom of an armhole
Round 1: ch 3, 3 dc in each space between 3 dc to top of front square, 3 dc in the end of every other row to top of sweater and along back of sweater to the top of the square, 3 dc in each remaining spaces between 3 dc, join to ch 3 with sl st
Round 2: ch 3, 3 dc in between each 3 dc group around, 3 dc in last space before ch 3, join to ch 3 with sl st
Round 3: ch 3, 3 dc in first space after ch 3, 3 dc in between each 3 dc group around, join to first ch 3 with sl st
Round 4 – (28, 29, 30) (31, 32, 33): repeat rounds 2 & 3
Round (29, 30, 31) (32, 33, 34): ch 1, sc in each stitch around, join to first sc with sl st
Round (30, 31, 32) (33, 34, 35): ch 1, sc2tog around, join to first sc with sl st
Round (31, 32, 33) (34, 35, 36): ch 1, sc in each stitch around, join to first sc with sl st
CUFF – APPLIED RIBBING
ch 7
Row 1: sc in 2nd ch from the hook and in each ch across, sl st to the sleeve (6 sc)
Row 2: sl st to the next stitch of sleeve, turn, sc in first stitch, sc blo in next 4, sc in last stitch (6)
Row 3: ch 1, turn, sc in first stitch, sc blo in next 4, sc in last, sl st to next stitch of sleeve (6)
Repeat row 2 & 3 until you work all the way around the sleeve. Sl st sleeve closed.
Fasten off, weave in the ends.
BOTTOM RIBBING – APPLIED RIBBING
Join yarn to bottom corner of sweater. ch 1, sc in each stitch around, join to first sc with sl st
ch 7
Row 1: sc in 2nd ch from the hook and in each ch across, sl st to the sweater (6 sc)
Row 2: sl st to the next stitch of bottom of sweater, turn, sc in first stitch, sc blo in next 4, sc in last stitch (6)
Row 3: ch 1, turn, sc in first stitch, sc blo in next 4, sc in last, sl st to next stitch of bottom of sweater (6)
Repeat row 2 & 3 until you work all the way around the bottom.
Fasten off. Weave in the ends.
Looking for more patterns? Follow me on Facebook, Instagram, and Pinterest! Please share a pic of your finished product with me. I’d love to see it!



Is there ribbing on the back of the neck also? or just the front? I’m looking forward to making this sweater!!
Hi! No, the ribbing is just on the front panel 🙂
Breann, I love this pattern! You are so talented! I have a quick question: I’m making an XL. On the neckline row 4-7, I’m supposed to alternate rows 2 and 3 and end on a row 2. Do I make both 6 and 7 be row 2 repeats, or do I add a row 8 to be a row 2 repeat? (I hope I’m making sense!)
No, just end with the row 3 repeat. Sorry about that!
Hi. I am really enjoying making this sweater to gift. My only issue is the ribbing around the collar. Mine looks goofy, when I zoom into your picture it looks like the ribbing stitches decrease at the top and I’m so confused with mine
Hi! Can you send me a picture? hookedonhomemadehappiness@gmail.com
Mine does not decrease at the top. When it’s laying flat, it does bunch a little. But when worn, it will stretch and lay flat 🙂
I wanted to update you. I figured out how I was over crocheting the collar ribbing, I’m almost done with the sweater. Thanks for your help and the pattern, ofcourse.
Awesome! Glad you figured it out!
Thank you for sharing the true Christmas story through Bible verses and for freely sharing your pattern
Merry Christmas 🙂
Do the sleeves taper or are they straight down to the sc near the cuff? Should I have the same number of clusters in every round? I’m confused on rounds 2 and 3 on the sleeves. Is the chain 3 part of the 3dc cluster or does it make it like a 4dc cluster in round 3, or is the chain standalone in between clusters?
Hi! The sleeves are straight and do not taper until the decreases around the cuff. Yes you should have the same number of clusters in each round. The chain is standalone. It will alternate between being next to a cluster and away each round.
I want my ribbing to go around the entire neckline. Do you think it would be ok to add the same ribbing pattern to the back or should I simply not add ribbing to the front and instead, do the ribbing around the neckline after sewing the shoulder seam? I love all your patterns and have made the cafe au lait cardigan at least 6 times. My granddaughters want a new one every winter in a different color.
Hi! I would not do the ribbing on the front panel and add the ribbing around the entire neckline after sewing 🙂
And thank you so much!