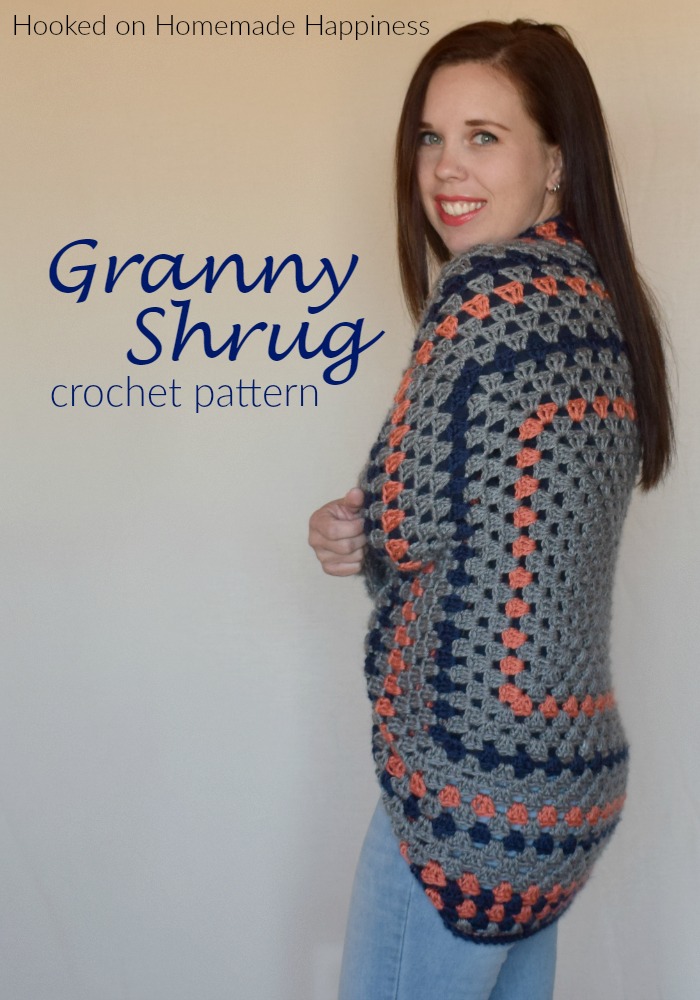
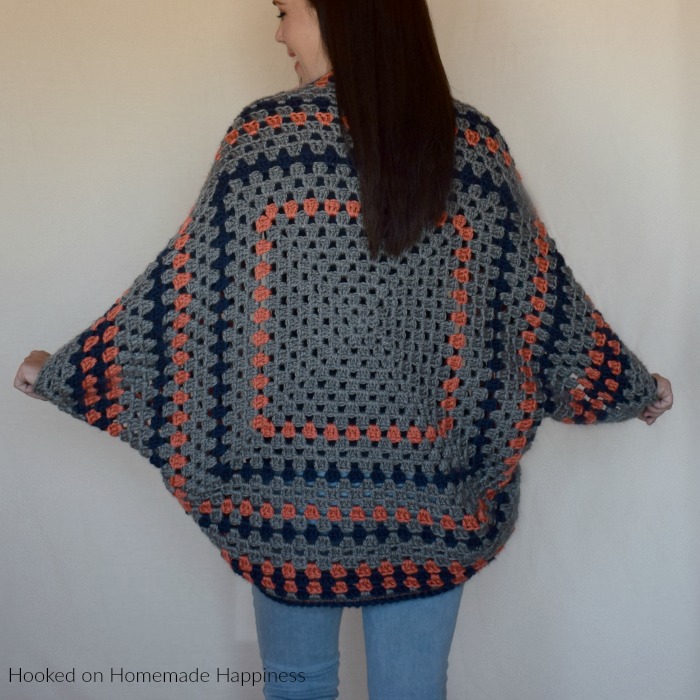
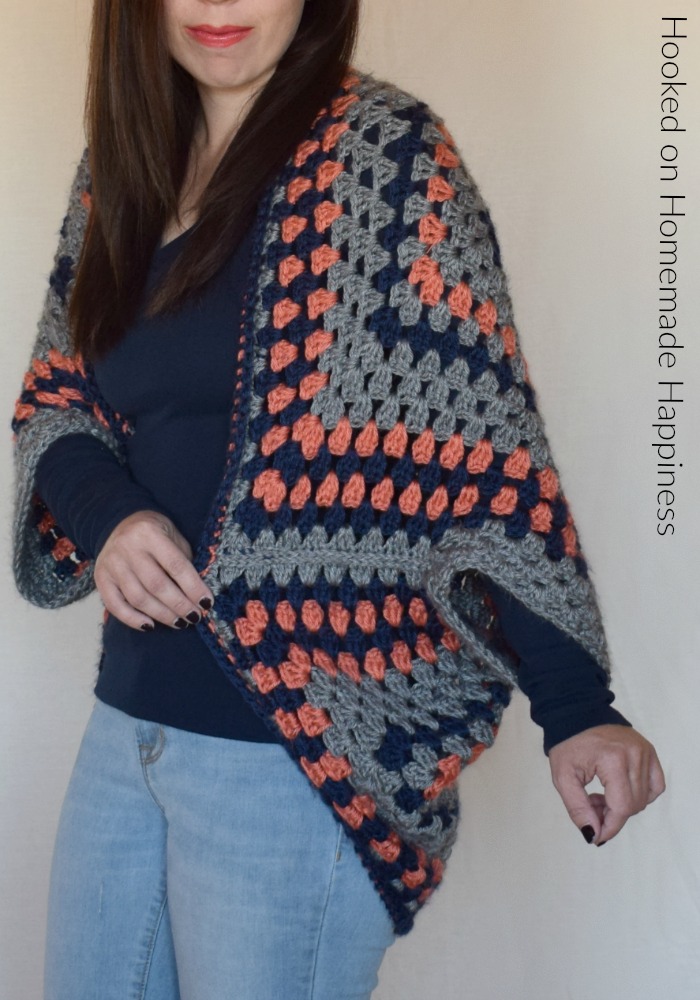
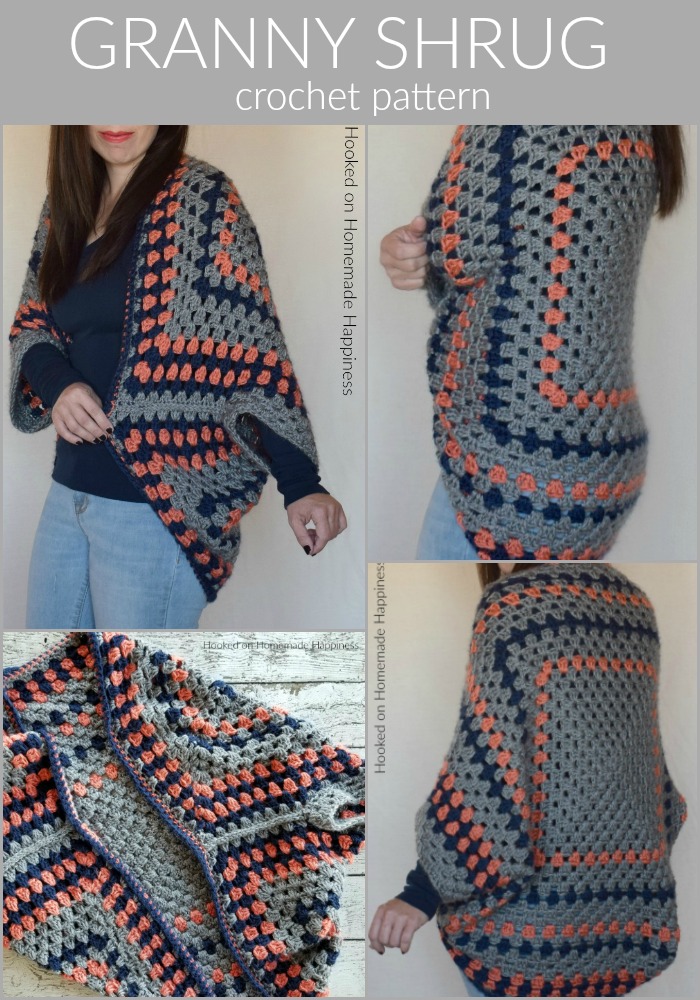
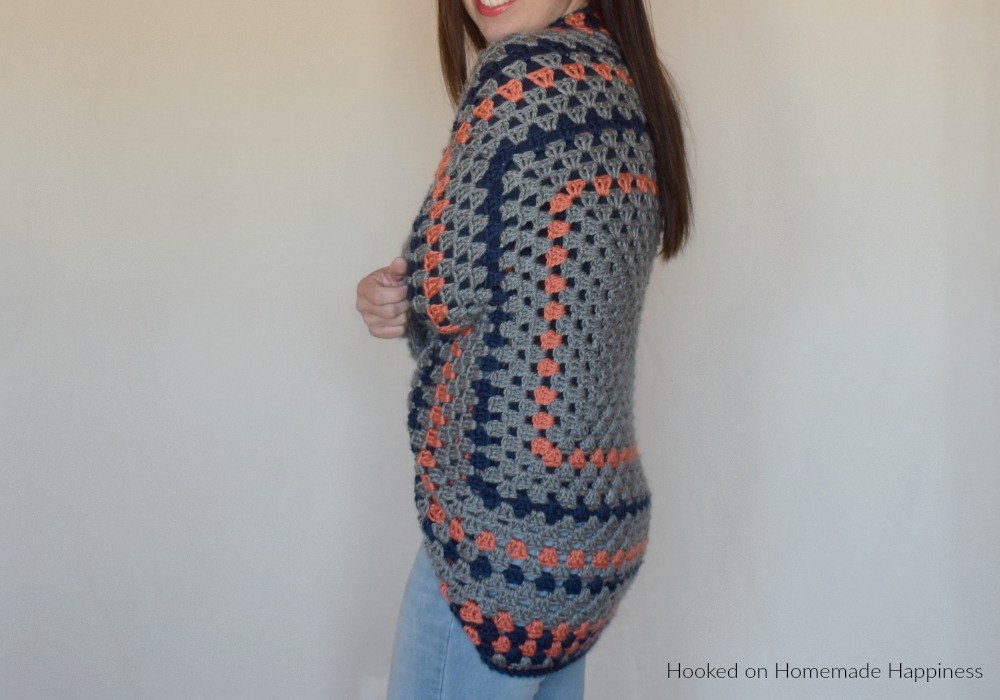
The Granny Shrug Crochet Pattern uses the classic granny square to make this cute and cozy sweater. Cocoon sweaters are a great beginner sweater because all it is is a square folded in half! So easy! If you know how to make a granny square, then you can definitely make this cute shrug.
More Homemade Happiness:

Cocoon Sweater // Simple Sweater // Everygirl Sweater
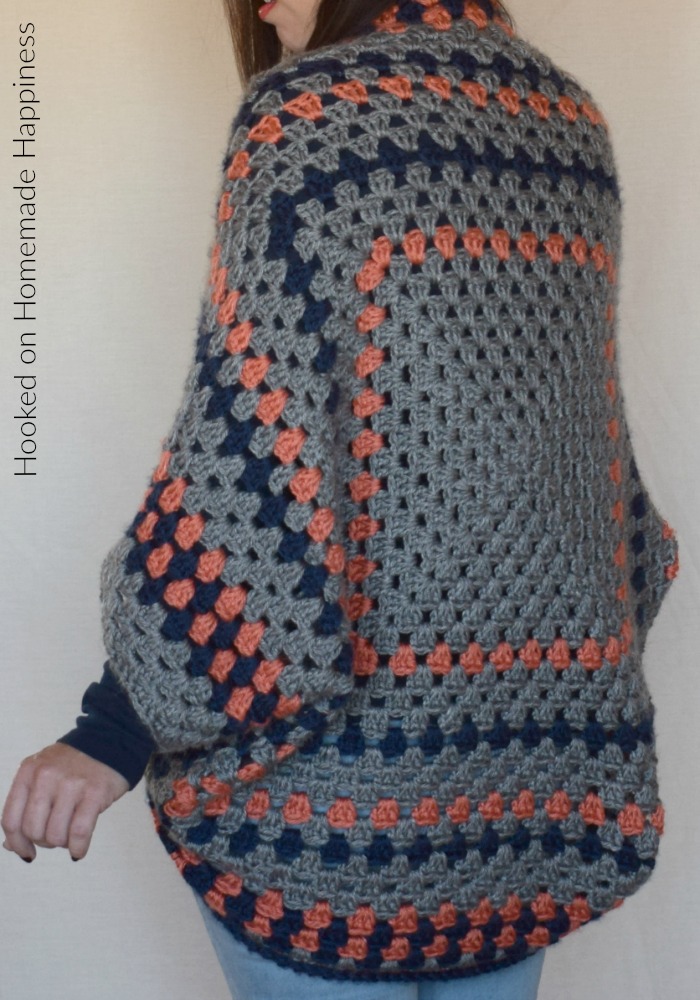
Granny Shrug Crochet Pattern
– PIN for later HERE
– Add to your Ravelry Queue HERE
Materials
Approx 1,600 yds worsted weight yarn (I used Caron Simply Soft in Soft Grey Heather (3 skeins), Dark Country Blue (1 skein), and Persimmon (1 skein))
H/5.0 mm hook
yarn needle
scissors
Level
easy (must be familiar with basic crochet stitches)
Pattern Notes & Stitches to Know
ch – chain
sl st – clip stitch
dc – double crochet
– Written in US terms
– Ch 3 COUNTS as dc
Color Pattern
(Gray = Color A, Orange = Color B, Blue = Color C)
Rounds 1 – 9: Color A
Round 10: Color B
Rounds 11 – 13: Color A
Round 14: Color C
Rounds 15 – 17: Color A
Round 18: Color B
Round 19: Color A
Round 20: Color C
Rounds 21 – 23: Color A
Round 24: Color B
Round 25: Color C
Round 26: Color B
Round 27: Color C
Round 28 – 31: Color A
Approximate Finished Square Size:
S/M: 37″ x 37″
L/XL: 43″ x 43″
GRANNY SHRUG
>Click Here< for a detailed photo tutorial for the Granny Square
ch 4, join to first ch with sl st to make a loop
Round 1: ch 3 (counts as dc), working in the ring, 2 dc, ch 3, 3 dc, ch 3, 3 dc, ch 3, 3 dc, ch 3, join to first ch 3 with sl st (12 dc)
Round 2: sl st in next 2 stitches so you’re working in the ch 3 space, (ch 3, 2 dc, ch 3, 3 dc) all in ch 3 space, *(3 dc, ch 3, 3 dc) all in next ch 3 space*, repeat from * to * around, join to first ch 3 with sl st (24 dc)
Round 3: sl st in next 2 stitches so you’re working in the first ch 3 space, (ch 3, 2 dc, ch 3, 3 dc) all in ch 3 space, 3 dc in the space between the 3 dc groups from previous row *(3 dc, ch 3, 3 dc) all in ch 3 space, 3 dc in between the 3 dc groups from the previous row* repeat from * to * around, join to first ch 3 with sl st (36 dc)
Round 4: sl st over the next 2 stitches, working in the first ch 3 space, (ch 3, 2 dc, ch 3, 3 dc) all in ch 3 space, 3 dc in each space between the 3 dc groups from the previous row across to the next ch 3 space, *(3 dc, ch 3, 3 dc) in ch 3 space, dc in each space between the 3 dc groups from the previous row across to the next ch 3 space* repeat from * to * around, join to first ch 3 with sl st (48 dc)
Repeat round 4 to
Round 28 for S/M
Round 31 for L/XL
Or until the preferred width
Fasten off, weave in the ends.
SEWING
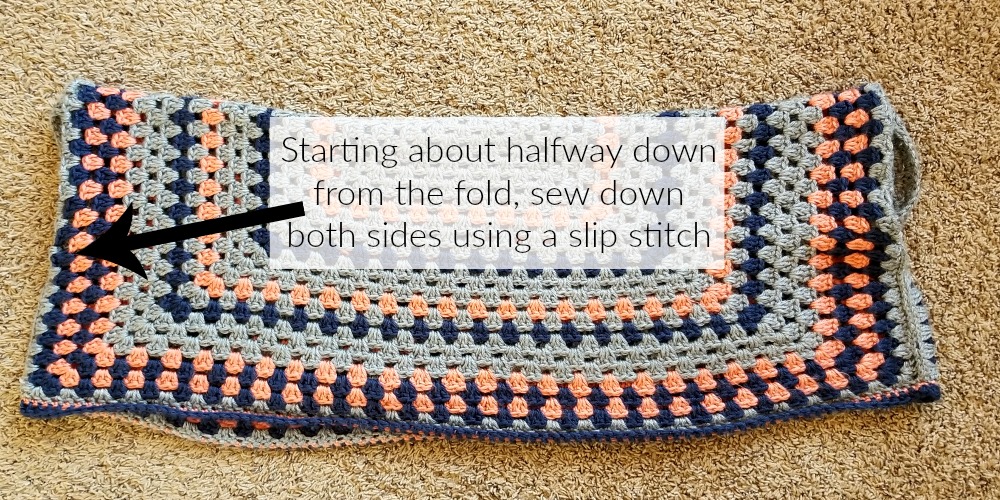
Starting about halfway down from the fold, sew down both sides using a slip stitch, making sure to line up the rows evenly. The unsewn spaces at the top are the armholes. Fasten off, weave in the ends.
After it’s sewn, pull the top and bottom so the arm seams are running horizontal through the middle. This is how you wear the piece, you can see that it’s looking more sweater-like! 🙂
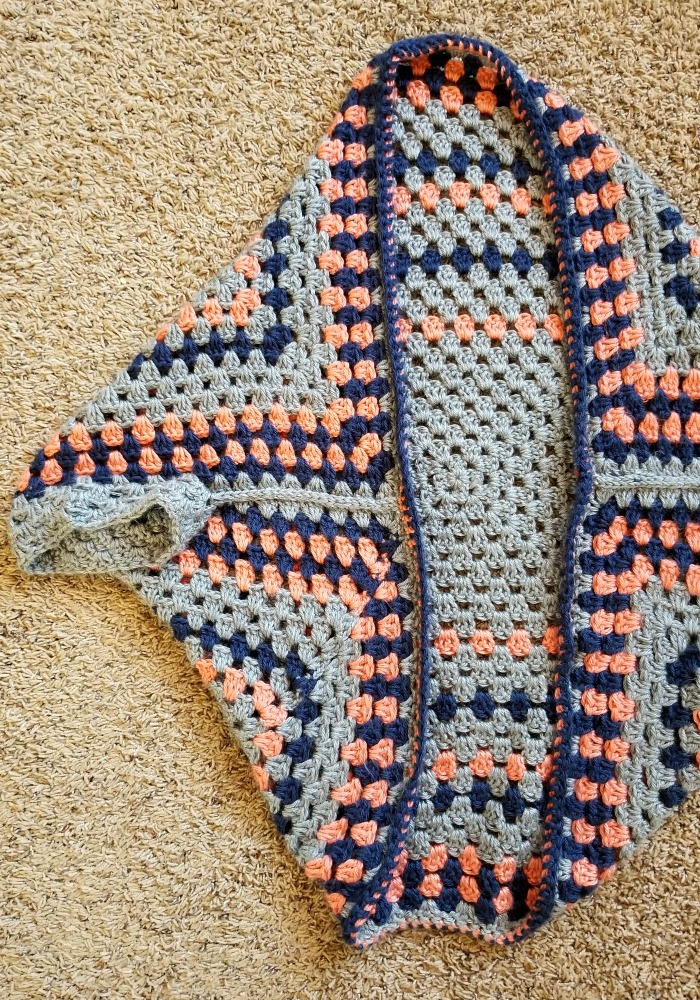
SLEEVES
Join Color A yarn to one of the armholes in a space between the 3 dc groups from the last round
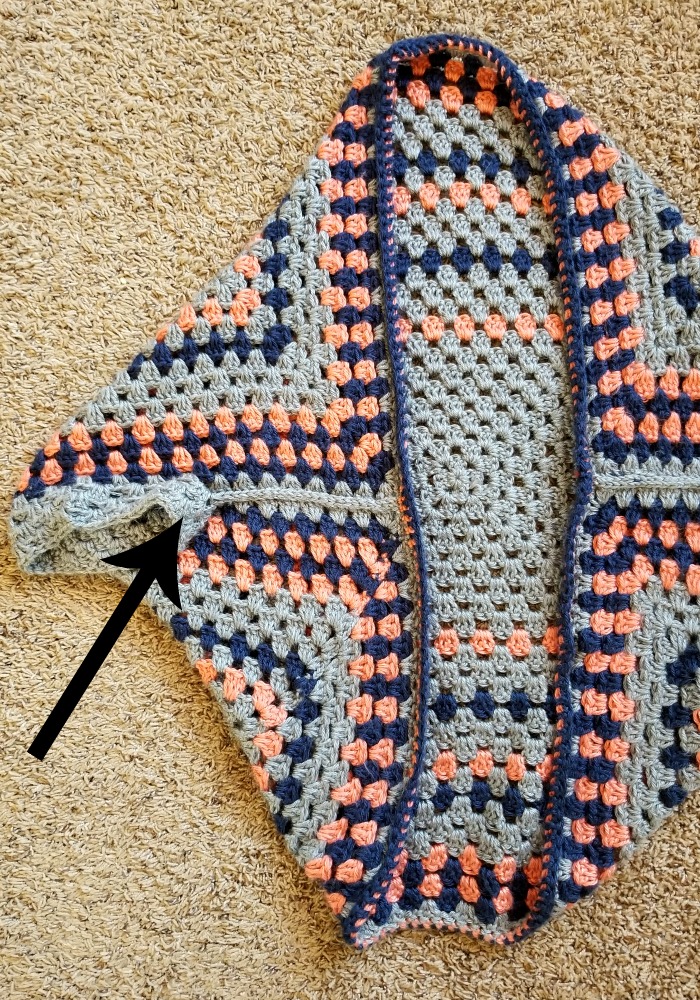
Round 1: ch 3, 2 dc in same space, 3 dc in each space between the 3 dc groups around, join to first ch 3 with sl st
Round 2: sl st over next 2 stitches to the next space between the 3 dc groups, ch 3, 2 dc in same space,
3 dc in each space between the 3 dc groups around, join to first ch 3 with sl st
Round 3: repeat round 2
Fasten off, weave in the ends.
Repeat for other sleeve.
COLLAR
Join Color B to the bottom of the collar
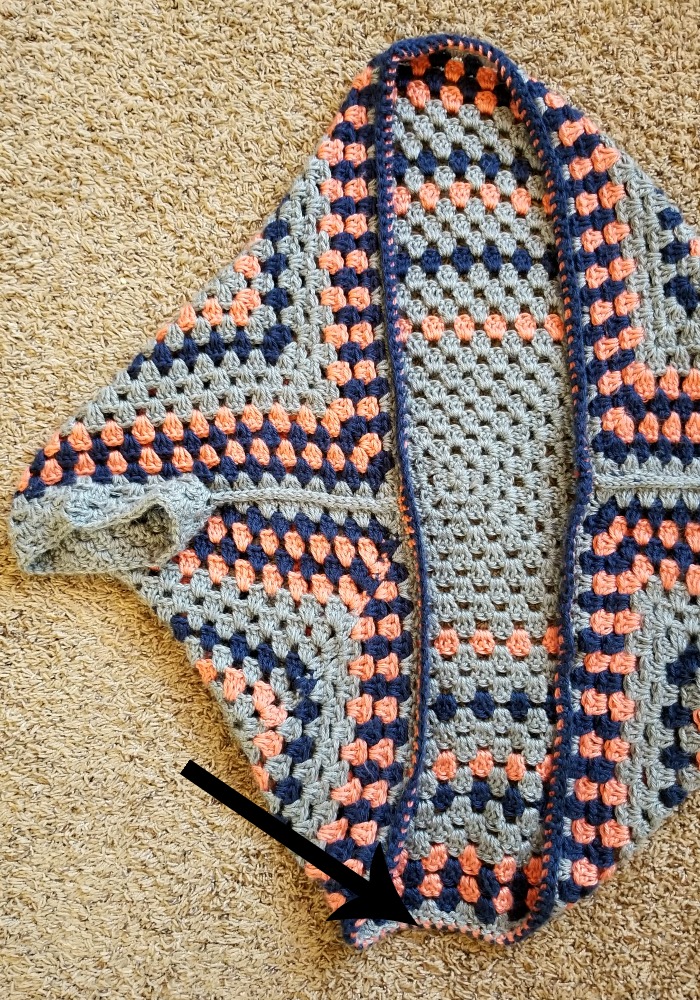
Round 1: ch 1, sc in same stitch and in each stitch around, join to first sc with sl st
Join color C
Round 2: ch 1, hdc in same stitch and in each stitch around, join to first hdc wtih sl st
Fasten off, weave in the ends.
Looking for more patterns? Follow me on Facebook, Instagram, and Pinterest! Please share a pic of your finished product with me. I’d love to see it!




I think I needed a guage swatch, I have completed the rounds and got a square of 29×29?
With the quarantine, I’m content to frog and start over with a bigger hook?
I think you can just continue to add rounds until it’s the size you want 🙂
I am having the same problem. I just finished round 28 and it’s only 25″ across. I am just going to keep going, though because I can’t stand the thoughts of frogging this much work…. 😬
Hi! Yes, definitely keep on going until it’s the size you are looking for 🙂
I love this shrug! I’m going to crochet it through the summer so it will be done by fall! Thank you so much for the free patterns 🤗
Awesome! Thank you so much!
I am currently working on this pattern and should be done in time for the first day of Fall (2024). My only issues with this pattern, are the photos. You talk about a collar but the photos don’t really show it because of the long hair.
Hi! There are photos in the pattern of the sweater laying down. The collar is just an edging around the entire cardigan. A round of sc and a round of hdc.
I just made one for my daughter by reducing the rounds. She is in love …now I need to make one for myself!
Awesome!! Thank you!
Easy to follow pattern
I just changed a couple of the colours Looks lovely
Thankyou
Thank you!!
Hello, I just discovered this pattern…it looks really neat. I have reviewed the pattern and it seems very straightforward so I should be able to do this. I have often admired the shrug that my co-worker wears (off the rack/machine made) so now I can make my own Granny Shrug! I’ll just change the colours to suit me.
I appreciate your creativity and your willingness to share the pattern.
I wanted to know if you block the shrug when it is finished. Thank you