Farmer’s Market Bag Crochet Pattern
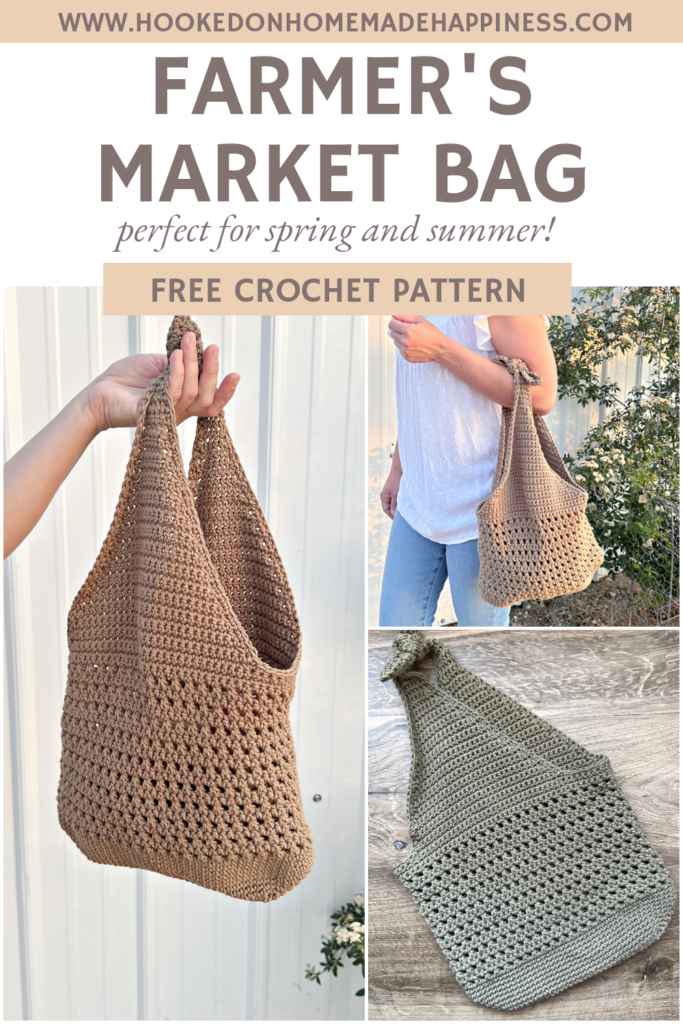
The Farmer’s Market Bag Crochet Pattern is a quick bag that uses variations of basic crochet stitches. By using the hdc2tog stitch, it adds a nice touch of texture while still being sturdy.
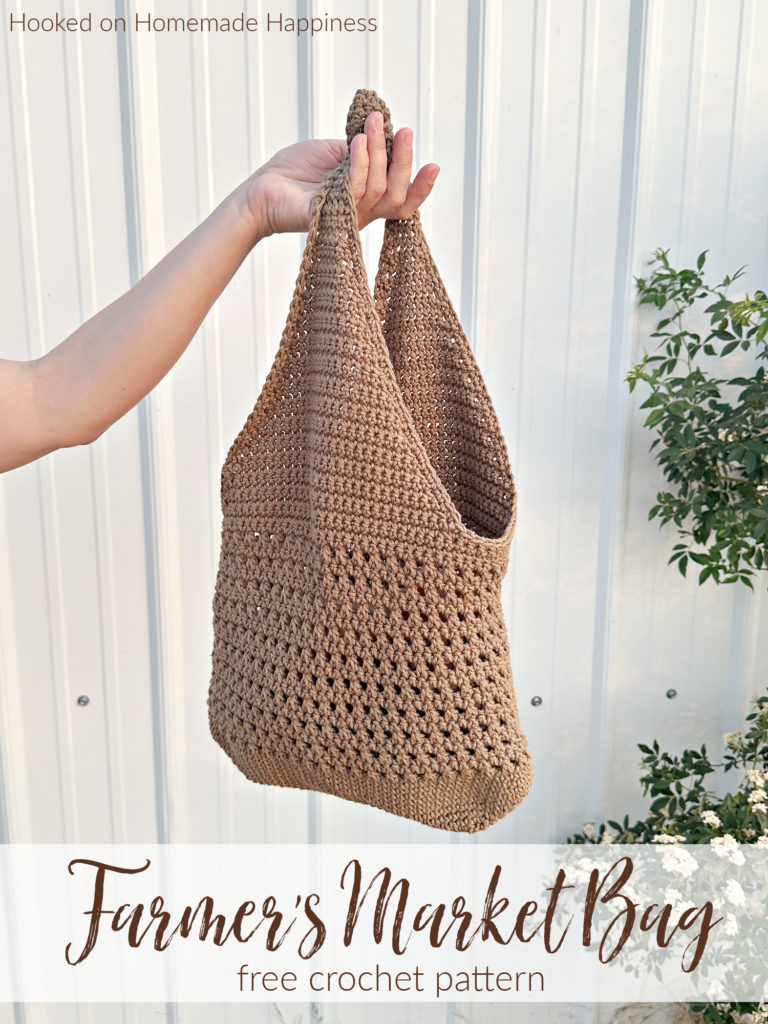
Let’s talk yarn! For this bag I used WeCrochet Dishie yarn. This is a 100% cotton yarn that is perfect for bags. It’s soft but still very sturdy and durable. The color choices are so trendy and endless! Any worsted weight cotton yarn would work great.
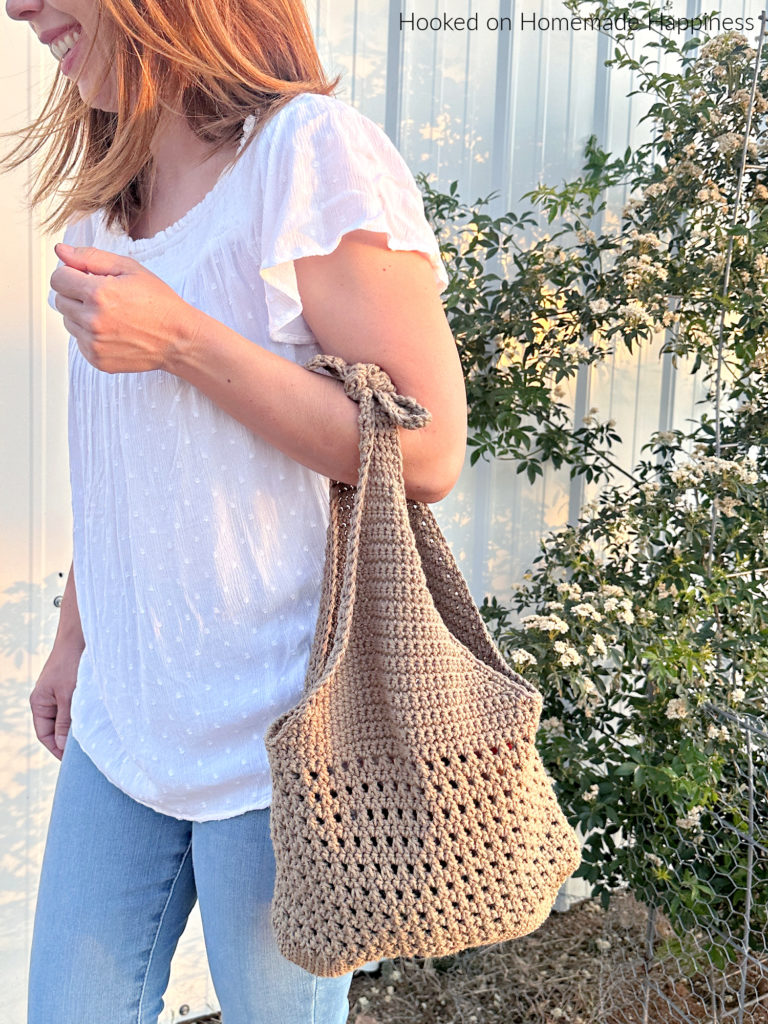
click here to pin for later >>>
Farmer’s Market Bag Crochet Pattern
Get the pattern below or purchase the ad-free, printable PDF in my Etsy Shop or Ravelry Shop
PIN for later HERE
Add to your Ravelry Queue HERE
Materials
2 skeins WeCrochet Dishie in Mushroom (any worsted weight cotton)
H/5.0 m hook
yarn needle
scissors
2 stitch markers
Level
intermediate
Pattern notes & Stitches to Know
ch – chain
sl st – slip stitch
sc – single crochet
sm – stitch marker
hdc2tog – half double crochet 2 together (*yarn over, insert hook into next stitch, pull up a loop* repeat from * to * one more time, yarn over, pull through all loops on hook)
sc2tog – single crochet 2 together (*insert hook into next stitch, pull up a loop* repeat from * to * one more time, yarn over, pull through all loops on hook)
· Written in US terms
· ch 2 does not count as hdc
· ch 1 does not count as sc
Approx. Finished Size: 21” x 11”
FARMER’S MARKET BAG CROCHET PATTERN
ch 33
Round 1: starting in the 2nd ch from the hook, sc in each ch across to the last, 3 sc in the last ch, place a stitch marker in the middle of these 3 stitches, working on the other side of the chain, sc in each ch across to last, 2 sc in last, place a stitch marker in last stitch, join to first sc with sl st (66 sc)
Round 2: ch 1, sc in each stitch to first sm, 3 sc, place sm in middle of these 3 stitches, sc across to next sm, 3 sc, place sm in middle of these 3 stitches, join to first sc with sl st (70 sc)
Round 3: ch 1, sc in each stitch to first sm, 3 sc, place sm in middle of these 3 stitches, sc across to next sm, 3 sc, place sm in middle of these 3 stitches, sc in last stitch, join to first sc with sl st (74 sc)
Round 4: ch 1, sc in each stitch to first sm, 3 sc, place sm in middle of these 3 stitches, sc across to next sm, 3 sc, place sm in middle of these 3 stitches, sc in remaining stitches, join to first sc with sl st (78 sc)
Round 5 – 7: repeat round 4, each round increases by 4 stitches
Round 8 – 10: ch 1, sc in each stitch around, join to first sc with sl st (90 sc)
Round 11: ch 2, *hdc2tog over next 2 stitches, ch 1* repeat from * to * around, join to first hdc2tog with sl st (45 hdc2tog)
Round 12: ch 1, turn, sc in each ch-1 space and stitch around, join to first sc with sl st (90 sc)
Round 13: ch 2, turn, *hdc2tog over next 2 stitches, ch 1* repeat from * to * around, join to first hdc2tog with sl st (45 hdc2tog)
Round 14 – 29: repeat rounds 12 & 13
Round 30: ch 1, turn, sc in each ch-1 space and stitch around, join to first sc with sl st (90 sc)
Round 31 – 32: ch 1, turn, sc in each stitch around, join to first sc with sl st (90 sc)
The first strap begins in the next row. Only work partway across.
Do not fasten off.
Place stitch marker in first stitch of row 1 of the strap.
STRAPS
Row 1: ch 1, turn, sc2tog, sc in next 30 stitches, sc2tog (32 sc)
Row 2: ch 1, turn, sc in each stitch across (32 sc)
Row 3: ch 1, turn, sc2tog, sc in each stitch across to last 2 stitches, sc2tog (30 sc)
Row 4 – 27: repeat rows 2 & 3 ending with a row 3 repeat (4 sc)
Row 28 – 45: ch 1, turn, sc in each stitch across (4 sc)
Row 46: ch 1, turn, sc2tog, sc2tog (2 sc)
Row 47: ch 1, turn, sc in each stitch across (2 sc)
Row 48: ch 1, turn, sc2tog (1 sc)
Fasten off. Weave in the ends.
Join yarn for second strap to the top of the bag portion (round 32) 11 stitches away from the first strap.
Repeat strap pattern for second strap.
Fasten off. Weave in the ends.
Join yarn for second strap to the top of the bag portion (round 32) 11 stitches away from the first strap.
Repeat strap pattern for second strap.
Do not fasten off.
EDGING
Ch 1, sc evenly down the side of the strap, around the top of the bag to the other strap, up and around the entire strap, around the top of the bag to the other strap, and up the strap. Join to first sc with sl st.
Fasten off.
Weave in the ends.
Looking for more patterns? Follow me on Facebook, Instagram, and Pinterest! Please share a pic of your finished product with me. I’d love to see it!


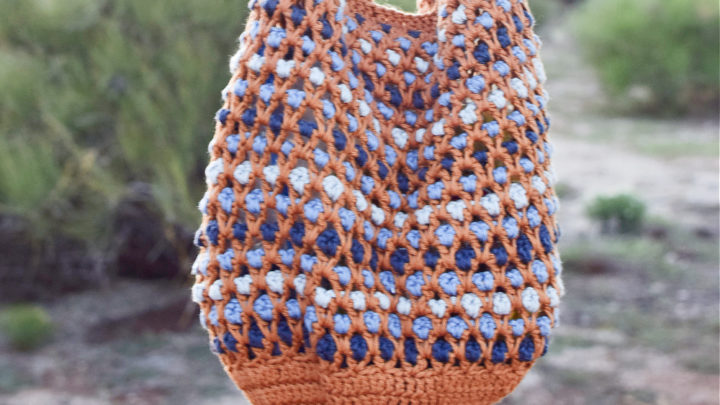
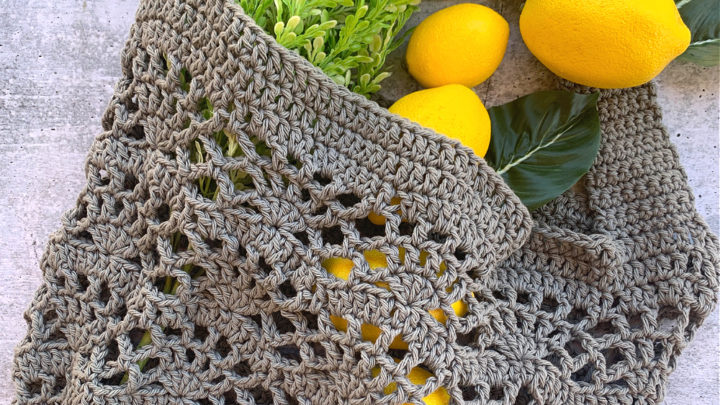



Oh my, Breann!! I LOVE that bag and will be making it soon. I make crocheted market bags/totes/purses with cotton yarn and love them. Thanks for sharing this pattern!
~Linda W~
Please send picture of the bag
Pictures are in the blog post 🙂
Two comments:
Row 2 should be 32 stitches, since the decreases happen in the odd-numbered rows, right?
That said, how did you get to 5 stitches in row 27? I get 4.
Thanks for a great pattern! I am almost done!
Hi! Yes, I think you’re right… sorry about that! Updating it now
Thank you for this. Use cane so will carry things in other hand. It’s beautiful and sturdy. CAL can come with me easily!
Hi Breann, I LOVE this bag! It’s like no other out there. BUT, I’m struggling so hard with the pattern. I cannot seem to get the bottom of the bag to look the same at each end even though I use the suggested stitch markers. Question, when joining with a ss to the first stitch, do we go into that same stitch for the first sc of the next round? Also have a question about where to start the first strap (haven’t gotten to the second strap yet…may come back with more questions on that LOL). Since the first stitch of each increase round moves, where should I be when starting the first strap? Any chance you’ll be doing a video tutorial for this pattern? I’m sure I’m just doing something stupidly wrong, but I’ve started, frogged and started over about a dozen times now. I’m determined to get in right! Again I LOVE this bag!! Thank you so much for the pattern.
Hi! For the base of the bag, your first stitch goes into the same stitch as the join. It might go a little sideways, but once it’s all finished it won’t be noticeable. I started the strap where the last round was joined. It should be about centered on one side. After doing the body of the bag the join does not move each round because of each round is turned. Hope that helps!
Hi Breann – I absolutely love this bag! I’ve gotten all the way to the straps and when I crochet the first row, it’s way off center for me. I’m not sure how I went wrong on the pattern to be this off for the straps. I did turn for each row and I did sc rows between the dc2tog rows. The bottom of strap one is starting 3 inches from the side edge and ending on the opposite side edge. I’m thinking of ripping out this first row and slip stitching to where it SHOULD start. (I really don’t want to rip out this whole bag to see how I possibly have gotten it wrong LOL) Should the straps be starting about 1 or 1 and 1/2 inches from the edge? (Or do you t have another suggestion?) Thanks so much!
Hi! Yes, you can slip stitch to where you want the straps to start. Mine are a little off centered, but it’s not noticeable when it’s being used 🙂
I am having the some problem! My handles are way off. Im going to pull out what I’ve done and re-center the handles.
But otherwise I think this bag is beautiful. I used a pretty green color until row 30, then switched to a cream color. So pretty!
How to increase 4 stitches per row? Or does the increase happen on each end with the three stitc g es in the end of the row?
Yes. The 3 stitches on both ends will add 4 stitches per round 🙂
Thank you. Now to the handle. Sc2tog starts in space beside turning chain or in the next stitch? I’ve ripped it back out 4 tines.
Lost count of frogs. Major anxiety attack..seriously. I’m a veteran crocheter. Sorry but the rows stitch count were welllllll………I’m done with this one.
Hey! I’m trying that bag again but am using one size larger hook than an H. I crochet too tight. Am trying to go looser. But I’m attempting the strap only once. I think the way I turn distorts my turning chain making it hard to go into the right loop for the next row plus that 2 together stitch really throws me.. Will let you know..
If all else fails, imma make the body a few more rows bigger and do different straps.
I do apologize for my earlier frustration. This is a beautiful bag. Giving it another try.
Round 11: ch 2, *hdc2tog over next 2 stitches, ch 1* repeat from * to * around, join to first hdc2tog with sl st (45 hdc2tog)
I don’t understand how to do this stitch? Is it 2 half double crochet stitches in same spot and then skip 2? Do you have a video?
Hi! It’s a hdc2tog, or a hdc decrease.
Yarn over, insert hook into stitch, yarn over, insert hook into next stitch, yarn over, pull through all loops on hook
Hi, i love this pattern but im having trouble with the rows, in the middle after R14 onward the opening is getting smaller and smaller, ive already tried to st looser but the SCs seem to need to a much bigger st than before to close up the ch1 gaps… help?
Hi! Are you sc in each ch-1 space and stitch around?
Hi there! Love the bag! I’m just starting and already stumped in round one. After the first 33 stitches where and how do I go to get the rest of the 66? There were only 33 chains soooo…. PLEASE HELP! I really want to make this bag! Thank you, Lisa
how to increase to 66 chains in the second row (I’m a beginner), I only have 33
You are working around both sides of the chain making an oval 🙂
Thanks, but if i slip stich the ends together its only 5 inches long
You won’t slip stitch the ends together. Work along both sides of the chain.
Got it! Thank you, now I am stuck on “sc in each ch-1 space and stitch around”, I know how to sc in each ch-1 space, but what does stitch around mean.
In each remaining stitch
Great, thanks, wasn’t sure