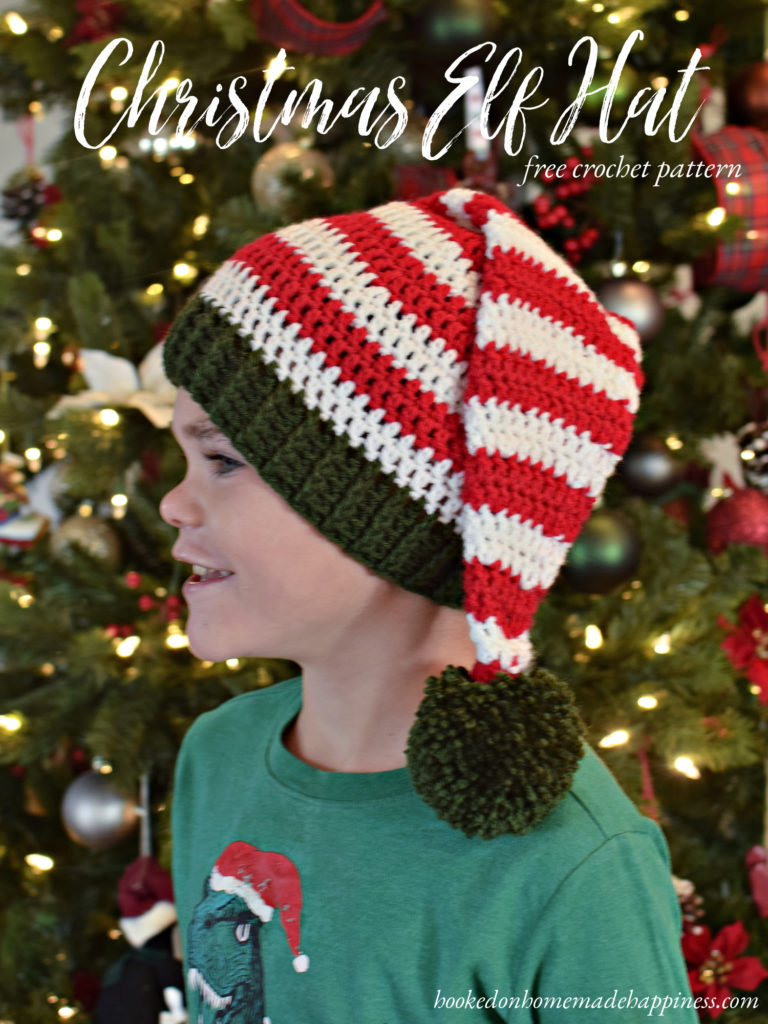
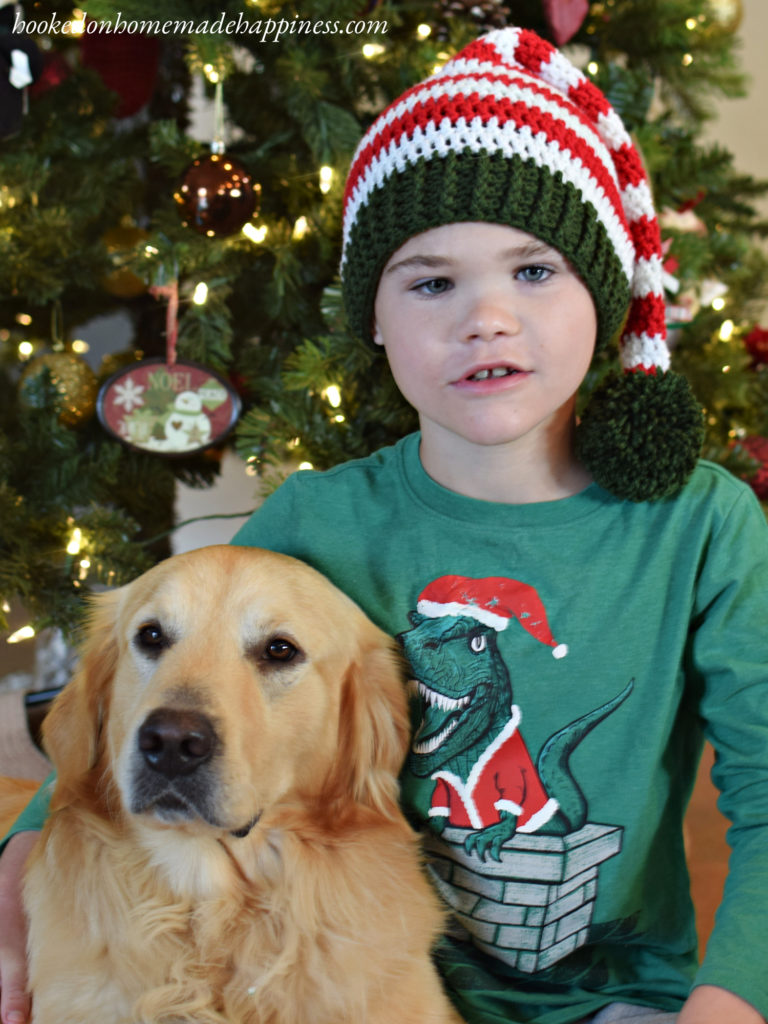
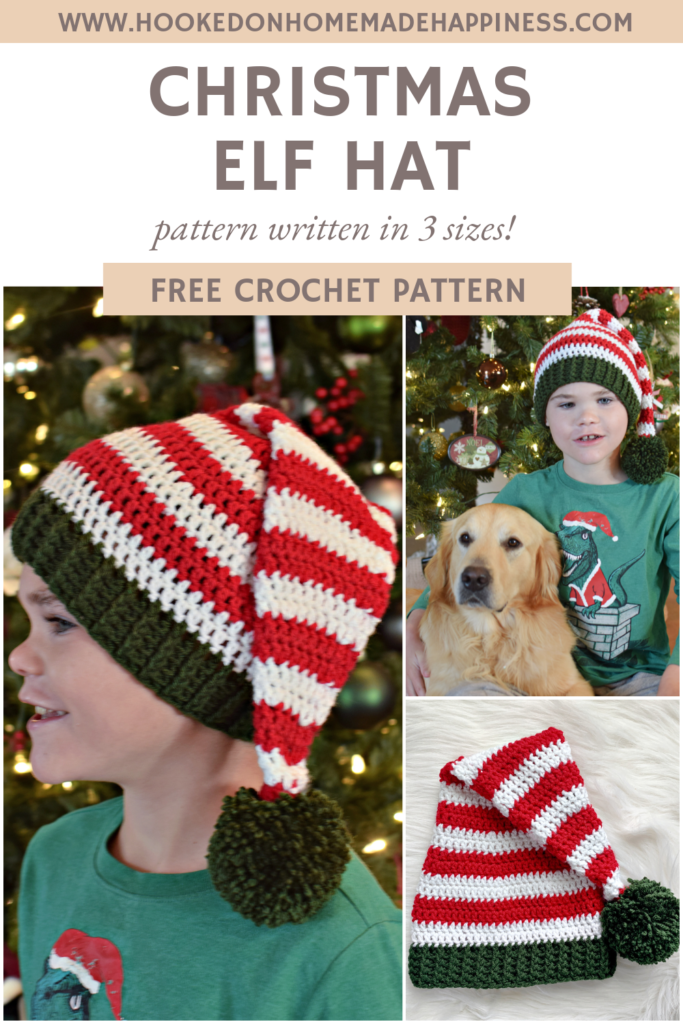
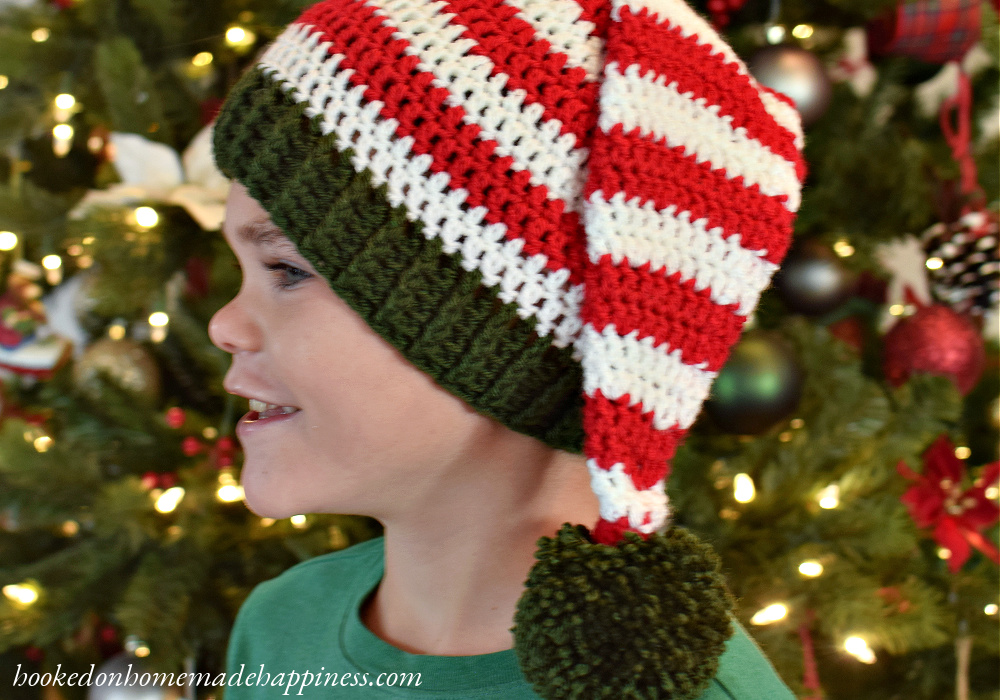
This adorable Elf Hat Crochet Pattern is so easy to make and such a fun, festive project! This pattern is written in 3 sizes: Child, Teen, and Adult. (the original yarn used has been discontinued and the pattern has been updated since)


More Homemade Happiness:


Christmas Plaid Blanket // Mod Christmas Sweater // Easy Striped Elf Beanie
click here to pin for later >>>

Elf Hat Crochet Pattern
PIN for later HERE
Add to your Ravelry Queue HERE
Materials
Worsted weight acrylic yarn in red, green, and white
H/5.0 mm hook
Yarn needle
Scissors
Level
advanced beginner/intermediate
Pattern notes & stitches to know
magic circle
sl st – slip stitch
ch – chain
dc – double crochet
fpdc – front post double crochet
bpdc – back post double crochet
· written in US terms
· ch 2 does not count as dc
· This hat is made from the top down with joined rounds
· Change colors between red and white every 2 rounds
HOW TO CHANGE COLORS IN THE ROUNDS VIDEO TUTORIAL
· Approx Finished Sizes (without pom pom):
Child: 15” x 20”
Teen/Small Adult: 17” x 20”
Adult: 19” x 20”
ELF HAT CROCHET PATTERN
With Red, make a magic circle
Round 1: ch 2, 6 dc in magic ring, pull circle closed tight, join to first dc with sl st (6 dc)
Round 2: ch 2, dc in each stitch around, join to first dc with sl st (6 dc)
Change to White, do not fasten off Red
Round 3: ch 2, *dc in 1 stitch, 2 dc in next* repeat from * to * around, join to first dc with sl st (9 dc)
Round 4: ch 2, dc in each stitch around, join to first dc with sl st (9 dc)
Change to Red, do not fasten off White
Continue switching between red and white every 2 rounds
Round 5: ch 2, *dc in 2 stitches, 2 dc in next* repeat from * to * around, join to first dc with sl st (12 dc)
Round 6: ch 2, dc in each stitch around, join to first dc with sl st (12 dc)
Round 7: ch 2, *dc in 3 stitches, 2 dc in next* repeat from * to * around, join to first dc with sl st (15 dc)
Round 8: ch 2, dc in each stitch around, join to first dc with sl st (15 dc)
Round 9: ch 2, *dc in 4 stitches, 2 dc in next* repeat from * to * around, join to first dc with sl st (18 dc)
Round 10: ch 2, dc in each stitch around, join to first dc with sl st (18 dc)
Round 11: ch 2, *dc in 5 stitches, 2 dc in next* repeat from * to * around, join to first dc with sl st (21 dc)
Round 12: ch 2, dc in each stitch around, join to first dc with sl st (21 dc)
Round 13: ch 2, *dc in 6 stitches, 2 dc in next* repeat from * to * around, join to first dc with sl st (24 dc)
Round 14: ch 2, dc in each stitch around, join to first dc with sl st (24 dc)
Round 15: ch 2, *dc in 7 stitches, 2 dc in next* repeat from * to * around, join to first dc with sl st (27 dc)
Round 16: ch 2, dc in each stitch around, join to first dc with sl st (27 dc)
Round 17: ch 2, *dc in 8 stitches, 2 dc in next* repeat from * to * around, join to first dc with sl st (30 dc)
Round 18: ch 2, dc in each stitch around, join to first dc with sl st (30 dc)
Round 19: ch 2, *dc in 9 stitches, 2 dc in next* repeat from * to * around, join to first dc with sl st (33 dc)
Round 20: ch 2, dc in each stitch around, join to first dc with sl st (33 dc)
Round 21: ch 2, *dc in 10 stitches, 2 dc in next* repeat from * to * around, join to first dc with sl st (36 dc)
Round 22: ch 2, dc in each stitch around, join to first dc with sl st (36 dc)
Round 23: ch 2, *dc in 11 stitches, 2 dc in next* repeat from * to * around, join to first dc with sl st (39 dc)
Round 24: ch 2, dc in each stitch around, join to first dc with sl st (39 dc)
Round 25: ch 2, *dc in 12 stitches, 2 dc in next* repeat from * to * around, join to first dc with sl st (42 dc)
Round 26: ch 2, dc in each stitch around, join to first dc with sl st (42 dc)
Round 27: ch 2, *dc in 13 stitches, 2 dc in next* repeat from * to * around, join to first dc with sl st (45 dc)
Round 28: ch 2, dc in each stitch around, join to first dc with sl st (45 dc)
Round 29: ch 2, *dc in 14 stitches, 2 dc in next* repeat from * to * around, join to first dc with sl st (48 dc)
Round 30: ch 2, *dc in 7 stitches, 2 dc in next* repeat from * to * around, join to first dc with sl st (54 dc)
For child size: skip to section FINISHING FOR CHILD SIZE
Continue for Teen & Adult
Round 31: ch 2, *dc in 8 stitches, 2 dc in next* repeat from * to * around, join to first dc with sl st (60 dc)
For teen size: skip to section FINISHING FOR TEEN SIZE
Continue for Adult
Round 32: ch 2, *dc in 9 stitches, 2 dc in next* repeat from * to * around, join to first dc with sl st (66 dc)
For adult size: skip to section FINISHING FOR ADULT SIZE
FINISHING FOR CHILD SIZE:
Round 31 – 36: ch 2, dc in each stitch around, join to first dc with sl st (54 dc)
Join Green. Fasten off Red and White
Round 37: ch 2, dc in each stitch around, join to first dc with sl st (54 dc)
Round 38 – 41: ch 2, fpdc in first stitch, bpdc in next, *fpdc in next stitch, bpdc in next* repeat from * to * around, join to first fpdc with sl st
Fasten off. Weave in the ends.
Add a pom pom
FINISHING FOR TEEN SIZE:
Round 32 – 36: ch 2, dc in each stitch around, join to first dc with sl st (60 dc)
Join Green. Fasten off Red and White
Round 37: ch 2, dc in each stitch around, join to first dc with sl st (60 dc)
Round 38 – 41: ch 2, fpdc in first stitch, bpdc in next, *fpdc in next stitch, bpdc in next* repeat from * to * around, join to first fpdc with sl st
Fasten off. Weave in the ends.
Add a pom pom
FINISHING FOR ADULT SIZE:
Round 33 – 36: ch 2, dc in each stitch around, join to first dc with sl st (66 dc)
Join Green. Fasten off Red and White
Round 37: ch 2, dc in each stitch around, join to first dc with sl st (66 dc)
Round 38 – 41: ch 2, fpdc in first stitch, bpdc in next, *fpdc in next stitch, bpdc in next* repeat from * to * around, join to first fpdc with sl st
Fasten off. Weave in the ends.
Add a pom pom
Looking for more patterns? Follow me on Facebook, Instagram, and Pinterest! Please share a pic of your finished product with me. I’d love to see it!


Looks good and easy will try doing them for my grandchildren. Tks
Advice please. Whenever I get to row 11 the hat keeps getting bigger instead of gradually tapering down.
Hi! Are you doing a dc2tog (double crochet decrease) or adding 2 double crochet in the same space?
I must have been adding. Thanks! I’ve never done a pattern with a decrease so that threw me off.
I must have been adding. Thanks! I’ve never done a pattern with a decrease so that threw me off.
Your kids are so cute!!! I love seeing the things you crochet for them!! They make perfect models. These hats are very cute and I’ll give them a try after the holidays. Thanks so much for sharing the pattern.
Thank you
You offer free elf hat pattern, but require we sign up to your site. I don’t mind doing this to get offers of other patterns, but do object to having to give my personal credit card info. I don’t wish to create an account at this time. I will give this when required to purchase future patterns. I wish you would not make this information a requirement.
There is no sign up required. I’m not sure what you’re referring to. When you click the graphic that says “click here to download today’s Countdown to Christmas free crochet pattern download” the pattern will download immediately. No sign in or sign up required. No personal info.
Thank you for this pattern. Just what I needed! Adorable little elf you got!
Thank you
Thank you for your patterns You have taught me to crotchet
Aw, wow! Thank you so much!!
Hi Breann,
Could there be a mistake in row 21? I do not get to 36 stitches, but 38.
When I dc in 10 stitches and 2 dc in the next till the end I do get to 36 stitches.
I love this pattern! It works up really fast and looks great!
And you have a handsome son posing the hat.
Oh no!! Yes, it should be 10 dc for the repeat So sorry!!!!
No worries! Glad that I could be at service. It only proves that we are all human and all make mistakes sometimes.
Merry Christmas from the Netherlands!
Love this adorable little hat! Thank you for sharing. Am I just overlooking the “Print” button? I hope so as that’s quite a bit to copy/paste.
Hi! I don’t have a printable of this pattern