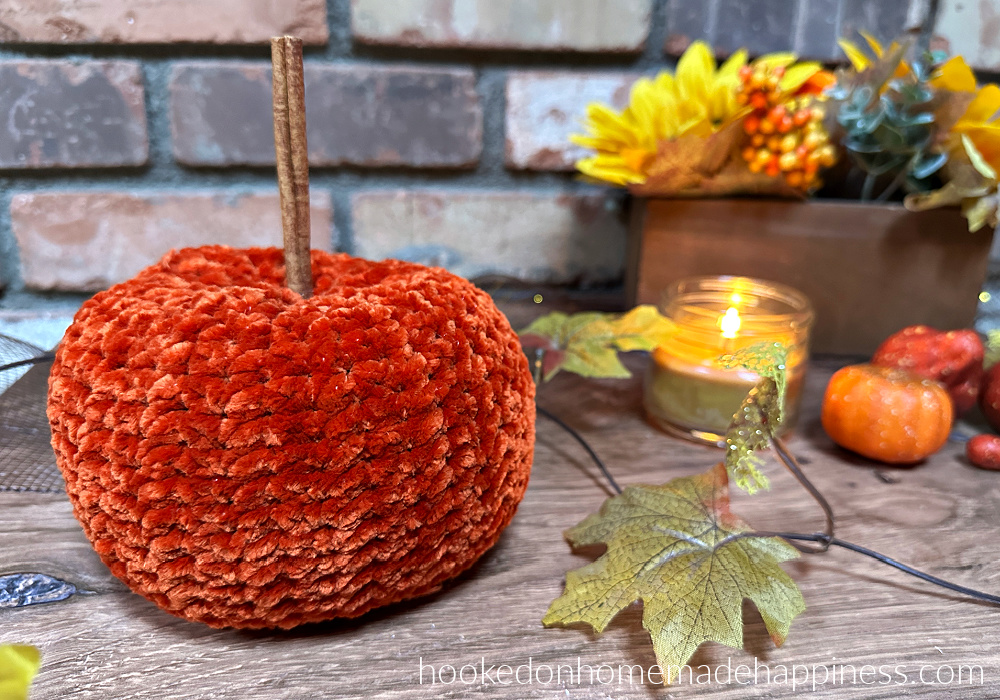
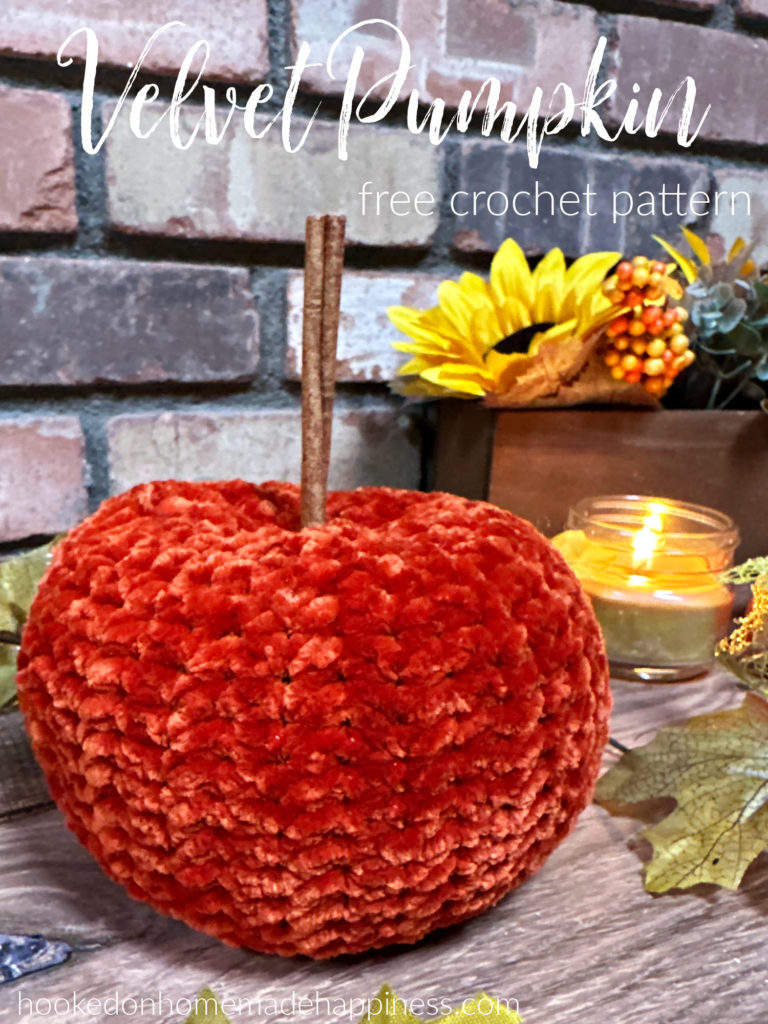
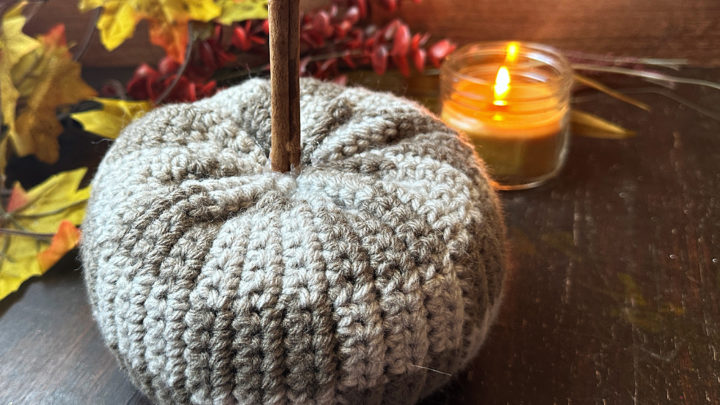
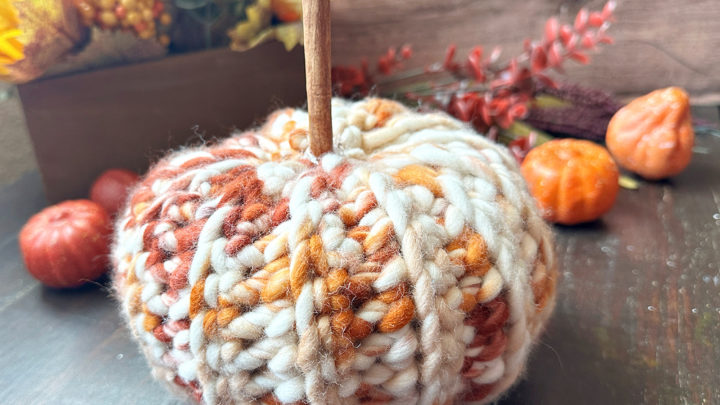
As the leaves start to change colors and the air becomes crisp, it’s the perfect time to add a cozy touch to your home decor. What better way to do so than with your own handmade velvet pumpkins? The Easy Velvet Pumpkin Crochet Pattern is a quick and easy crochet pattern to create beautiful velvet pumpkins that will elevate your fall decor. All it takes is a simple rectangle made of all single crochet to create this festive home decor.
In just a few simple steps, you can crochet beautiful velvet pumpkins that will elevate your fall decor. By choosing the right yarn and hook, mastering basic stitches, and adding your own personal flair, you can unleash your creativity and impress all who enter your home. So grab your supplies, get crafting, and watch as your handmade pumpkins bring warmth and charm to your space.
click here to pin this pattern for later >>>
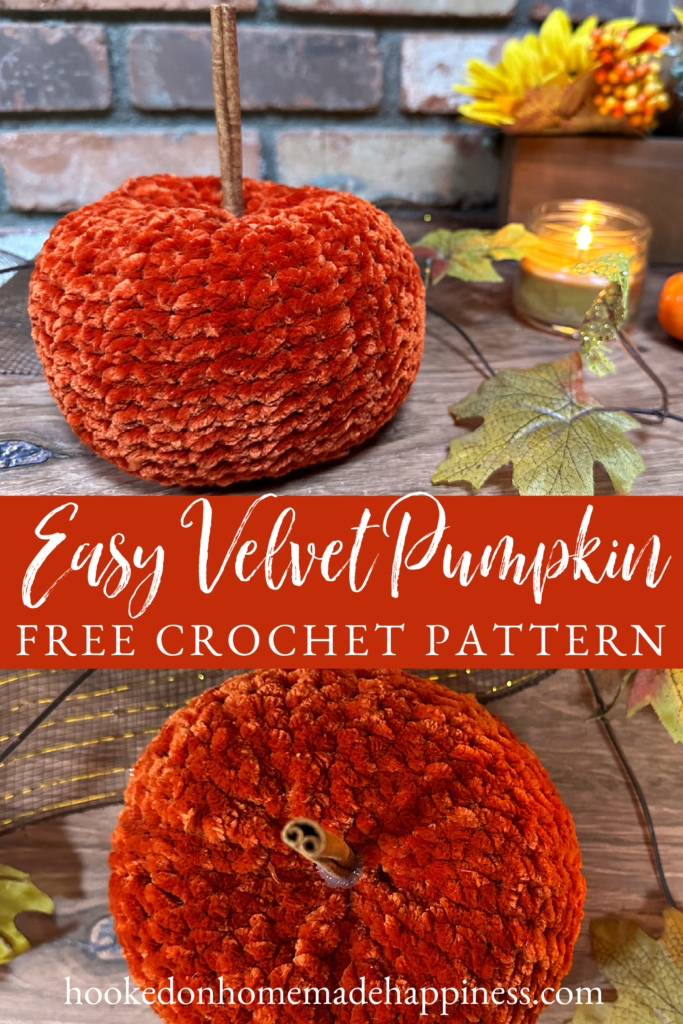
Easy Velvet Pumpkin Crochet Pattern
PIN for later HERE
Add to your Ravelry Queue HERE
Materials
100g Yarn Bee Velvety Smooth (any bulky weight yarn)
J/6.0 mm hook
yarn needle
scissors
fiber fill
cinnamon stick
hot glue
Level
easy
Pattern Notes & Stitches to Know
ch – chain
sc – single crochet
sl st – slip stitch
· written in US terms
· ch 1 does not count as sc
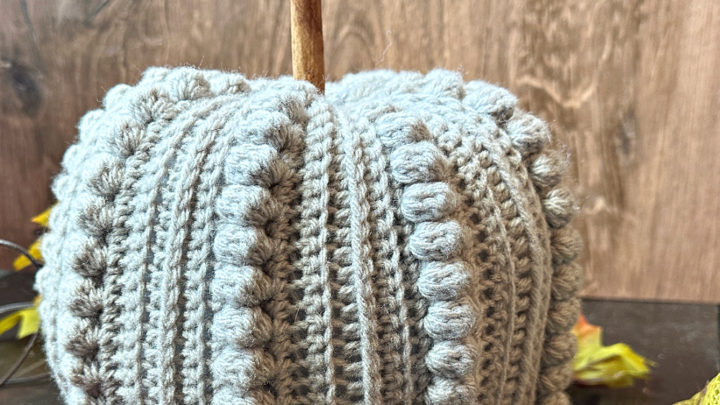
· Pumpkin is made as a rectangle. Then sewn into a pumpkin shape.
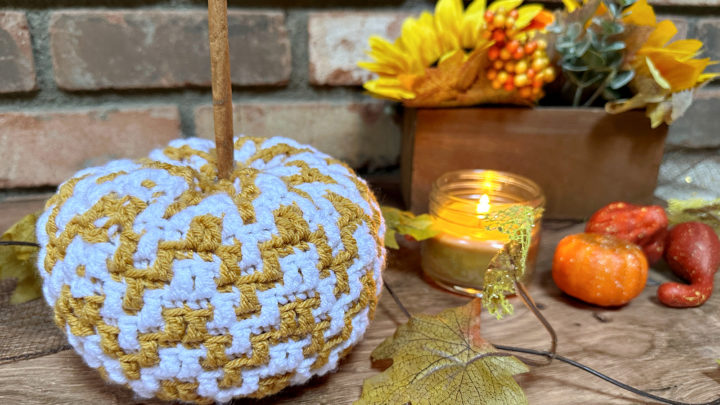
· This pattern is very adjustable. To make it taller, add chains (can be any number of chains). To make it wider, add rows.
EASY VELVET PUMPKIN CROCHET PATTERN
ch 23 (leave a long end for sewing)
Row 1: sc in 2nd ch from the hook and across (22 sc)
Row 2 – 37: ch 1, turn, sc in each stitch across (22 sc)
Do not fasten off.
Bring the first and last row together. Sew both ends together using sl st.
Fasten off. Leave a long end for sewing.
Now the rectangle is a tube, weave the end in and out around the bottom edge. Cinch the bottom closed. Sew the bottom closed tight. Fasten off. Weave in the end.
Add fiber fill. Use the long end on the other side to weave in and out around the top edge. Add more fiber fill. Cinch top closed. Sew the top closed tight.
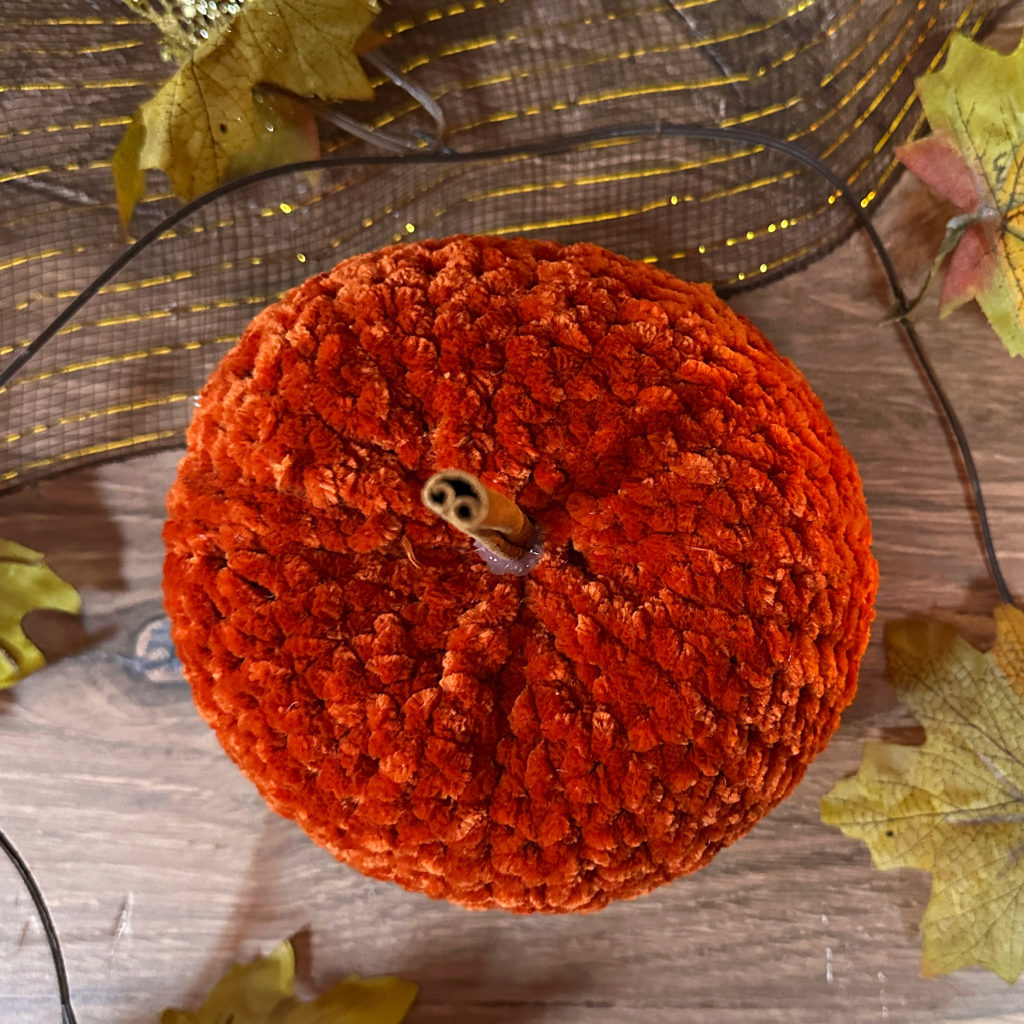
Push the needle with the long end through the middle of the top, through the pumpkin, and out the middle of the bottom. Pull tight to make the pumpkin squatty. Push the needle back up towards the top middle. Pull yarn tight, knot it, and fasten off.
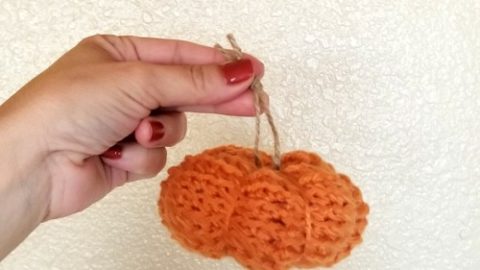
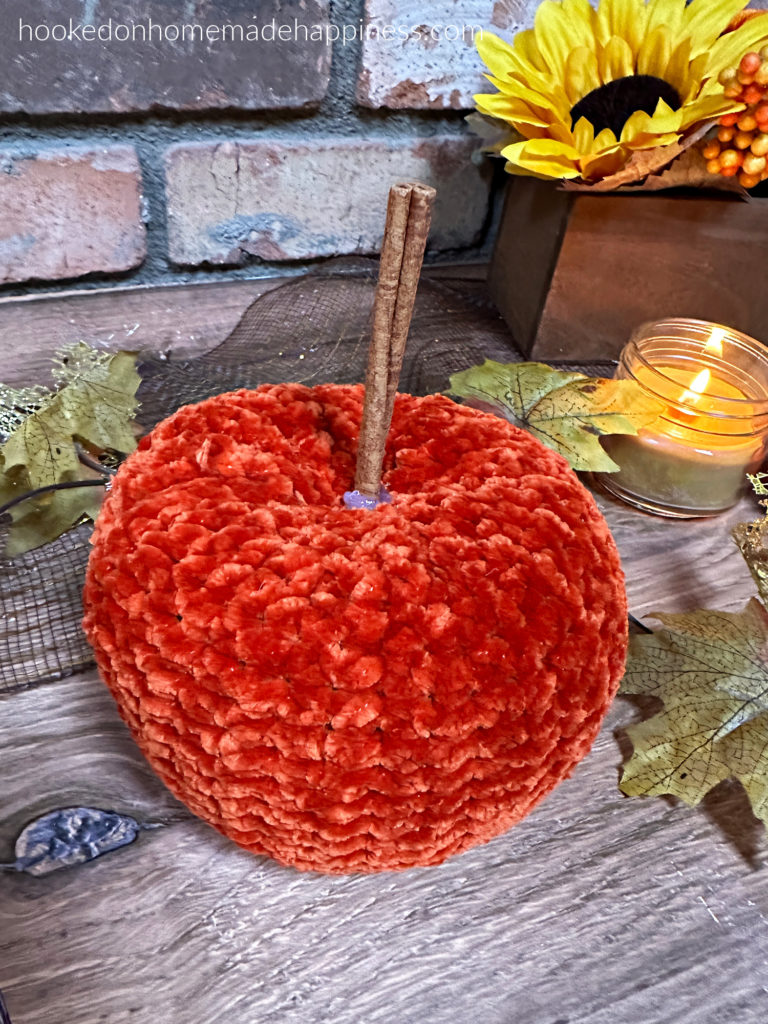
Hot glue a cinnamon stick for a stem.
Looking for more patterns? Follow me on Facebook, Instagram, and Pinterest! Please share a pic of your finished product with me. I’d love to see it!