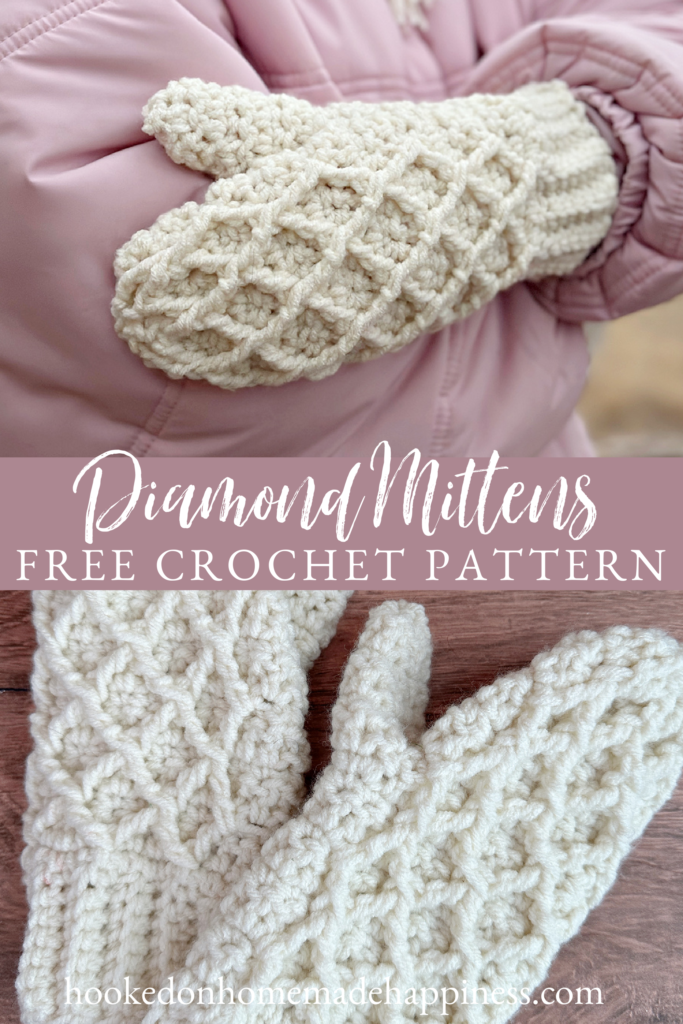
Are you ready to elevate your winter wardrobe with a touch of handmade luxury? Look no further, because we have the perfect addition for you – Diamond Mittens Crochet Pattern. These beautifully crafted mittens not only provide warmth and comfort, but also add a touch of sophistication to any outfit. As the temperature drops and the holiday season approaches, it’s the perfect time to learn this unique crochet pattern and create a personalized accessory for yourself or your loved ones. Make it a set! The pattern for the matching beanie can be found HERE.
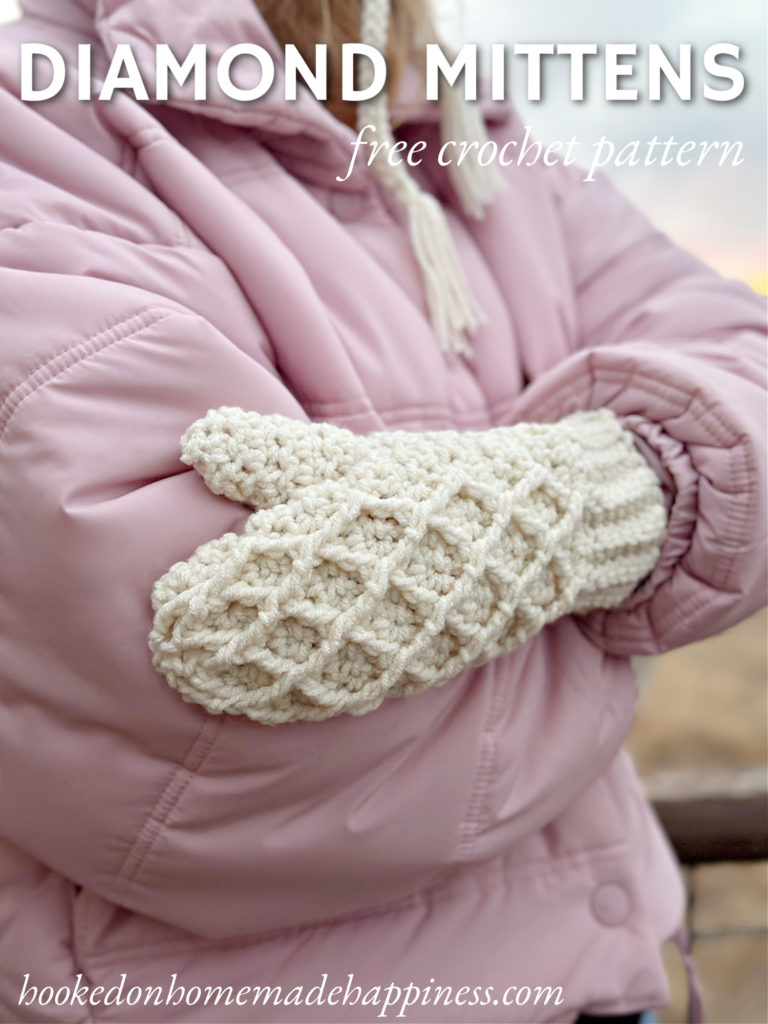
The Diamond Stitch
This stitch is not just your regular, ordinary crochet stitch! It’s a unique and attractive crafting technique that brings out the charm and elegance in every piece of work, making crochet products stand out from the generic. With its distinct diamond pattern, it offers an added level of sophistication, signifying a higher quality of craftsmanship. This stitch is an intermediate or even advanced stitch. But not to worry, there is a stitch video tutorial included in the pattern. The video will guide you step-by-step in creating this intricate-looking stitch.
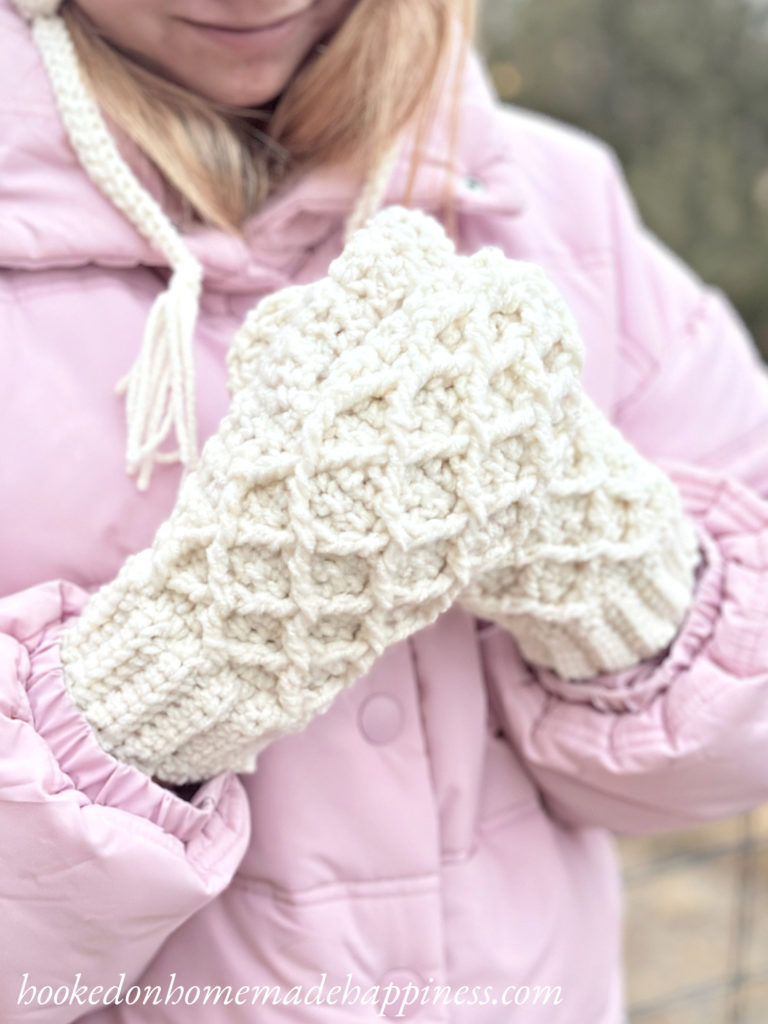
Choosing Your Yarn
For these mittens I used Loops & Threads Soft Classic. This is an affordable, acrylic yarn found at Michaels. This patterns uses post stitches, which means it uses more yarn than the typical gloves. I love that it uses less than one big skein of acrylic yarn. Making these mittens is easy and affordable to work up, especially as a gift for someone. A more luxurious yarn would work great as well. A wool or wool/acrylic blend would work up beautifully with this stitch design. I would not recommend a cotton yarn, as it can stretch out easily.
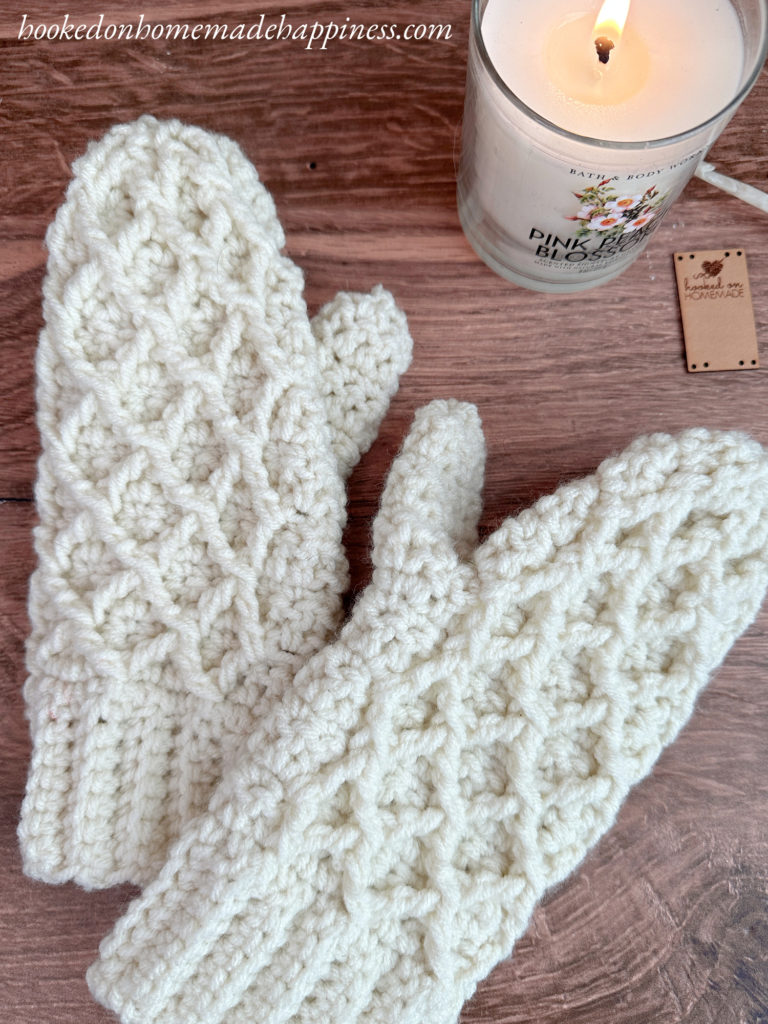
More Homemade Happiness
click here to pin this pattern for later >>>
Diamond Mittens Crochet Pattern
Get the full pattern below or purchase the ad-free, printable PDF in my Ravelry Shop
PIN for later HERE
Add to your Ravelry Queue HERE
Materials
100g worsted weight acrylic yarn (I used Loops & Threads Soft Classic in Off White)
I/5.5 mm hook
Yarn needle
Scissors
Level
intermediate/advanced
Pattern notes & stitches to know
ch – chain
sl st – slip stitch
sc – single crochet
sc blo – single crochet back loop only
sc2tog – single crochet 2 together
dc – double crochet
fptr – front post treble crochet
fptr2tog – front post treble 2 together
· written in US terms
· ch 1 does not count as sc
· ch 2 does not count as dc
· These mittens are worked from the bottom up, starting with the ribbing around the bottom.
· This pattern uses the Diamond Stitch >> VIDEO TUTORIAL HERE
Approx Finished Size –
Circumference: 8”
Length: 9.5”
DIAMOND MITTENS CROCHET PATTERN
ch 9
Row 1: sc in the 2nd ch from the hook and in each ch across (8 sc)
Row 2: ch 1, turn, sc, sc blo in next 6 stitches, sc in last (8 sc)
Row 3 – 24: repeat row 2
To adjust the circumference, add or take out ribbing rows.
Bring both short ends of the ribbing together, slip stitch the ends together. Now you will work around the top of the ribbing in joined rounds.
Round 1: ch 1, sc evenly around, working 1 sc in the end of each row of ribbing, join to the first sc with sl st (24 sc)
The Diamond Stitch begins in the next round.
Watch the VIDEO TUTORIAL HERE. (note: the tutorial is made in rows, these mittens are made in rounds)
Round 2: ch 2, turn, dc in each stitch around, join to first dc with sl st (24 dc)
Round 3: ch 1, turn, fptr around the 3rd stitch in round 1, [sc in next 3 stitches, fptr2tog (the first “leg” goes into the same stitch from previous fptr, skip 3 stitches, make second “leg” in next stitch)] x2, fptr around last fptr, sc in remaining stitches, join to first fptr with sl st
Round 4: ch 2, turn, dc in each stitch around, join to first dc with sl st (24 dc)
Round 5: ch 1, turn, sc in 2 stitches, [fptr2tog (working around fptr and fp2tog to make diamond shape), sc in next 3 stitches] x3, sc in remaining stitches, join to first sc with sl st
Round 6: ch 2, turn, dc in each stitch around, join to first dc with sl st (24 dc)
Round 7: ch 1, turn, fptr around fptr2tog, sc in next 3 stitches, [fptr2tog (to make a diamond shape), sc in next 3 stitches] x2, fptr around last fptr, sc in remaining stitches, join to first fptr with sl st
Round 8: ch 2, turn, dc in each stitch around, join to first dc with sl st (24 dc)
Round 9: ch 1, turn, sc in 2 stitches, [fptr2tog (working around fptr and fp2tog to make diamond shape), sc in next 3 stitches] x3, sc in remaining stitches, join to first sc with sl st
The thumbholes are made in the next round.
(RIGHT MITTEN) Round 10: ch 2, turn, dc in 5 stitches, ch 3, skip 5 stitches, dc in remaining stitches (22 dc)
(LEFT MITTEN) Round 10: ch 2, turn, dc in 1 stitch, ch 3, skip 5 stitches, dc in remaining stitches (22 dc)
Round 11: (working in stitches and chains around) ch 1, turn, fptr around fptr2tog, sc in next 3 stitches, [fptr2tog (to make a diamond shape), sc in next 3 stitches] x2, fptr around last fptr, sc in remaining stitches, join to first fptr with sl st
Round 12: ch 2, turn, dc in each stitch around, join to first dc with sl st (22 dc)
Round 13: ch 1, turn, sc in 2 stitches, [fptr2tog (working around fptr and fp2tog to make diamond shape), sc in next, sc2tog] x3, *sc in 2 stitches, sc2tog* repeat from * to * in remaining stitches around, join to first sc with sl st (17)
Round 14: ch 2, turn, dc in each stitch around, join to first dc with sl st (17 dc)
Round 15: ch 1, turn, fptr around fptr2tog, sc in next 2 stitches, [fptr2tog (to make a diamond shape), sc in next 2 stitches] x2, fptr around last fptr, sc in remaining stitches, join to first fptr with sl st (17)
Round 16: ch 2, turn, dc in each stitch around, join to first dc with sl st (17 dc)
Round 17: ch 1, turn, sc in 2 stitches, [fptr2tog (working around fptr and fp2tog to make diamond shape), sc2tog] x3, sc in remaining stitches around, join to first sc with sl st (13)
Round 18: ch 2, turn, dc in each stitch around, join to first dc with sl st (13 dc)
Fasten off. Leave a long end for sewing. Use a yarn needle to weave the long end in and out of the top loops of the last round. Pull to cinch closed. Sew top closed. Weave in the ends.
THUMB
Join yarn to the space for the thumb hole.
Round 1: ch 1, 12 sc around the opening, join to first sc with sl st (12 sc)
Round 2: ch 2, turn, dc in each stitch around, join to first dc with sl st (12 dc)
Round 3: ch 1, turn, *sc in 4 stitches, sc2tog* repeat from * to * around, join to first sc with sl st (10 sc)
Round 4: ch 2, turn, dc in each stitch around, join to first dc with sl st (10 dc)
Round 5: ch 1, turn, *sc in 3 stitches, sc2tog* repeat from * to * around, join to first sc with sl st (8 sc)
Round 6: ch 2, turn, dc in each stitch stitch around, join to first dc with sl st (8 dc)
Round 7: ch 1, turn, sc2tog around, join to first sc with sl st (4 sc)
Fasten off. Leave a long end for sewing. Use a yarn needle to weave the long end in and out of the top loops of the last round. Pull to cinch closed. Sew top closed. Weave in the ends.

Looking for more patterns? Follow me on Facebook, Instagram, and Pinterest! Please share a pic of your finished product with me. I’d love to see it!




Hi Breann, I am working on the diamond mittens pattern. I completed round 3 and have 28 stitches with 8 V’s. How many stitches should be in that round and round 5. I was expecting 24 because both round 2 and round 5 have 24 stitches. Also, I was expecting rounds 3 and 5 to end with the V pattern and the rounds do not. What am I doing wrong?
Thanks, Sharon
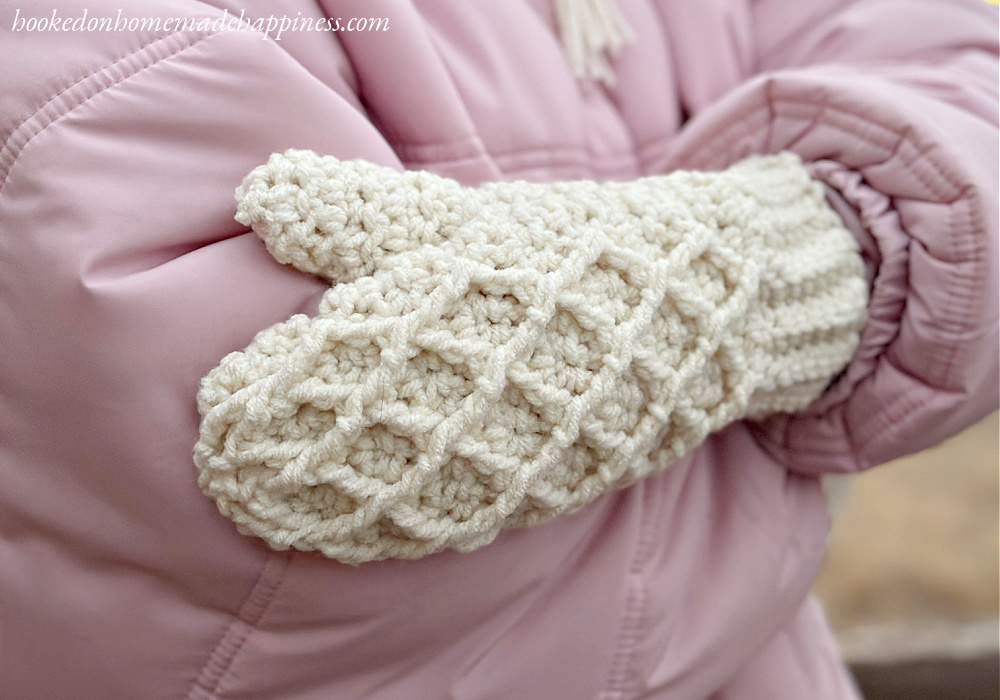
Hi! The diamond pattern is only on the top of the mittens, not on the palm. When doing the fptr2tog, make sure you are sc in the next stitch. There should be an unworked stitch behind the fptr2tog. Hope that helps!