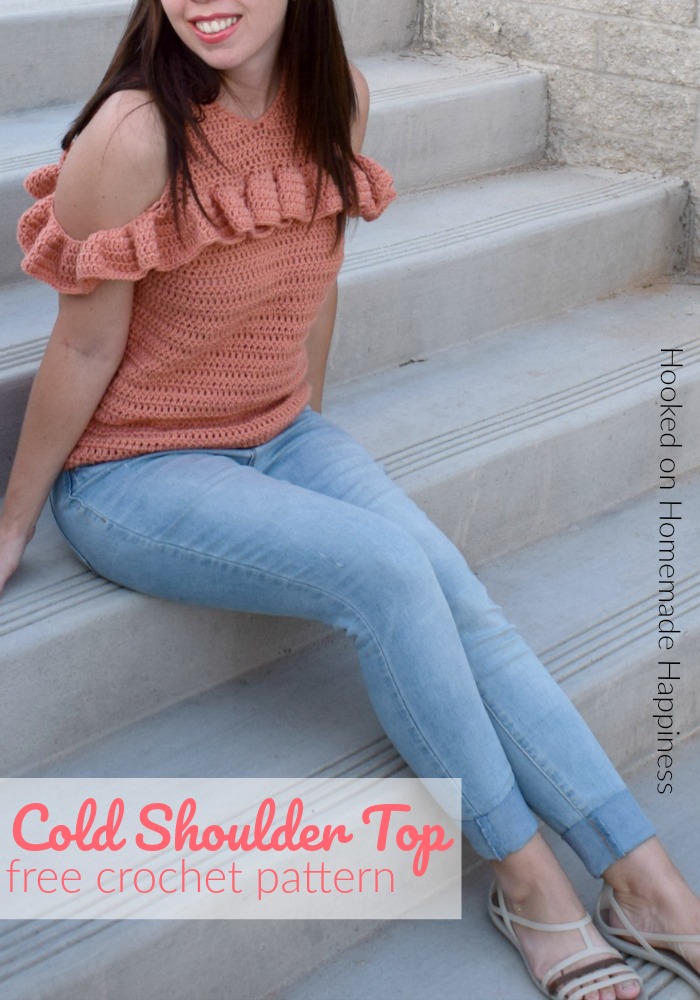
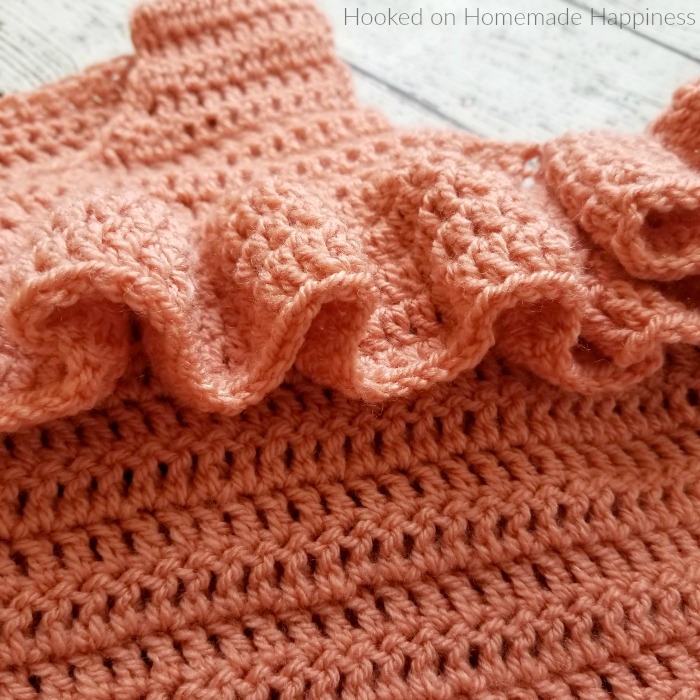
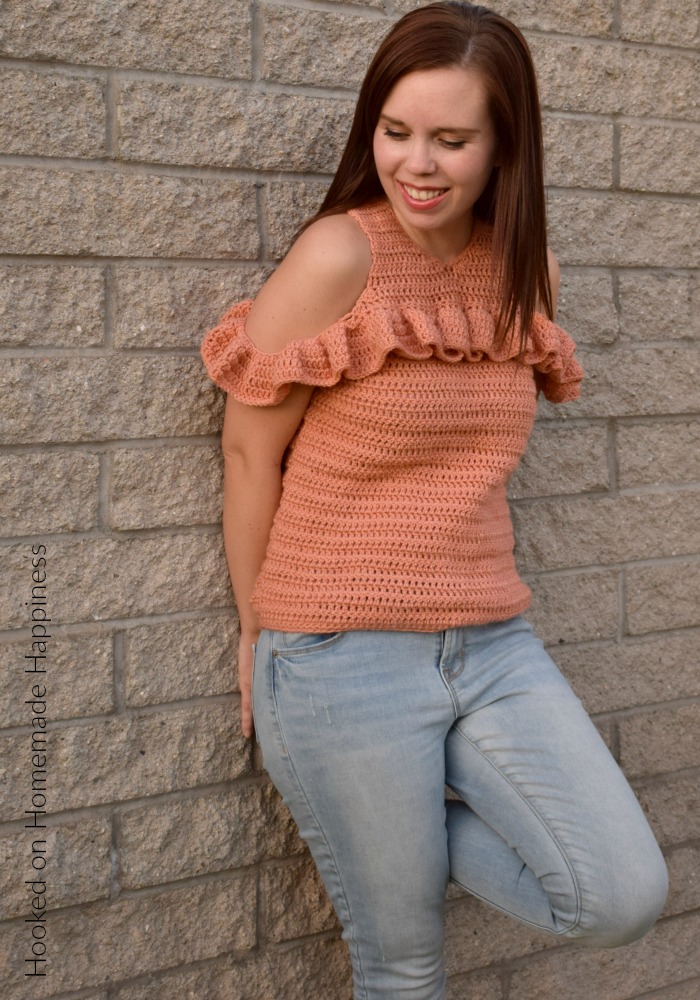
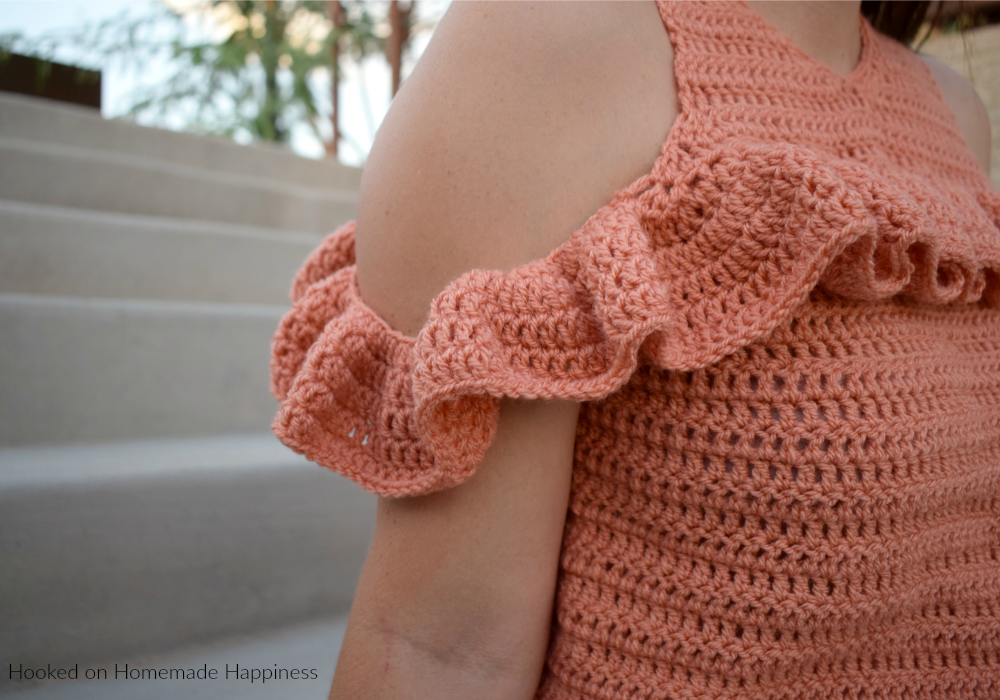
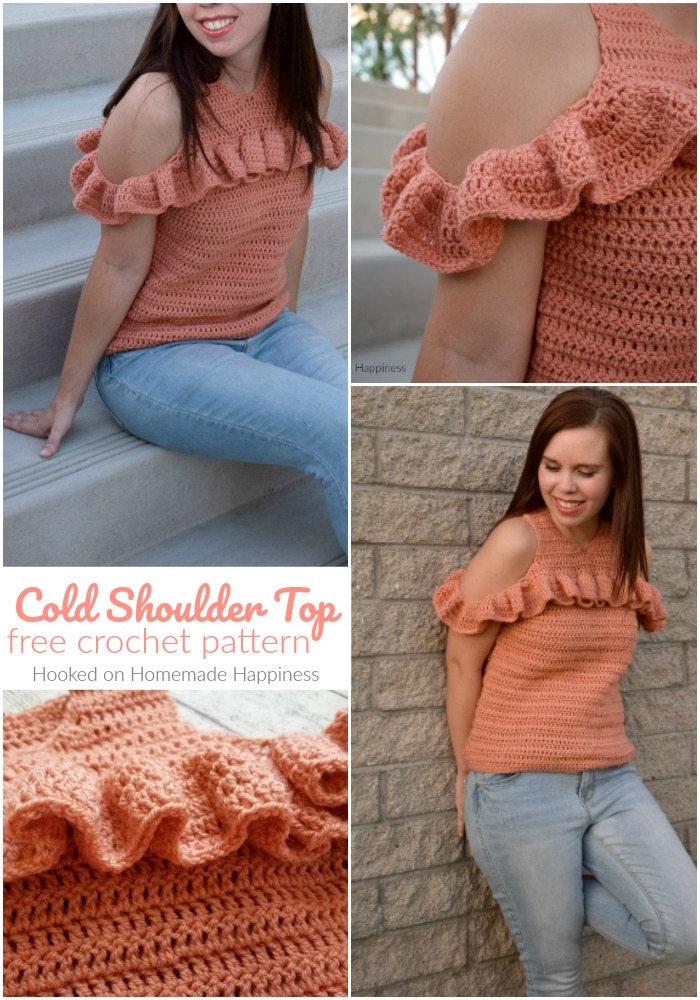
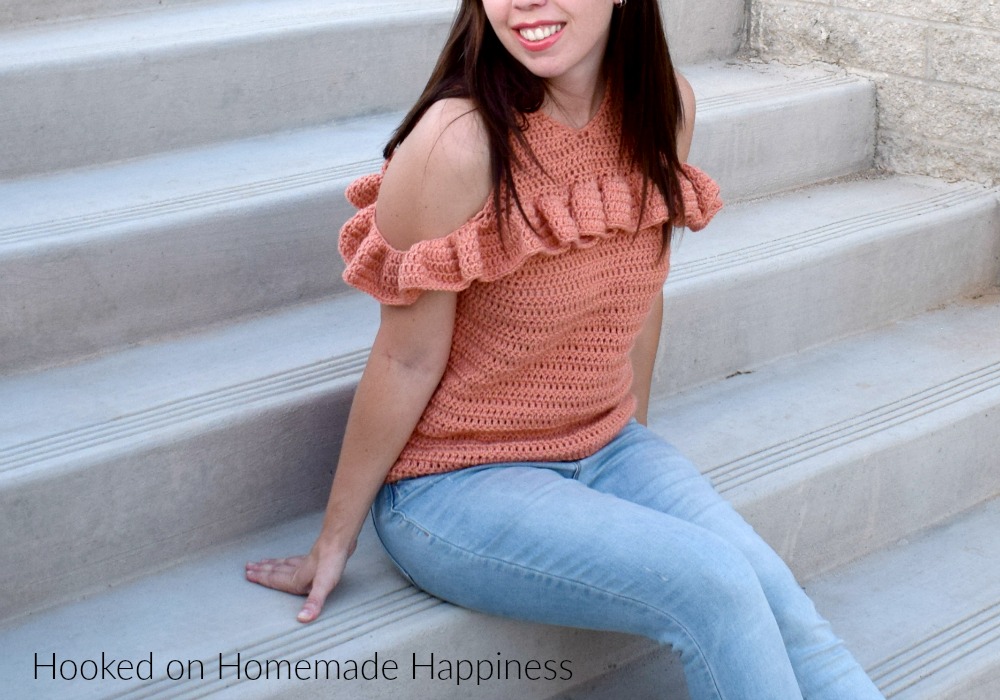
The Cold Shoulder Crochet Top Pattern is such a fun and flirty top! It’s made with DK weight yarn so it’s not too heavy. Perfect for Fall and Spring! This top has the cutest ruffle creating the cold shoulder detail. I love how fun and girly it makes this top! It’s mostly made of double crochets with a few shaping details making it an intermediate level pattern (or an ambitious beginner level!) I used one of my favorite DK acrylic yarns, Paintbox Simply DK. There are so many colors to choose from and it’s a good quality yarn for a great price.
More Homemade Happiness:

1. Summer Valley Top 2. Peasant Style Top 3. Ruffle Top
Cold Shoulder Crochet Top Pattern
– PIN for later HERE
– Add to your Ravelry Queue HERE
Materials
Dk acrylic or cotton yarn (I used Paintbox Simply DK in Vintage Pink – 3 skeins for S, 4 skeins for M & L)
4.5 mm hook
yarn needle
scissors
Level
intermediate
Pattern Notes & Stitches to Know
ch – chain
sl st – slip stitch
sc – single crochet
dc – double crochet
dc3tog – double crochet 3 together
– The top is made with two panels sewn together. The front and back are made separately and then sewn together across the shoulders and the sides. Then the ruffle detail is added around the front and back in rounds.
Written in US terms
Ch 2 does not count as dc
Approximate Finished Size (small pictured on 5’0″ model):
Length: S (21.5″) M (25.5″) L (29.5)
Width: S (17″) M (19″) L (21″)
Written in S, M noted in ( ), L noted in [ ]
Gauge
14 dc = 4″
9 rows = 4″
COLD SHOULDER TOP
(make 2)
Ch 61 (69) [75] (leave a long end for sewing)
Row 1: sc in 2nd ch from the hook and in each ch across (60 sc, (68 sc) [74 sc])
Row 2 – 3: ch 1, turn, sc in each stitch across (60 sc, (68 sc) [74 sc])
Row 4 – 33: ch 2, turn, dc in each stitch across (60 dc, (68 dc) [74 dc])
In the next rows you will start to decrease and shape for the armholes – each row will decrease by 4 stitches
Row 34 – 40: ch 2, turn, dc3tog, dc across to last 3 stitches, dc3tog
Row 41: ch 2, turn, dc in each stitch across (32 dc, (40 dc), [46 dc])
In the next rows you will start to decrease and shape the neckline
Row 42: ch 2, turn, dc in 13 (17) [20] stitches, dc3tog once (this will be the end of the row) (14 dc (18 dc) [21 dc])
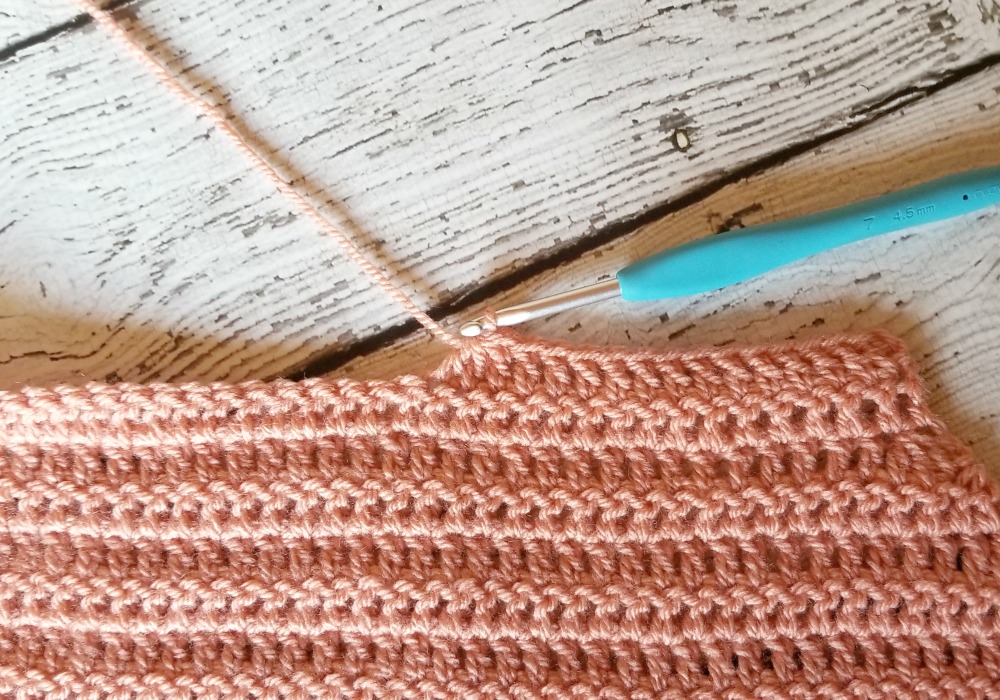
Row 43: ch 2, turn, dc3tog, dc in each stitch across (12 dc (16 dc) [19 dc])
Row 44: ch 2, turn, dc across to the last 3 stitches, dc3tog (10 dc, (14 dc), [17 dc])
Row 45 – 51 (55) [59]: ch 2, turn, dc in each stitch across (10 dc, (14 dc), [17 dc])
Fasten off, leave a long end for sewing.
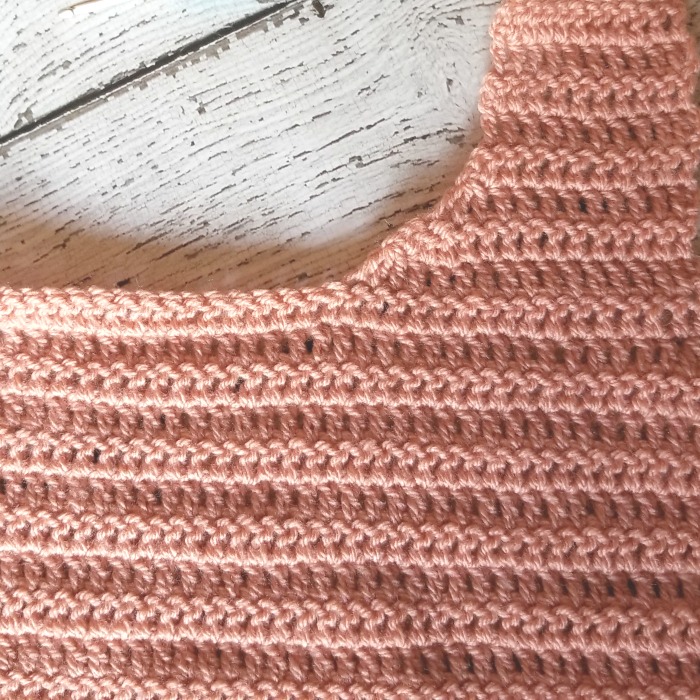
Join yarn to row 42 next to the dc3tog from the first shoulder strap

Row 42: ch 2, dc3tog across the three stitches right next to the dc3tog from other side
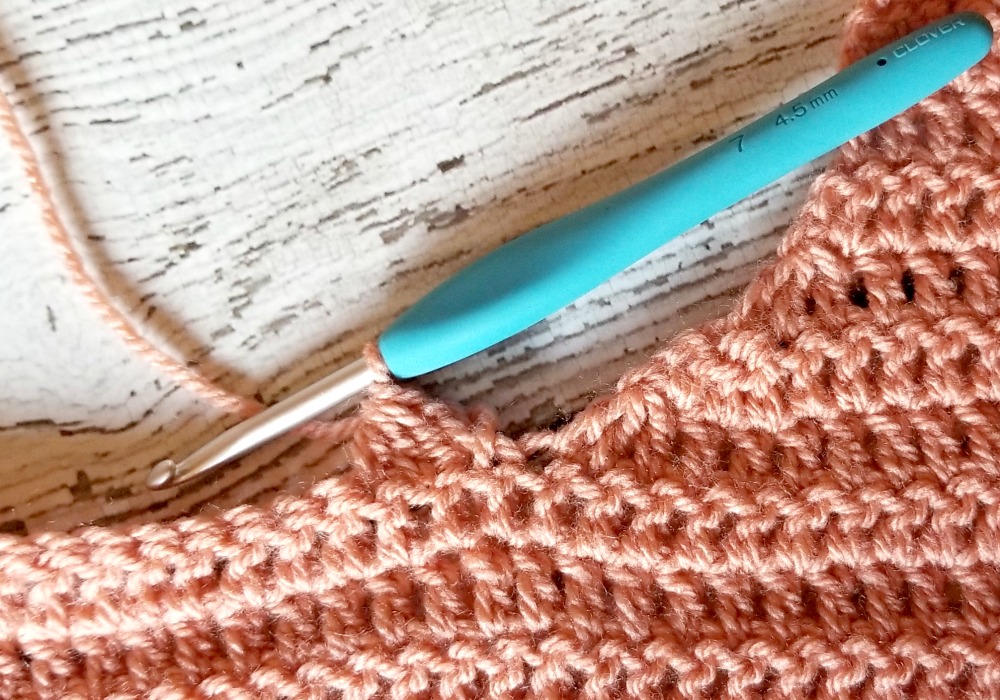
dc in remaining stitches across (14 dc (18 dc) [21 dc])
Row 43: ch 2, turn, dc across to the last 3 stitches, dc3tog (12 dc (16 dc) [19 dc])
Row 44: ch 2, turn, dc3tog, dc in each stitch across (10 dc, (14 dc), [17 dc])
Row 45 – 51 (55) [59]: ch 2, turn, dc in each stitch across (10 dc, (14 dc), [17 dc])
Do not fasten off.
Ch 1, sc around the inside of the collar to the middle 2 stitches, sl st2tog across the middle 2 stitches, sc up other side.
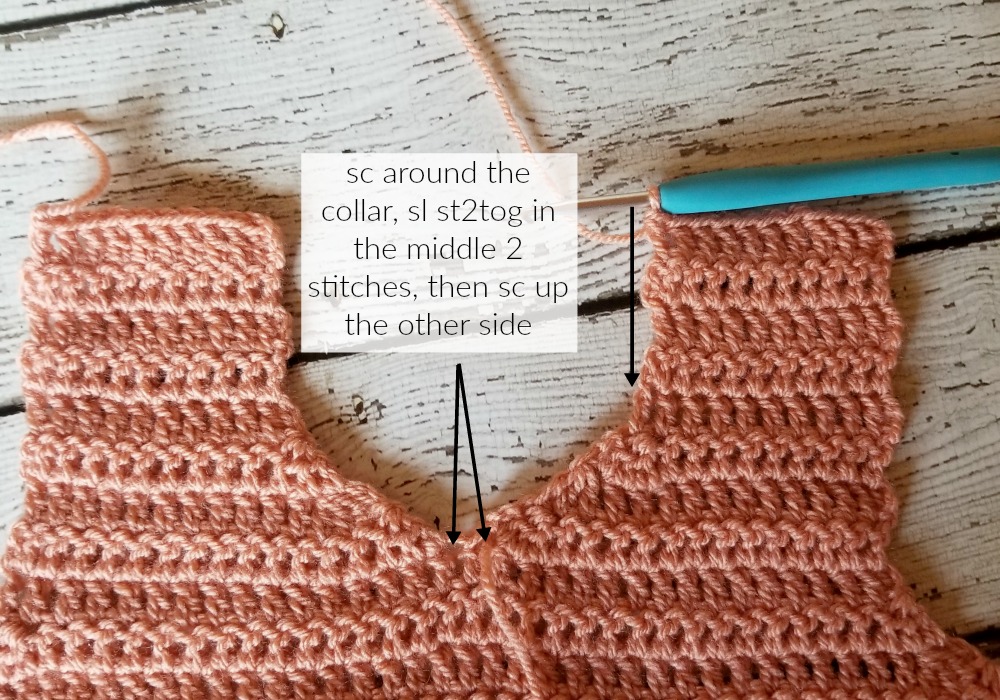
Fasten off.
Lay both pieces together. Use a needle and the long end whip stitch the shoulders together. Then whip stitch up each side to the armhole (row 34).
Fasten off, weave in all the ends. Turn right side out.
RUFFLE
Mark where you want your ruffle to be. I tried the top on and marked with a stitch marker. I made my ruffle about row 38
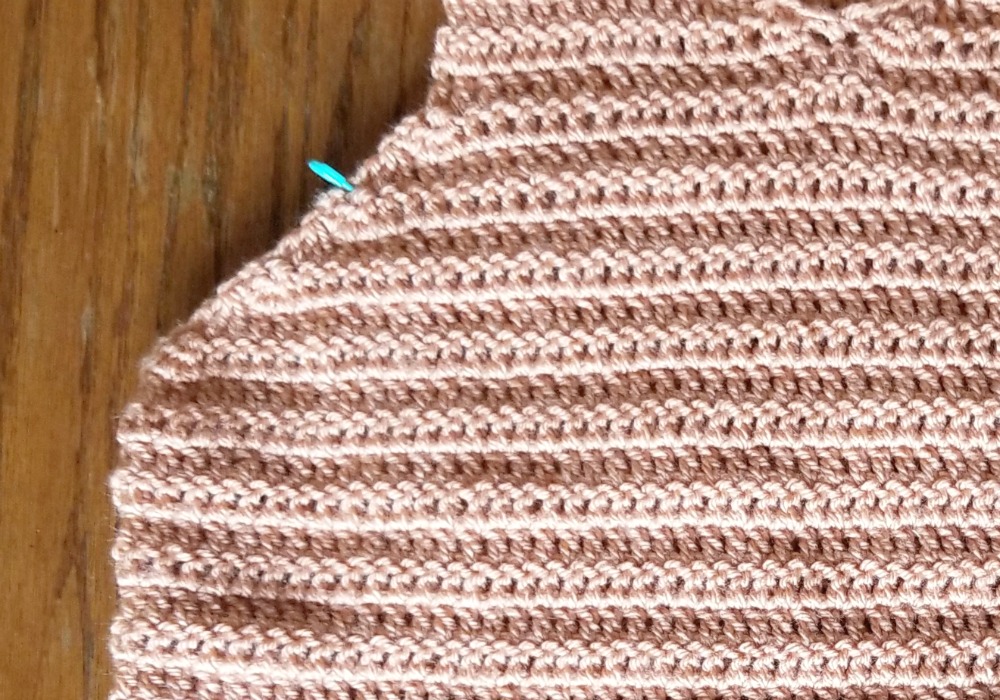
Join yarn at stitch marker. Ch 25. Join to the back with sl st (careful not to twist the ch) Fasten off.
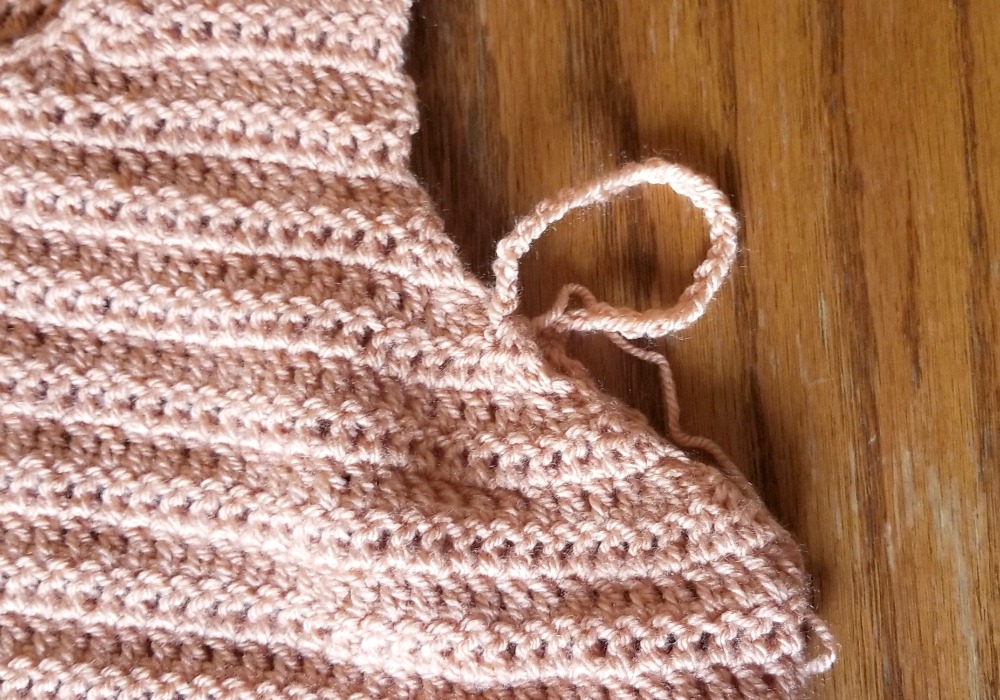
Repeat on the other side but do not fasten off.
Now you will make ruffles across the front of the top. You will work around the entire top, working in joined rounds.
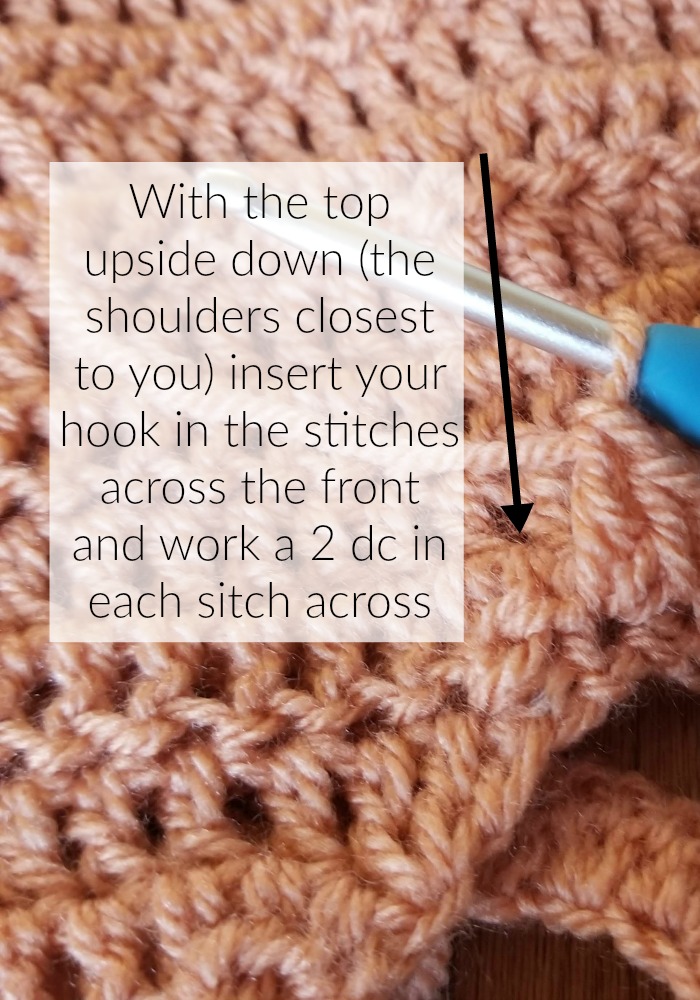
Row 1: ch 2, 2 dc in each stitch across the front to the other ch, 2 dc in each ch to the other side of the top, 2 dc in each stitch across to the ch, 2 dc in each ch, join to first dc with sl st
Row 2: ch 2, dc in same stitch, 2 dc in next, *dc in next, 2 dc in next* repeat from * to * around, join to first dc with sl st
Row 3 – 5: ch 2, dc in each stitch around, join to first dc with sl st
Fasten off, weave in your ends.
And you’re done! I hope you love this top!
Looking for more patterns? Follow me on Facebook, Instagram, and Pinterest! Please share a pic of your finished product with me. I’d love to see it!




thank you for the pattern. I love to make this for my baby who will be turning one this October. May I know what hook size will I use? thank you.
Hi! I would still use the same hook size but start with a smaller ch. Ch the width you would need for a 12 month top
Love u Breann, I’ll surely do it. It’s fun to follow ur instructions.
Hi Breann,
I love this top! Just finished one side and wondering the best way to add the ruffles to the top. Can I do 2dc around the posts of the stitches rather than just the front of the stitch? will it make a difference to how the ruffles lay? Thank you.
Yes, that would work great ?
Hi Breann;
I need to make an extra large, so how many more chains would I need, and would it hinder the pattern?
I LOVE this top!
I love this pattern, but I’m a larger then a size L. What hook and chain count would you suggest?
Hi! To increase width by about 2″ add 8 stitches to the beginning ch 🙂
I love this but I’m XL how can I increase it?
Hi! You can increase the starting ch to be the width you need it to be. 🙂
I love this top!! Once I increase the starting chain how would I increase each row to make sure it’s large enough? Thank you so much for sharing your pattern with us for free!
Hi! There are not increases 🙂 The width of the starting ch is the largest width of the sweater, if that makes sense 🙂
I was wondering if,I could get the pattern for the Cold Shoulder crochet top Pattern. I want to make it fory Granddaughter, Autumn. But I always have a problem trying to get all the stuff to make it with exspecially the pattern. If you sell it so I can just order it all at once. I would greatly appreciate it. Thank you so much.
Hi! No, I don’t have the kit.
Hi does the ruffle go around the back also?
yes 🙂
Hi. Is there a video tutorial for this?
Not for this pattern
Hi i want to make this for my aunty she has 49 inch bust 44 half inch waist how many starting chains do i need.
Also do i split the bist measurements in 2 so one for front and one for back.
Kind regards
Hi! That will depend on your gauge 🙂 You can just make a starting ch that is a little bigger than half the bust measurement.
Thank you for your advice, going to try and see if it works. What multiples do I use and are there any extra at beginning or end.
Hope that makes sense. So for instance starting chain of multiples of 6 plus 2.
Kind regards
Jean