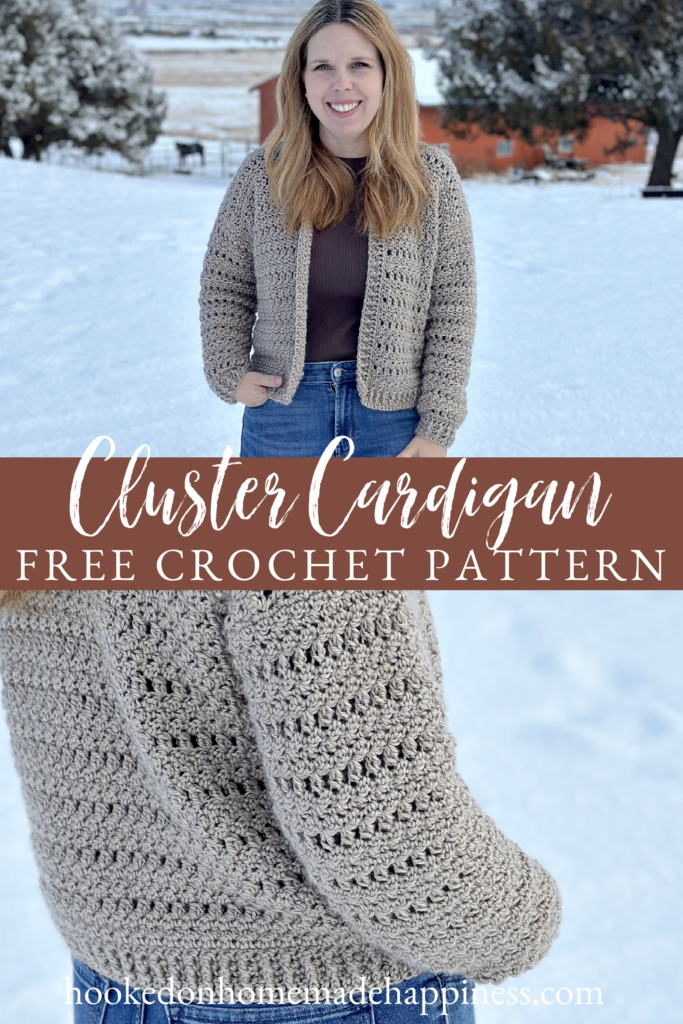
Cozy & Stylish: A Crochet Cardigan Pattern You’ll Love
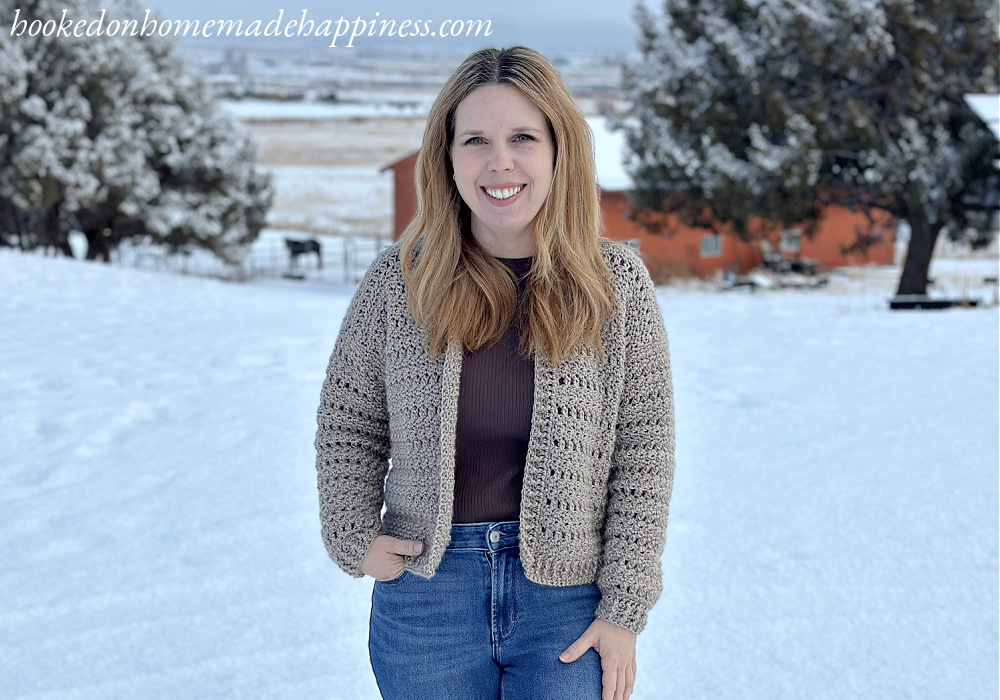
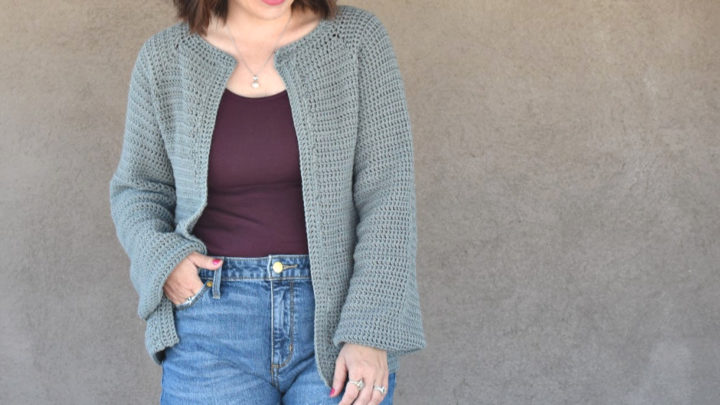
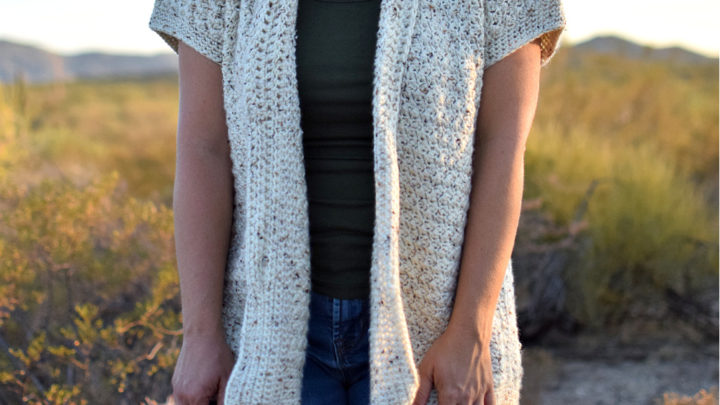
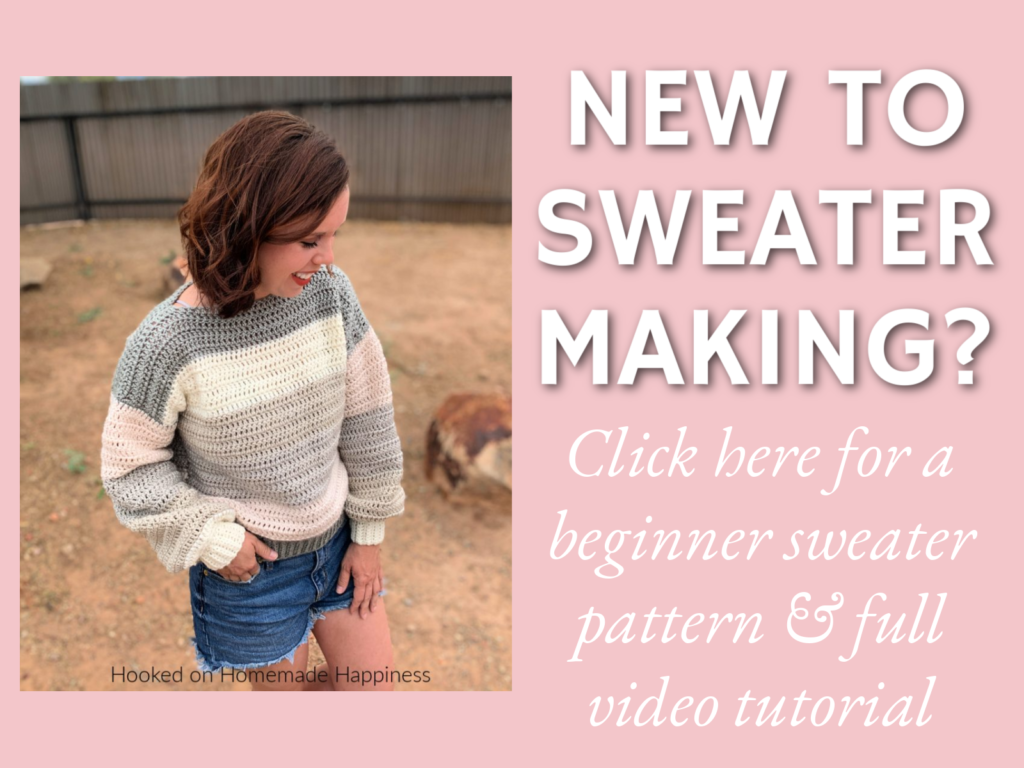
There’s nothing quite like wrapping yourself in a handmade crochet cardigan—warm, stylish, and crafted with love! Whether you’re a seasoned crocheter or just starting out, this pattern will guide you through creating a beautiful, cozy cardigan that’s perfect for any season. With detailed instructions, helpful tips, and customization options, you’ll have everything you need to stitch up your new favorite wardrobe piece. The Cluster Cardigan Crochet Pattern has some gorgeous texture that’s created by using a variety of stitches! This cardigan is made as almost one piece. This is one of my favorite ways to make a cardigan because it requires very little sewing!
Get To Know the Stitches
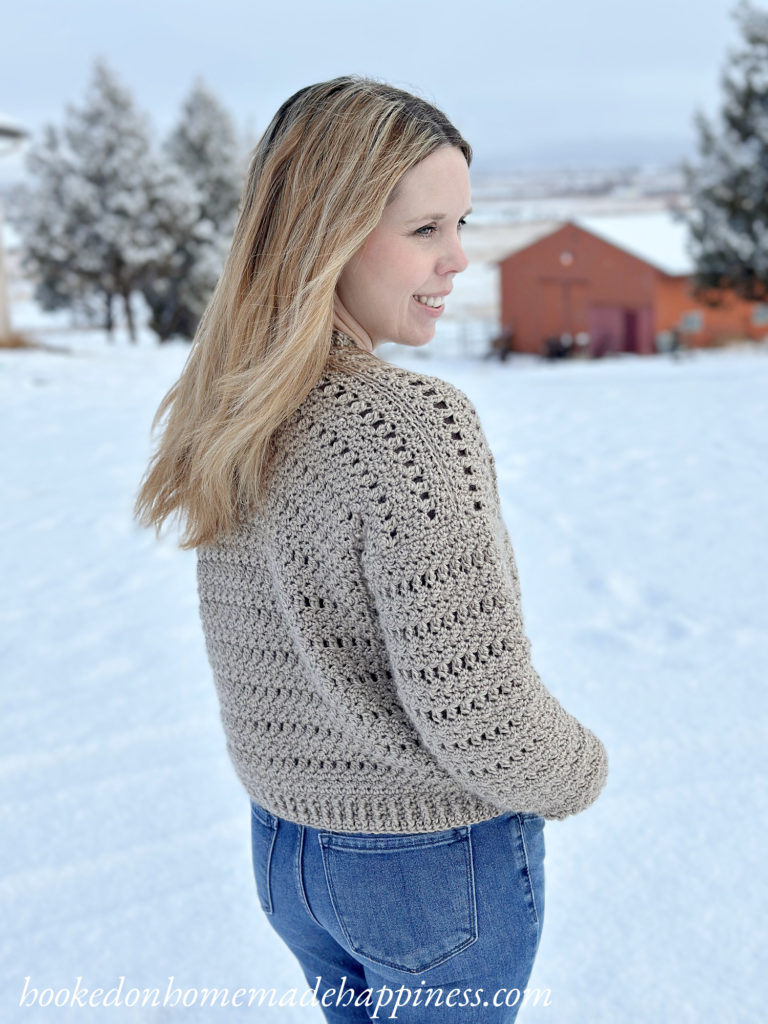
This cardigan uses a variety of stitches to create such texture. The first of these stitches is front post and back post double crochets for the ribbing along the bottom, the cuffs, and around the collar. Ribbing adds a polished, finished look to any cardigan. There are a few ways to add ribbing, but for this sweater we went for a texture rich option.
The second of the stitches used is the Lemon Peel Stitch (aka the Griddle Stitch). The Lemon Peel Crochet Stitch is a simple yet textured stitch pattern created by alternating single crochet (sc) and double crochet (dc) stitches. This results in a bumpy, pebbled texture that resembles the surface of a lemon peel. It’s a textured and dense, beginner friendly stitch that is great for sweaters, blankets, and washcloths.
The last of the stitches used is the Cluster Stitch (CL). The Cluster Stitch is a textured stitch that creates a slightly raised, puffy effect by grouping multiple incomplete stitches together and closing them with a single yarn-over. It is often used for adding depth and dimension to projects like blankets, scarves, and decorative pieces.
Choosing Your Yarn
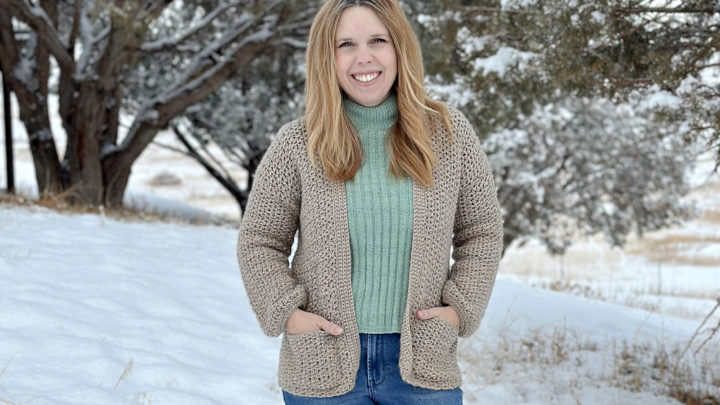
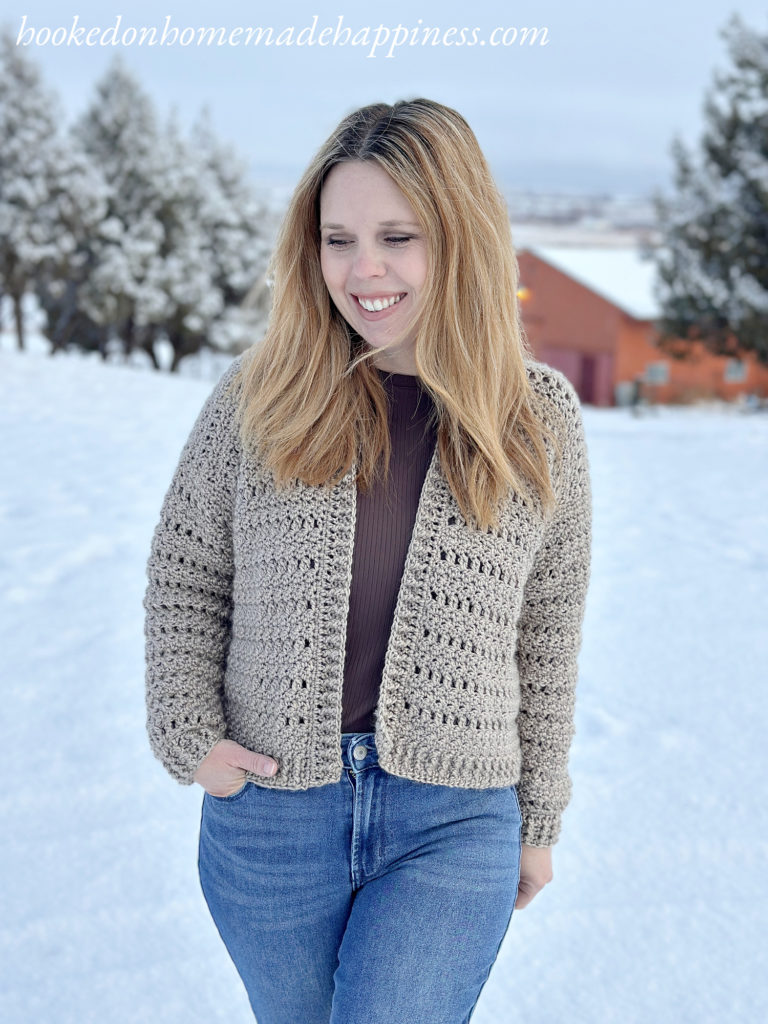
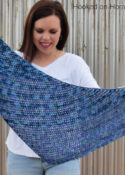
For the yarn I used Yarn Bee Soft Secret in Taupe. This is a soft, acrylic worsted weight yarn. It has a pretty shine to the yarn. Any acrylic, worsted weight yarn will work great for this sweater. Choosing an acrylic worsted weight yarn for a sweater is a practical and budget-friendly option, especially for beginners or those looking for easy-care garments. Acrylic yarn is soft, lightweight, and comes in a wide range of colors and textures, making it versatile for different styles. It is also machine washable and durable, making it ideal for everyday wear. Consider a high-quality acrylic blend for added softness and breathability, ensuring comfort while maintaining warmth.
click here to pin for later >>>
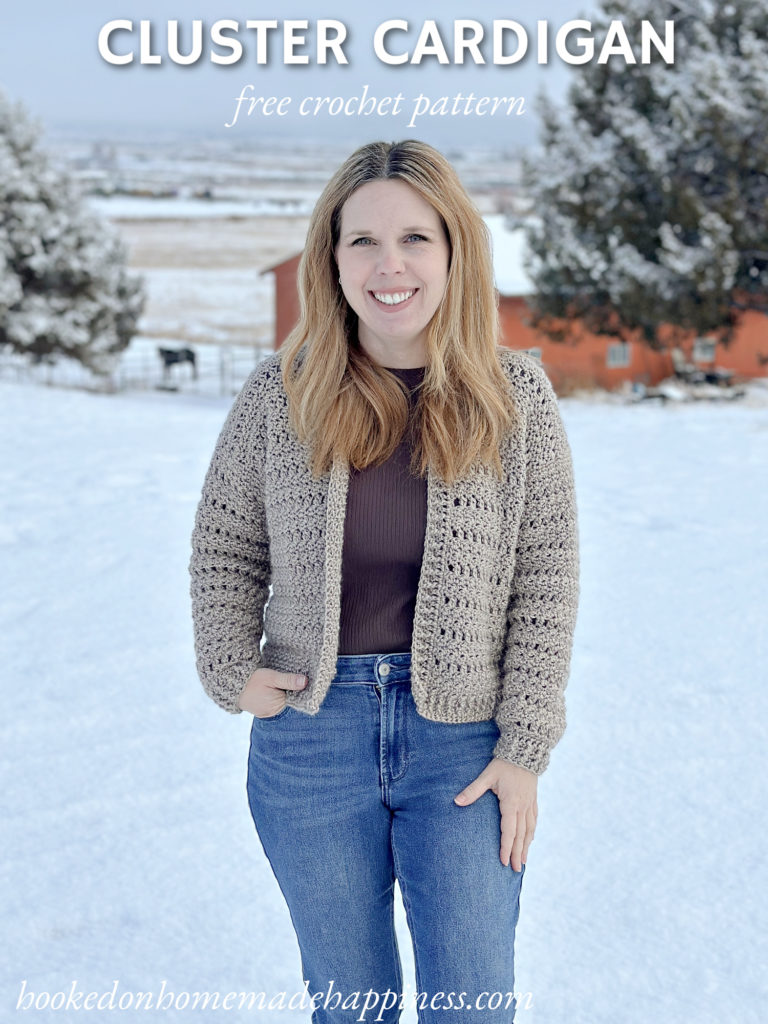
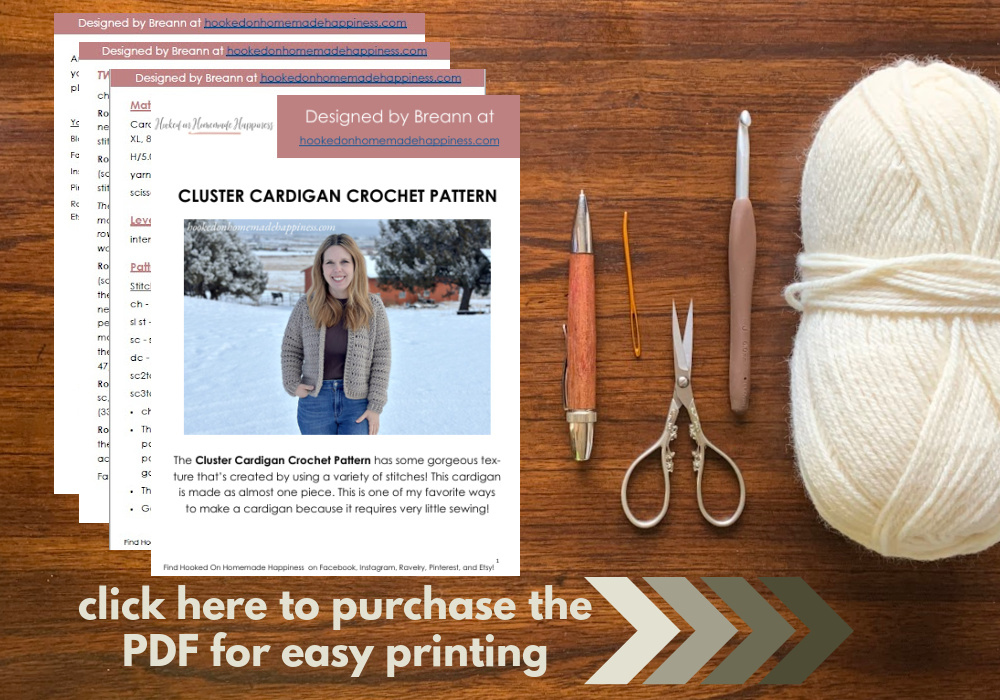
Cluster Cardigan Crochet Pattern
Get the full pattern below or purchase the ad-free, printable PDF in my Etsy Shop or Ravelry Shop
PIN for later HERE
Add to your Ravelry Queue HERE
Materials
Worsted weight acrylic yarn (I used Yarn Bee Soft Secret in Taupe — 4 skeins for S/M, 5 skeins for L/XL, 6 skeins for 2X/3X)
I/5.5 mm hook
Yarn needle
Scissors
stitch markers
Level
intermediate
Pattern notes & stitches to know
ch – chain
sl st – slip stitch
sc – single crochet
dc – double crochet
fpdc – front post double crochet
bpdc – back post double crochet
CL – cluster – (*yarn over, insert stitch into next stitch, pull up a loop, yarn over, pull through 2 loops* repeat from * to * once more in same stitch, yarn over, pull through all 3 loops on hook)
sc2tog – single crochet 2 together
st(s) – stitch(es)
rs – right side
ws – wrong side
· written in US terms
· ch 2 does not count as dc
· ch 1 does not count as sc
· This cardigan is made as one rectangle, with openings for the sleeves (like the graphic below). There is a little sewing across the shoulders. Then the sleeves are added with turned rounds and last the collar.

· Gauge: 14 stitches (alternating sc & dc) x 14 rows = 4” x 4”
Sizes:
(S, M, L) (XL, 2X, 3X) – The pattern is written in these sizes consecutively. Example, when the pattern gives the end of row count ((125, 139, 153) (167, 181, 195) dc) the 125 is for S, 139 is M, 153 is L, 167 is XL, 181 is 2X, 195 is 3X.
This sweater is a loose fit with some positive ease.
Approx Finished Size:
Bust: S (40”) M (44”) L (48”) XL (52”) 2X (56”) 3X (60”)
Length: S (18”) M (18.5”) L (20.5”) XL (21”) 2X (23”) 3X (23.5”)
Armhole Depth: S (7.5”) M (8”) L (8.5”) XL (9”) 2X (9.5”) 3X (10”)
Sleeve Length (from seam): S (17”) M (17.5”) L (18”) XL (18.5”) 2X (19”) 3X (19.5”)
Size Small pictured. I am 5’0” with 34” bust
CLUSTER CARDIGAN CROCHET PATTERN
ch (127, 141, 155) (169, 183, 197)
Row 1 (ws): starting in 3rd ch from the hook, dc in each st across ((125, 139, 153) (167, 181, 195) dc)
Row 2 (rs): ch 1, turn, sc in first st, *fpdc in next, sc in next* repeat from * to * across ((125, 139, 153) (167, 181, 195) sts)
Row 3 (ws): ch 1, turn, sc in first st, *bpdc in next, sc in next* repeat from * to * across ((125, 139, 153) (167, 181, 195) sts)
Row 4 – 5: repeat rows 2 & 3
Row 6 (rs): ch 1, turn, sc in each st ((125, 139, 153) (167, 181, 195) sc)
Row 7 (ws): ch 1, turn, sc in first st, *dc in next, sc in next* repeat from * to * across ((125, 139, 153) (167, 181, 195) sts)
Row 8 (rs): ch 2, turn, dc in first st, *sc in next, dc in next* repeat from * to * across ((125, 139, 153) (167, 181, 195) sts)
Row 9 (ws): ch 1, turn, sc in first st, *dc in next, sc in next* repeat from * to * across ((125, 139, 153) (167, 181, 195) sts)
Row 10 (rs): ch 2, turn, dc in first st, ch 1, skip 1 st, *CL in next, ch 1, skip 1 st* repeat from * to * across to last st, dc in last st ((61, 68, 75) (82, 89, 96) CL)
Row 11 (ws): working in each st and ch-1 space across, repeat row 7
Row 12 (rs): repeat row 8
Row 13 (ws): repeat row 9
Row 14 – (34, 34, 38) (38, 42, 42) (rs): repeat rows 10 – 13, ending with a row 10 repeat
This is the length before the armholes are made. To adjust the length, add or take out rows as needed.
Section A is made in the next rows. You will only work partly across the row, then turn.
Section A (optional: place a stitch marker at the beginning of this row to mark as row 1)
Row 1 (ws): (working in each st and ch-1 space across) ch 1, turn, sc in first stitch, *dc in next, sc in next* repeat from * to * for a total of (29, 33, 35) (39, 43, 47) sts ((29, 33, 35) (39, 43, 47) sts)
Row 2 (rs): ch 2, turn, dc in first st, *sc in next, dc in next* repeat from * to * across ((29, 33, 35) (39, 43, 47) sts)
Row 3 (ws): ch 1, turn, sc in first st, *dc in next, sc in next* repeat from * to * across ((29, 33, 35) (39, 43, 47) sts)
Row 4 (rs): ch 2, turn, dc in first st, ch 1, skip 1 st, *CL in next, ch 1, skip 1 st* repeat from * to * across to last st, dc in last st ((13, 15, 16) (18, 20, 22) CL)
Row 5 – Row (18, 20, 22) (24, 26, 28) (rs): repeat rows 1 – 4
The height of Section A is the size of your armhole. Add or take out rows as needed.
Fasten off. Leave a long end for sewing.
Section B (optional: place a stitch marker at the beginning of this row to mark as row 1)
With Section A on the right, join yarn to the CL next to the last stitch from Section A: Row 1. (skip the ch-1 space)
Row 1 (ws): (working in each stitch and ch-1 space across) ch 1, turn, sc in first stitch, *dc in next, sc in next* repeat from * to * for a total of (65, 71, 81) (87, 93, 99) stitches ((65, 71, 81) (87, 93, 99) sts)
Row 2 (rs): ch 2, turn, dc in first stitch, *sc in next, dc in next* repeat from 8 to * across ((65, 71, 81) (87, 93, 99) sts)
Row 3 (ws): ch 1, turn, sc in first stitch, *dc in next, sc in next* repeat from * to * across ((65, 71, 81) (87, 93, 99) sts)
Row 4 (rs): ch 2, turn, dc in first stitch, ch 1, skip 1 stitch, *CL in next, ch 1, skip 1 stitch* repeat from * to * across to last stitch, dc in last stitch ((31, 34, 39) (42, 45, 48) CL)
Row 5 – Row (18, 20, 22) (24, 26, 28) (rs): repeat rows 1 – 4
Or until it’s the same length as Section A
Fasten off. Leave a long end for sewing.
Section C (optional: place a stitch marker at the beginning of this row to mark as row 1)
With Section A & B on the right, join yarn to the CL next to the last stitch from Section B: Row 1 (skip the ch-1 space)
Row 1 (ws): (working in each stitch and ch-1 space across) ch 1, turn, sc in first stitch, *dc in next, sc in next* repeat from * to * for a total of (29, 33, 35) (39, 43, 47) stitches ((29, 33, 35) (39, 43, 47) sts)
Row 2 (rs): ch 2, turn, dc in first stitch, *sc in next, dc in next* repeat from 8 to * across ((29, 33, 35) (39, 43, 47) sts)
Row 3 (ws): ch 1, turn, sc in first stitch, *dc in next, sc in next* repeat from * to * across ((29, 33, 35) (39, 43, 47) sts)
Row 4 (rs): ch 2, turn, dc in first stitch, ch 1, skip 1 stitch, *CL in next, ch 1, skip 1 stitch* repeat from * to * across to last stitch, dc in last stitch ((13, 15, 16) (18, 20, 22) CL)
Row 5 – Row (18, 20, 22) (24, 26, 28) (rs): repeat rows 1 – 4
Or until it’s the same length as Section A & B
Fasten off. Leave a long end for sewing.
SEWING
Fold sections A & C towards the middle (section B). Line up the edges across the top with stitch markers. Use the long ends and a yarn needle to whip stitch the shoulders closed.

SLEEVES
With cardigan facing right side out, join yarn to the bottom of an armhole
Round 1 (rs): ch 1, sc evenly around the sleeve—make sure the total number of stitches is a mult of 6, join to first sc with sl st (approx. (54, 60, 66) (72, 78, 84) sc)
Round 2 (ws): ch 2, turn, dc in first st, sc in next, *sc dc in next st, sc in next* repeat from * to * around, join to first dc with sl st
Round 3 (rs): ch 2, turn, dc3tog, sc in next, *dc in next st, sc in next* repeat from * to * around, join to first dc with sl st (sts decrease by 2)
Round 4 (ws): ch 2, turn, dc in first st, sc in next, *sc dc in next st, sc in next* repeat from * to * around, join to first dc with sl st
Round 5 (rs): ch 2, turn, dc in first st, ch 1, skip 1 st, *CL in next, ch 1 skip 1 st* repeat from * to * around, join to first dc with sl st
Round 6 – Round (41, 43, 45) (47, 49, 51) (rs): repeat rounds 2 – 5
Or until desired sleeve length before the cuff begins.
CUFF
(Optional: place a stitch marker at beginning of next round to mark as round 1 for the cuff)
Round 1 (ws): ch 1, turn, sc in first st, *sc2tog, sc in next* repeat from * to * around, join to first sc with sl st
Round 2 (rs): ch 1, turn, sc in each st around, join to first sc with sl st
Round 3 (ws): ch 2, turn, dc in each st around, join to first dc with sl st
Round 4 (rs): ch 1, turn, sc in first st, fpdc in next, *sc in next st, fpdc in next* repeat from * to * around, join to first sc with sl st
Round 5 (ws): ch 1 turn, bpdc in first st, sc in next, *bpdc in next st, sc in next* repeat from * to * around, join to first bpdc with sl st
Round 6 – 8 (rs): repeat rounds 4 & 5 – ending with a round 4 repeat
Fasten off. Weave in the ends.
COLLAR
With cardigan facing right side out, join yarn to the bottom left corner of the cardigan.
The collar is worked all the way around to the opposite corner.
Row 1 (rs): ch 1, sc evenly around the entire collar to the opposite corner on the bottom right—make sure the total number of stitches is an odd number
Row 2 (ws): ch 2, turn, dc in each st across
Row 3 (rs): ch 1, turn, sc in first st, *fpdc in next, sc in next* repeat from * to * across
Row 4 (ws): ch 1, turn, sc in first st, *bpdc in next, sc in next* repeat from * to * across
Row 5 (rs): ch 1, turn, sc in first st, *fpdc in next, sc in next* repeat from * to * across
Or until desired collar width.
Fasten off. Weave in the ends.
Looking for more patterns? Follow me on Facebook, Instagram, and Pinterest! Please share a pic of your finished product with me. I’d love to see it!


Thank you so much for sharing this pattern!
Thank you sooooooooooo much! Made your Catalina cardigan and love it! This will be fun to try, you are so generous!
Yay! You’re welcome 🙂
Where do I find the link for the vidro tutorial of one of yiyr cardigans?
Hi! I don’t have a video for this particular pattern, but here’s one to a similar cardigan: https://www.youtube.com/watch?v=10VrX0k46lg&t=269s
Love this pattern and the yarn you selected!
Thank you!
I love this pattern and so excited to get started and make it but I am confused on the an and c sections being folded into the middle. I just started following you and I have tons of projects I am excited to make. Thanks for your generosity and making these free for us. Merry Christmas!
Hi! The cardigan is made as one whole rectangle. There will be splits for the armholes. When sections a and c get folded toward the center you will sew across the top and the splits will become the armholes. I have a video tutorial for a different sweater that uses the same method. At 11:36 you can see where I will do this part of the sweater. Hope this helps! https://www.youtube.com/watch?v=86xhWH2KvfM&t=11s
Thank you so very much!
You’re very welcome!!
I am making the 2xl. When making the first sleeve, I have 96 single crochet stitches in the first round. The arms are looking too big. Is 96 way too many stitches?
Hi! That might be too many, try working 1 sc in the end of each row and see if that looks better 🙂
Not following. I understand the sc in the end but not sure how that will reduce the # of stitches. Sorry! Confused. LOL
If you’re making a 2X then you should have approx 60 rows around the armhole. So if you work 1 sc in the end of each row you should get about 60 stitches.
That makes perfect sense! Thank you.
I am confused on what the cluster consists of—the whole dc2tog, dc3tog, sc2tog? That seems to make the row too wide
The CL is dc2tog in the same stitch 🙂
Thanks Breann, I think I am really going to like this sweater!
Hi Breann, what is the gauge for the Cluster Cardigan?
Thank you
Trease
Hi! I would really like to make this cardigan, but I can’t seem to find a gauge for it, did I miss that in the pattern?
Thanks for your help!
Should I always do the dc3tog in each row three repeat in the sleeves arms?
Hi! Yes, but if it has decreased enough for you, just dc in remaining stitches without the decrease 🙂
Hi Breann. Can this cardigan be made as a cropped cardigan?