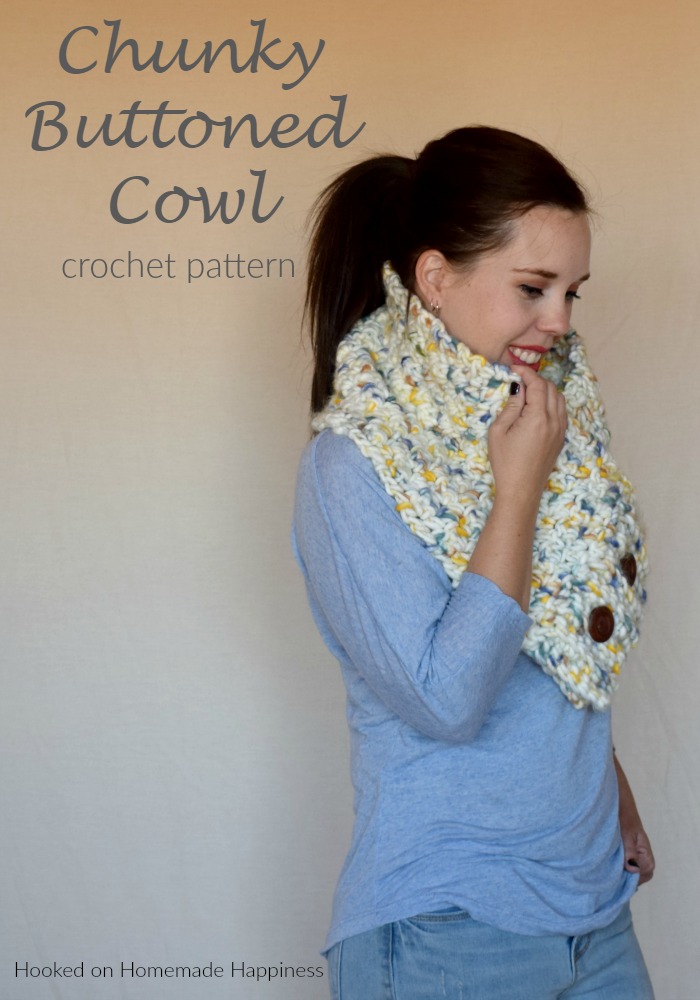
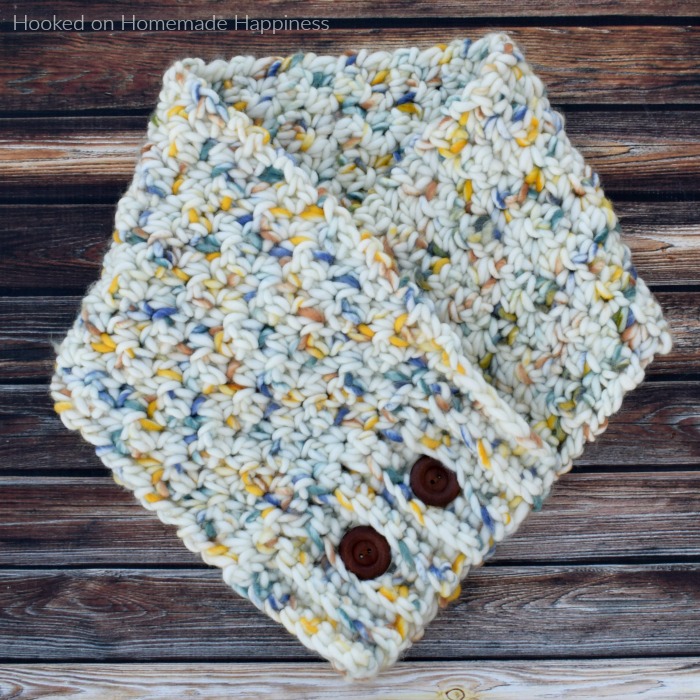
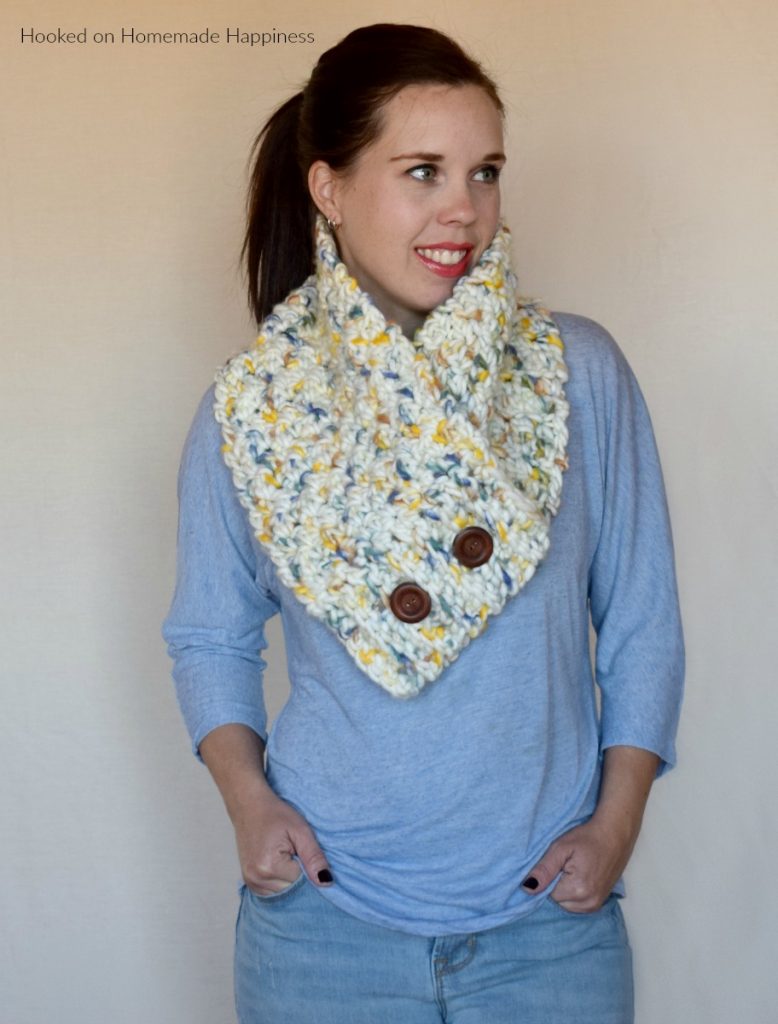
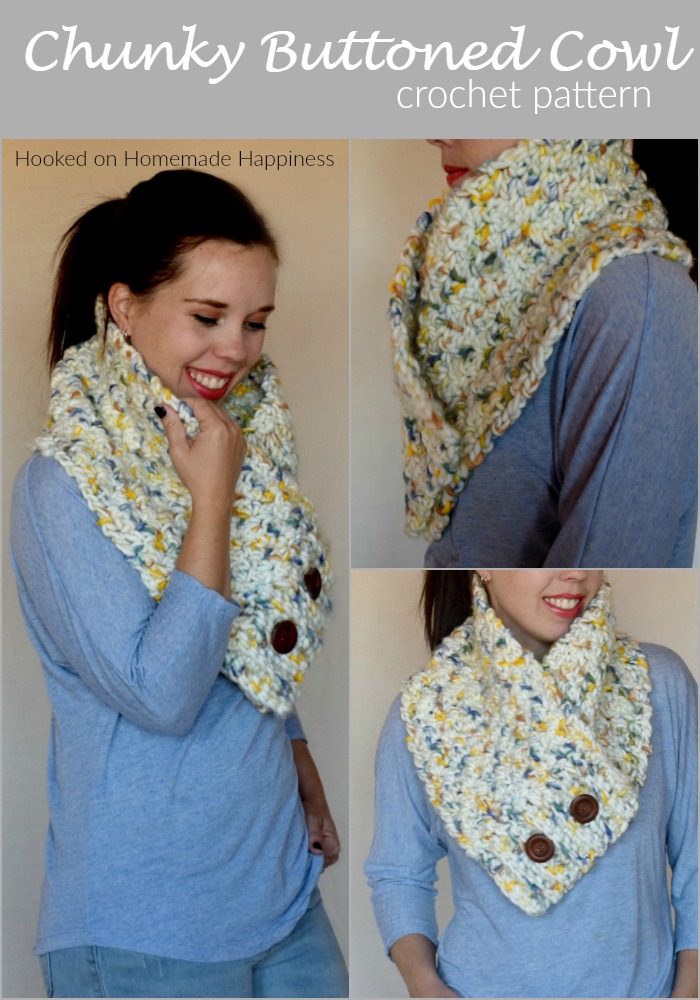
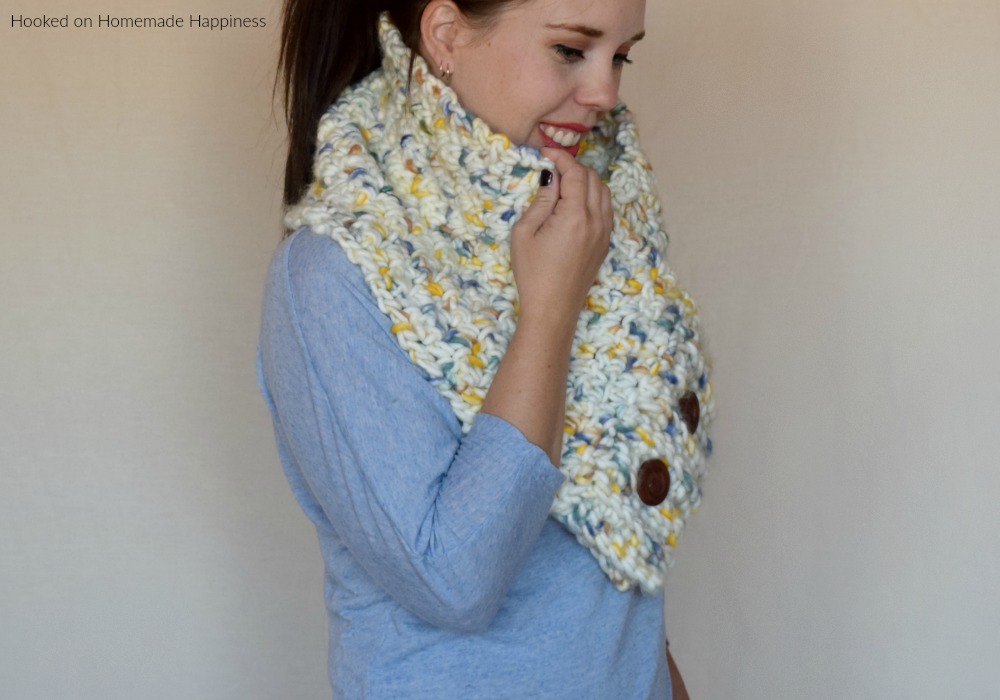
This Chunky Buttoned Cowl Crochet Pattern is big, bulky, and fabulous! I used this awesome super bulky yarn from Yarn Bee for this cowl and it created a beautiful texture. The pattern starts with the easy ribbing (all sc!) then the main body of the cowl is the lemon peel stitch. I love this stitch because it’s such a simple texture to create, all dc and sc! This pattern is very beginner friendly. All you need to know are very basic crochet stitches and you can make this warm and cozy Chunky Buttoned Cowl.
More Homemade Happiness:

1. Bobbles of Fun Cowl 2. Tea Cake Cowl 3. Buffalo Plaid Cowl
Chunky Buttoned Cowl Crochet Pattern
– Get the free pattern below or this pattern is also available as an inexpensive, clearly formatted, PDF instant download in my Etsy Shop or Ravelry Shop!
– PIN for later HERE
– Add to your Ravelry Queue HERE
Materials
3 skeins Yarn Bee Watercolor Hues (300g super bulky acrylic yarn)
L/8.0 mm hook
Yarn needle
Scissors
2 buttons (at least 1.5”)
Thread
Level
Easy -you must be very familiar with basic crochet stitches
Pattern notes & stitches to know
Ch – chain
Sc – single crochet
Sc – single crochet back loop only (instead of inserting hook into both top loops, insert hook into only the back loop and work a sc)
Dc – double crochet
Written in US terms
Ch 1 does not count as stitch
Approximate Finished Size:
9” x 41” (before folding)
CHUNKY BUTTONED COWL
The pattern starts with the ribbing
Ch 9
Row 1: sc in 2nd loop from the hook and across (8 sc)
Row 2 – 4: ch 1, turn, sc blo in each stitch across (8 sc)
The first buttonhole is created in the next row
Row 5: ch 1, turn, sc blo in 3 stitches, ch 2, skip 2, sc blo in 3 stitches (6 sc)
Row 6: ch 1, turn, sc blo in 3 stitches, 2 sc in ch 2 space, sc blo in last 3 stitches (8 sc)
Row 7 – 9: ch 1, turn, sc blo in each stitch across (8 sc)
The second buttonhole is created in the next row
Row 10: repeat row 5
Row 11: repeat row 6
Row 12 – 14: ch 1, turn, sc blo in each stitch across (8 sc)
Next is the main body of the cowl. Turn and work across the top of the ribbed band
Row 1: ch 1, sc evenly across, work 1 sc in the end of each row (14 sc)
Row 2: ch 1, turn, sc in first stitch, dc in next, *sc, dc* repeat from * to * across (7 sc, 7 dc)
Repeat row 2 to row 48
Fasten off, weave in the ends.
CONSTRUCTION
Lay the rectangle out with the ribbed end on the left. Sew the buttons on the top right corner (see photo below) I sewed them on about row 45 and 41, approx. 4 stitches in from the left
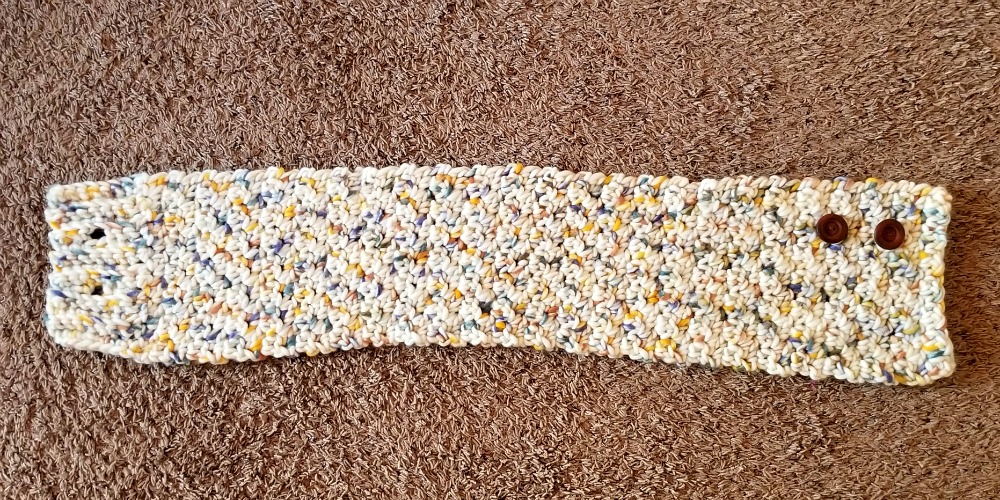
To fold bring both top corners together. You can sew it closed to keep it more secure if you’d like.
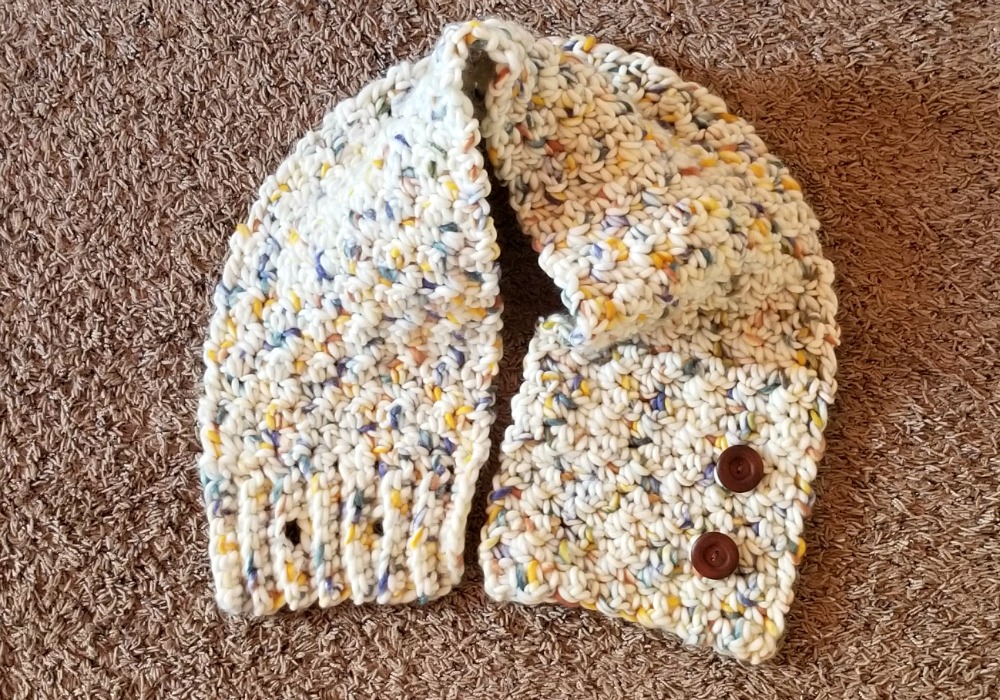
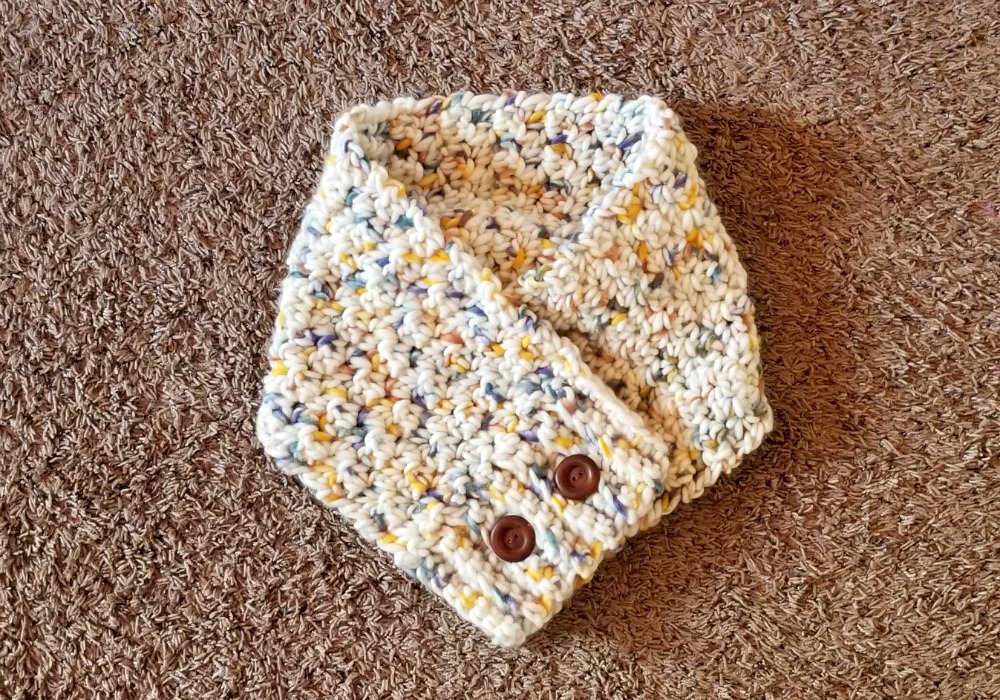
And that’s it! I hope you love this cowl!
Looking for more patterns? Follow me on Facebook, Instagram, and Pinterest! Please share a pic of your finished product with me. I’d love to see it!




Only registered users can comment.