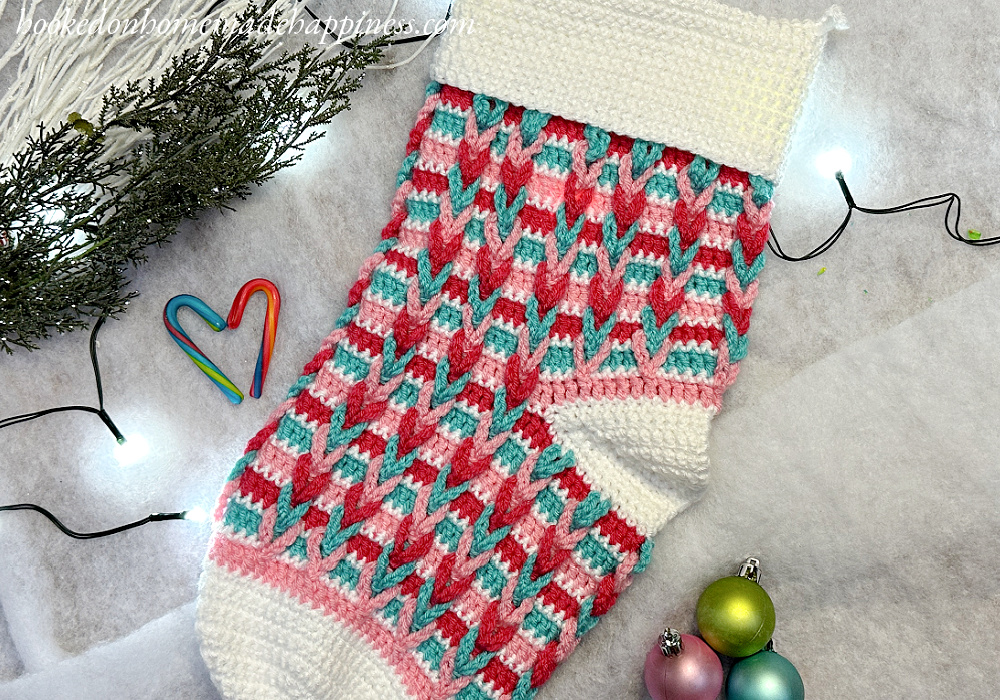
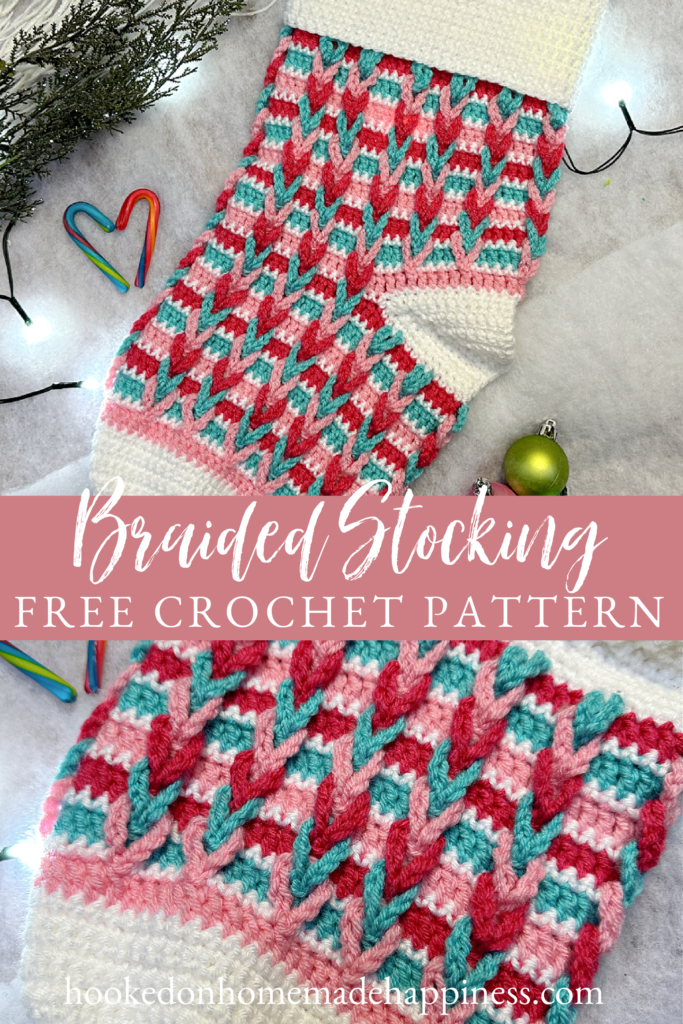
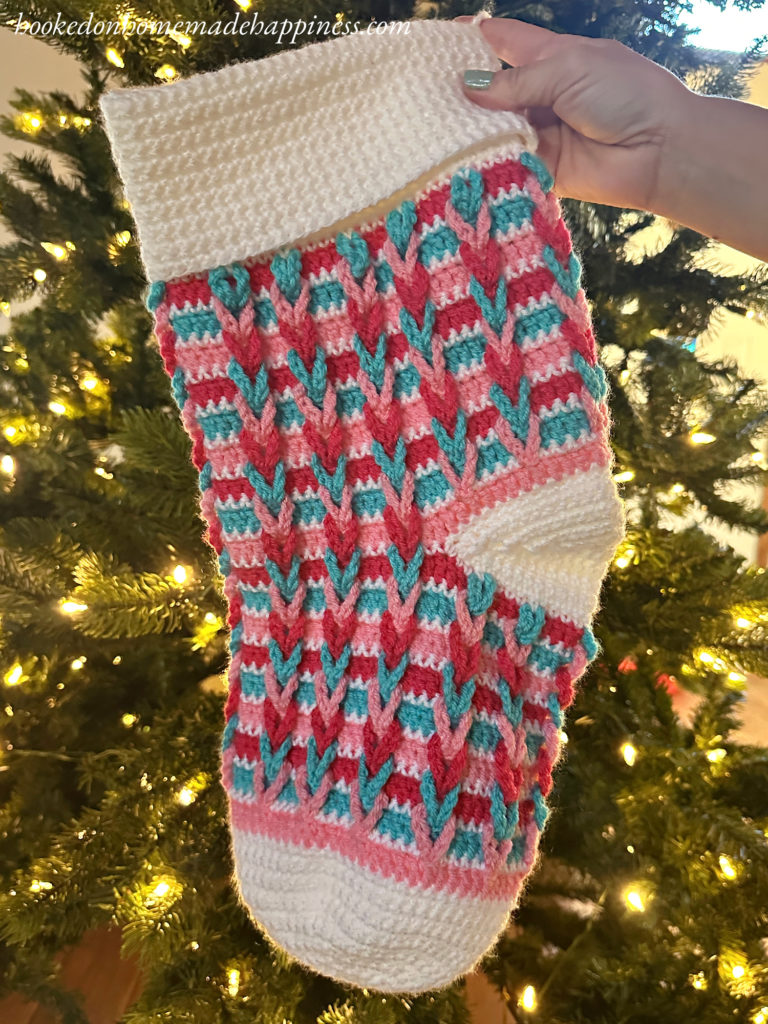
It’s that time of year again – when the air is filled with the sweet scent of pine, the streets are lined with twinkling lights, and cozy fireplaces beckon us to snuggle up with loved ones. Christmas is just around the corner, and with it comes the joy of giving and receiving heartfelt gifts. But for crafty individuals, there’s an added layer of excitement during this holiday season – the opportunity to create handmade treasures for those we hold dear. And what better way to do that than with a handmade stocking? The Braided Christmas Stocking Crochet Pattern is so festive and cute! It uses a fun stitch called the Jacob’s Ladder Stitch. It has a faux cable look that is so easy to create! This stocking is a good size and can hold LOTS of goodies from Santa.
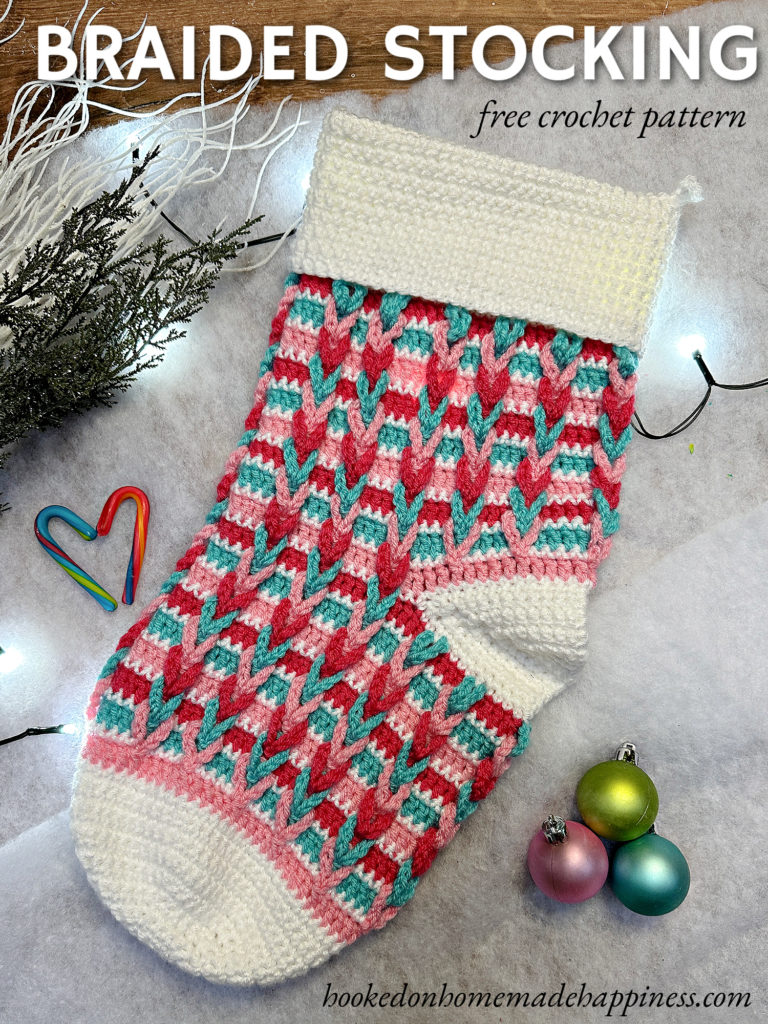
Let’s talk yarn! I used WeCrochet Brava Worsted in 4 colors. This is an acrylic worsted weight yarn that comes in a variety of colors. It’s an affordable yarn that is perfect for projects like Christmas stockings! Any worsted weight acrylic yarn would work great for this pattern,
More Homemade Happiness
click here to pin this pattern for later >>>
Braided Stocking Crochet Pattern
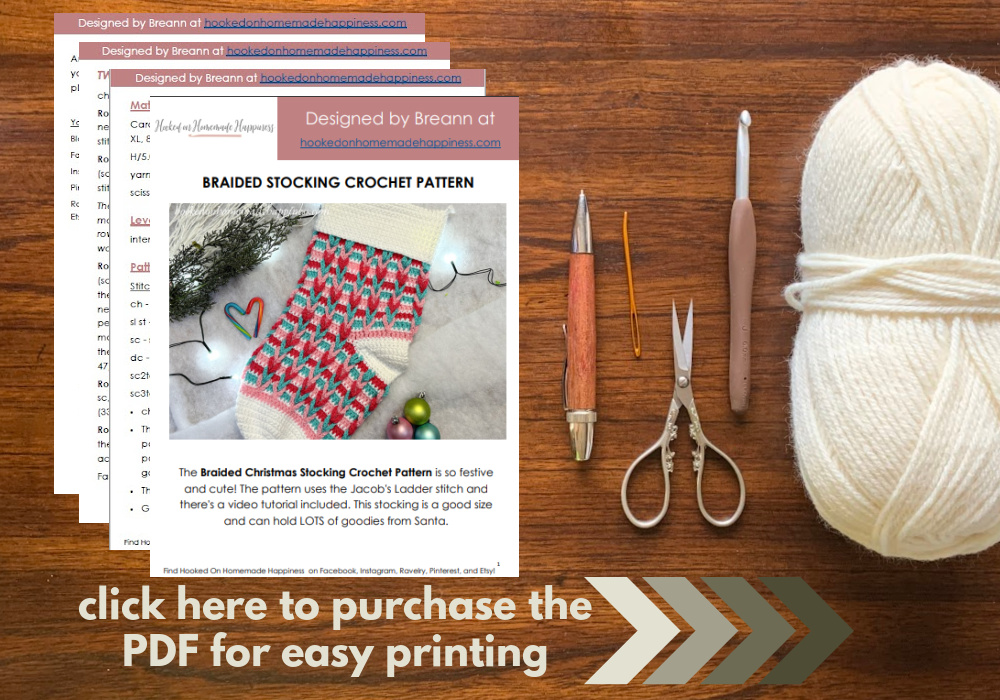
Get the full pattern below or purchase the ad-free, printable PDF in my Ravelry Shop
PIN for later HERE
Add to your Ravelry Queue HERE
Materials
Worsted weight yarn in 4 colors (I used WeCrochet Brava Worsted in White, Cotton Candy, Rouge, & Cornflower)
H/5.0 mm hook
G/4.0 mm hook
Yarn needle
Scissors
Level
intermediate
Pattern notes & stitches to know
magic ring
sl st – slip stitch
ch – chain
sc – single crochet
dc – double crochet
sc2tog – single crochet 2 together
· written in US terms
· ch 1 does not count as sc
· ch 2 does not count as dc
· This stocking is made from the bottom up in turned rounds.
· White is A, Light Pink is B, Teal is C, Dark Pink is D
· Color stripe pattern: B, A, C, A, D, A
· Do not cut yarn, carry yarn throughout pattern
· This pattern uses the Jacob’s Ladder Stitch—VIDEO TUTORIAL HERE
Approx Finished Size:
17.5″ x 8″
BRAIDED STOCKING CROCHET PATTERN
TOE
With H/5.0 mm hook & Color A, make a magic ring
Round 1: ch 1, 6 sc into ring, pull ring closed tight, join to first sc with sl st (6 sc)
Round 2: ch 1, turn, 2 sc in each stitch around, join to first sc with sl st (12 sc)
Round 3: ch 1, turn, *sc, 2 sc in next* repeat from * to * around, join to first sc with sl st (18 sc)
Round 4: ch 1, turn, *sc in 2 stitches, 2 sc in next* repeat from * to * around, join to first sc with sl st (24 sc)
Round 5: ch 1, turn, *sc in 3 stitches, 2 sc in next* repeat from * to * around, join to first sc with sl st (30 sc)
Round 6: ch 1, turn, *sc in 4 stitches, 2 sc in next* repeat from * to * around, join to first sc with sl st (36 sc)
Round 7: ch 1, turn, *sc in 5 stitches, 2 sc in next* repeat from * to * around, join to first sc with sl st (42 sc)
Round 8: ch 1, turn, *sc in 6 stitches, 2 sc in next* repeat from * to * around, join to first sc with sl st (48 sc)
Round 9: ch 1, turn, *sc in 7 stitches, 2 sc in next* repeat from * to * around, join to first sc with sl st (54 sc)
Round 10: ch 1, turn, *sc in 8 stitches, 2 sc in next* repeat from * to * around, join to first sc with sl st (60 sc)
Round 11 – 16: ch 1, turn, sc in each stitch around, join to first sc with sl st (60 sc)
Change to G/4.0 mm hook.
Join Color B and begin color stripe pattern
Round 17: ch 2, turn, dc in 3 stitches, *ch 10, sl st to stitch just made, dc in next 5* repeat from * to * around to last 2 stitches, dc in last 2, join to first dc with sl st (60)
Round 18: ch 1, turn, sc in each stitch around, making sure the ch 10 loops are on the outside of the stocking, join to first sc with sl st (60 dc)
Round 19 – 32: repeat rounds 17 & 18
The space for the heel is made in the next rounds.
Round 33: ch 2, turn, dc in 28 stitches, *ch 10, sl st to stitch just made, dc in next 5* repeat from * to * around to last 2 stitches, dc in last 2, join to first dc with sl st (60)
Round 34: ch 1, turn, sc in 35 stitches, ch 24, skip 24 stitches, sc in last stitch, join to first sc with sl st (36 sc)
There will be a hole where the heel is. Leave it for now. The heel will be finished at the end.
Round 35 – 51: repeat rounds 17 & 18
Using your hook, chain the ch-10 loops together starting at the bottom. This process is included in the video tutorial. Skip the loops along the heel. We will do these later.
Round 52: ch 1, turn, sc in first 2 stitches, *grabbing the topmost ch-10 loop, sc in next stitch (closing in the ch-10 loop), sc in 4 stitches* repeat from * to * around to last 3 stitches, grabbing the topmost ch-10 loop, sc in next stitch (closing in the ch-10 loop), sc in last 2 stitches, join to first sc with sl st (60 sc)
CUFF
Change to H/5.0 mm hook.
Change to Color A. Fasten off all other colors.
Round 53 – 67: ch 1, turn, sc in each stitch around, join to first sc with sl st (60 sc)
The hanger is made in the next round. Make sure it is lined up with the back of the heel.
Round 68: ch 1, turn, sc in 13 stitches, ch 8, sc in remaining stitches around, join to first sc with sl st (60 sc)
Round 69 – 83: ch 1, turn, sc in each stitch around, join to first sc with sl st (60 sc)
Fasten off. Weave in the ends.
HEEL
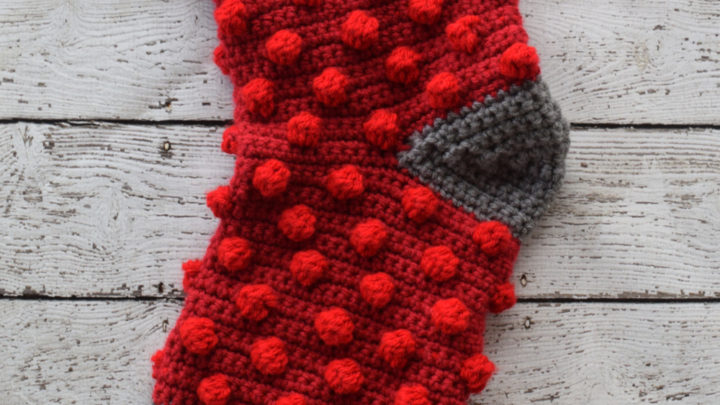
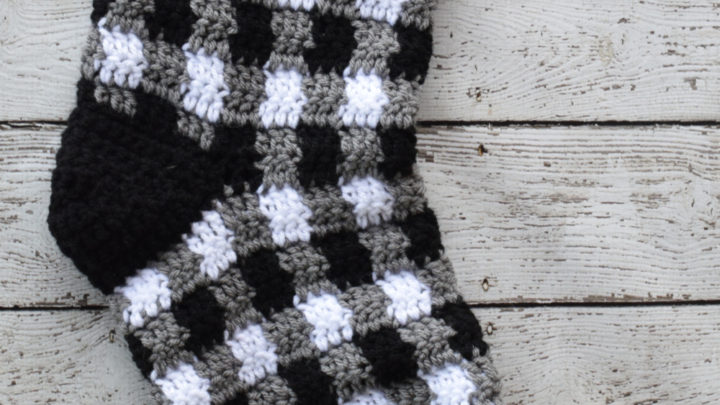
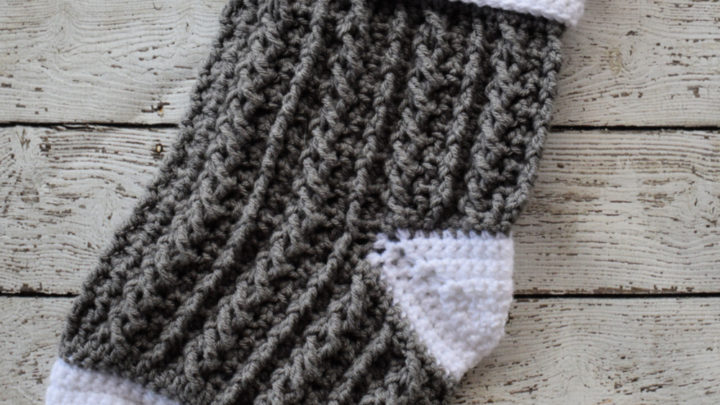
The photos are from a different stocking, but the method is the same.
Using your hook, chain the ch-10 loops together starting at the bottom below the heel. This process is included in the video tutorial. Secure these loops in the first round of the heel.
With H/5.0 mm hook and Color A, join to the right corner of the heel.
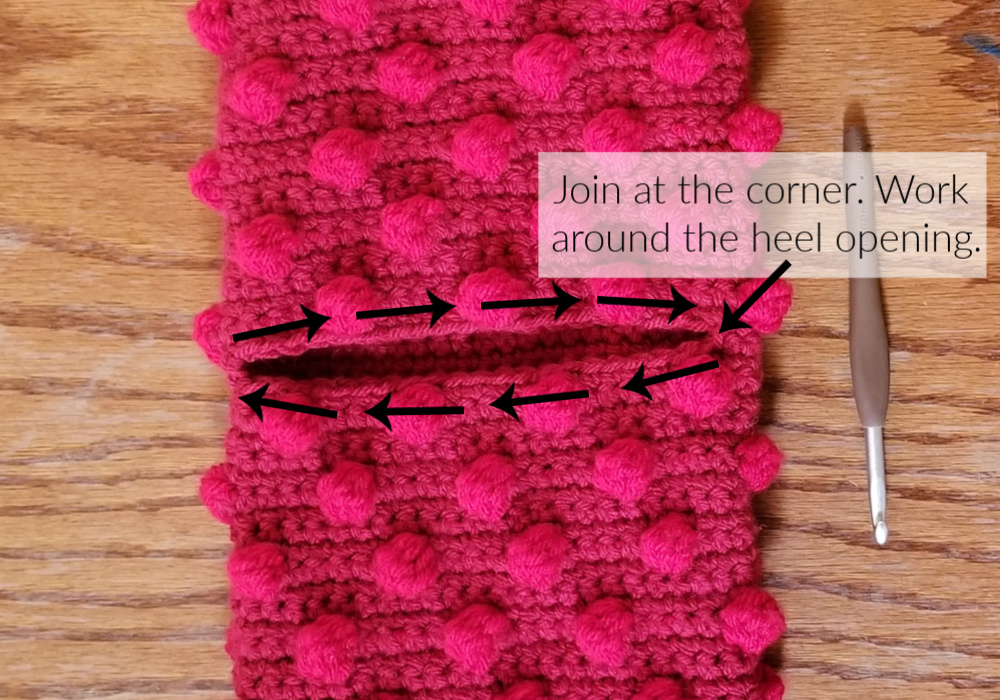
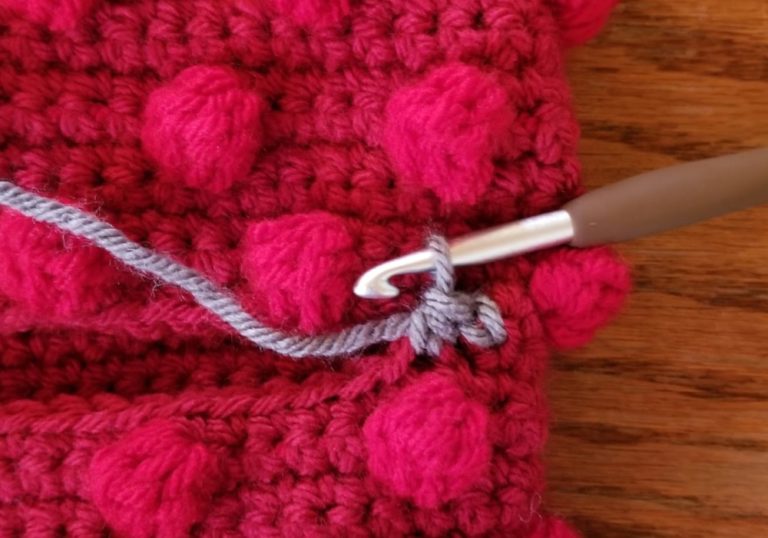
Round 1: ch 1, sc2tog, sc across to the opposite corner (approx. 21 stitches), sc2tog, turn so your working across the top of the heel, sc2tog, sc across (approx. 21 stitches) to last 2 stitches, sc2tog, join to first sc2tog with sl st
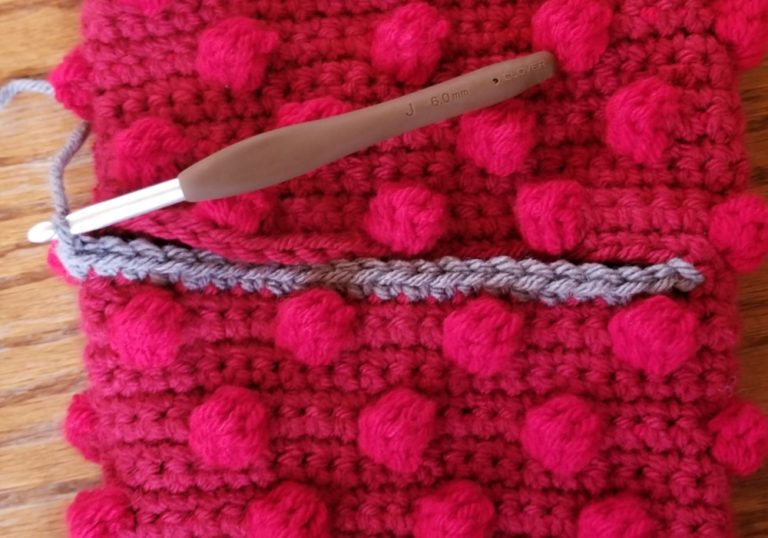
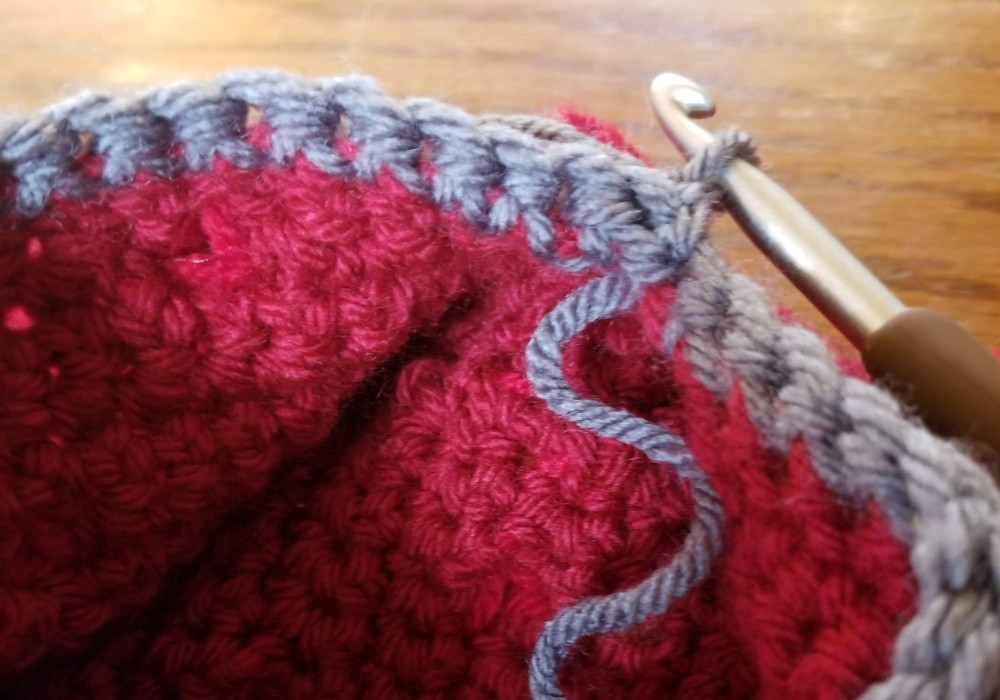
Round 2: ch 1, turn, sc2tog, sc across to opposite corner (approx. 19 stitches), sc2tog, turn so your working across the top of the heel, sc2tog, sc in each stitch across (approx. 19 stitches) to the last 2 stitches, sc2tog, join to first sc2tog with sl st
Repeat round 2, decreasing the stitch count by 4 each round, to Round 9
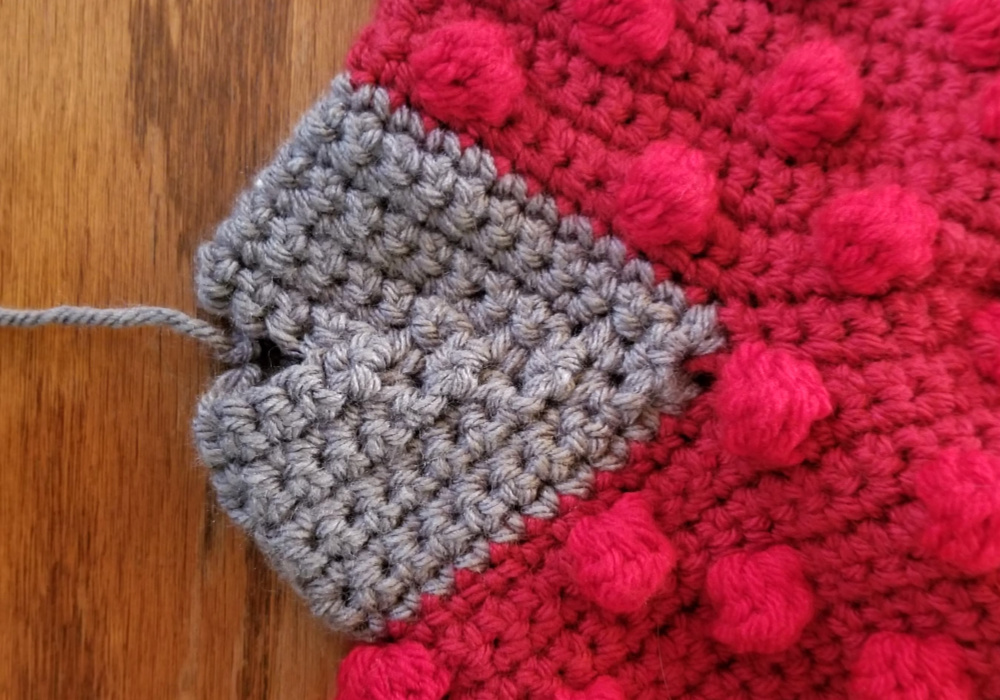
Fasten off. Use the end to sew the opening closed.
Weave in the ends.
Looking for more patterns? Follow me on Facebook, Instagram, and Pinterest! Please share a pic of your finished product with me. I’d love to see it!


