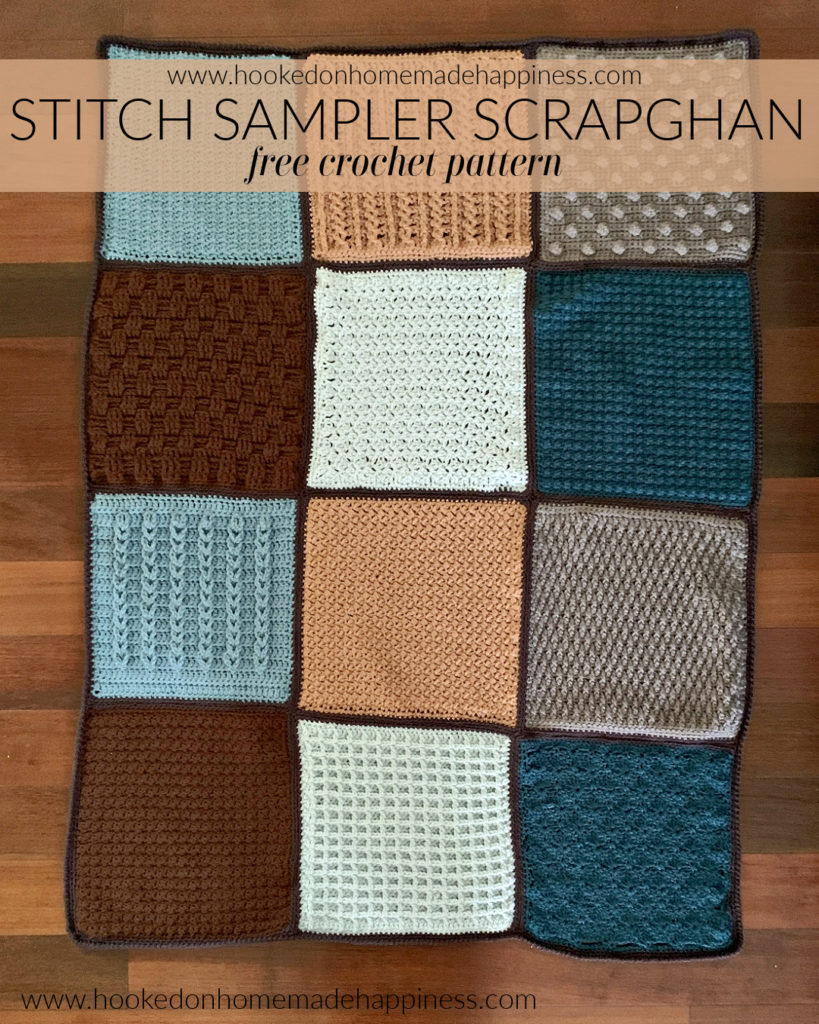
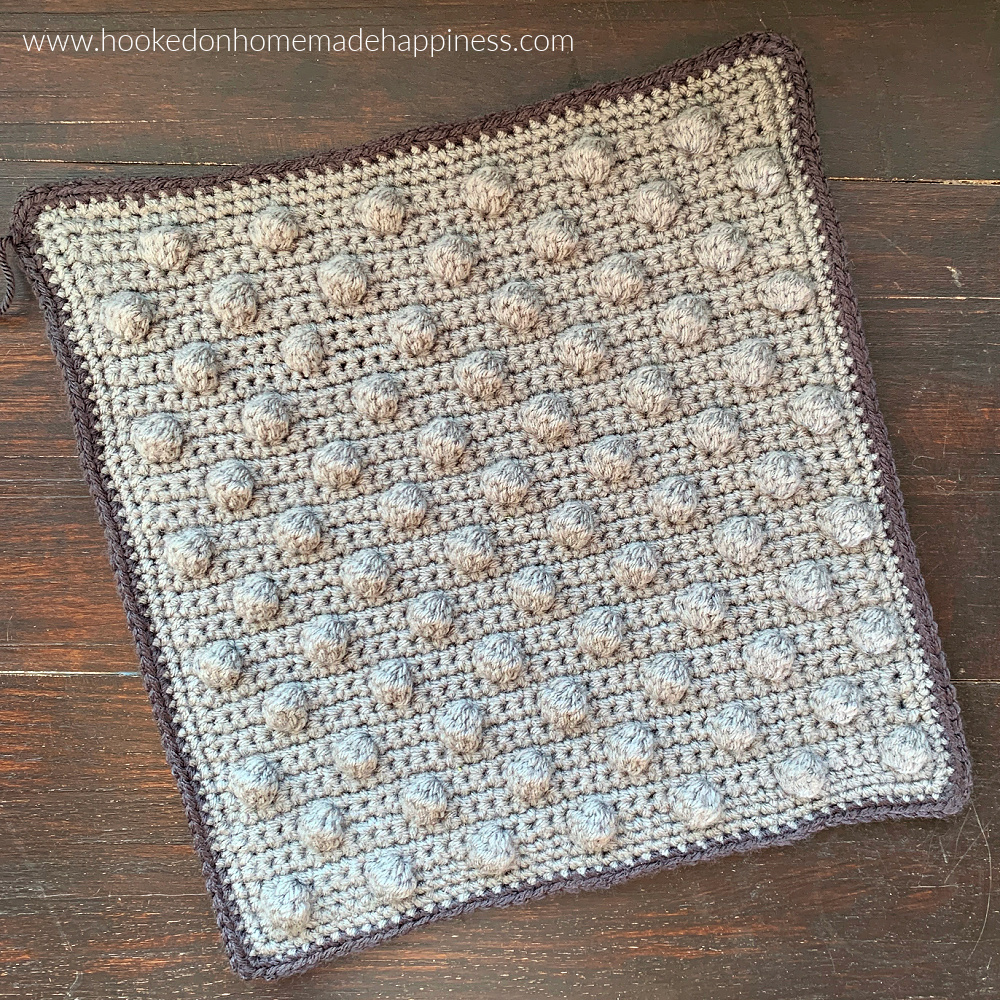
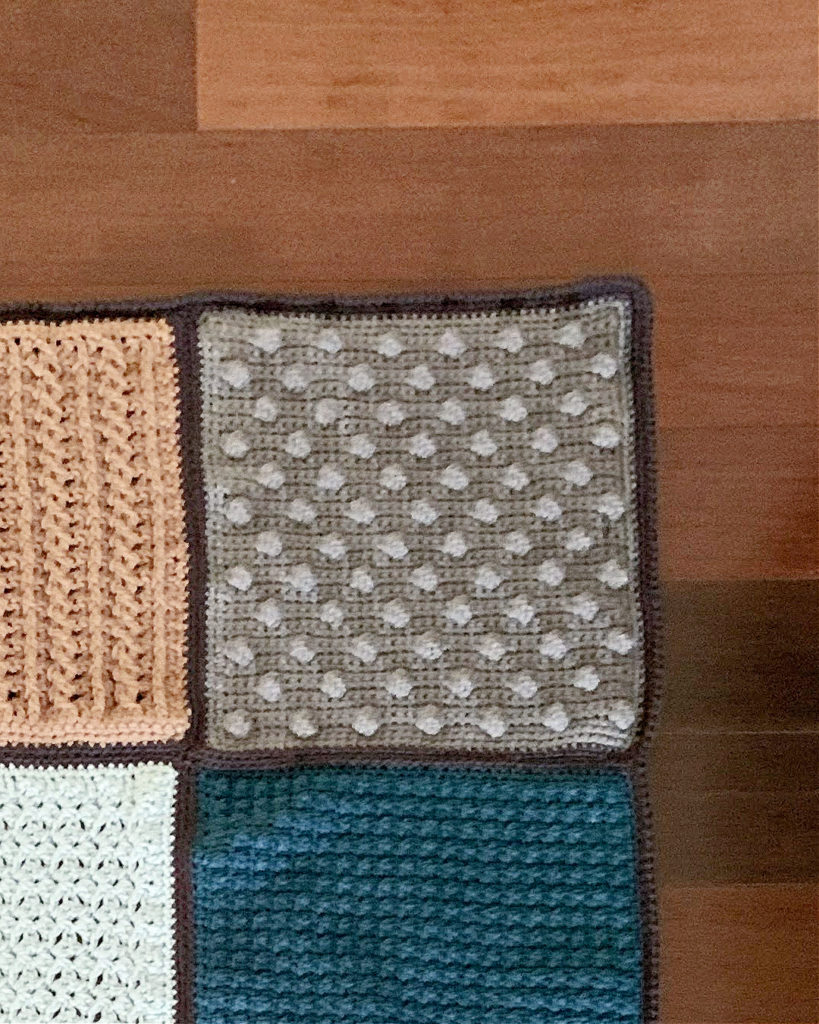
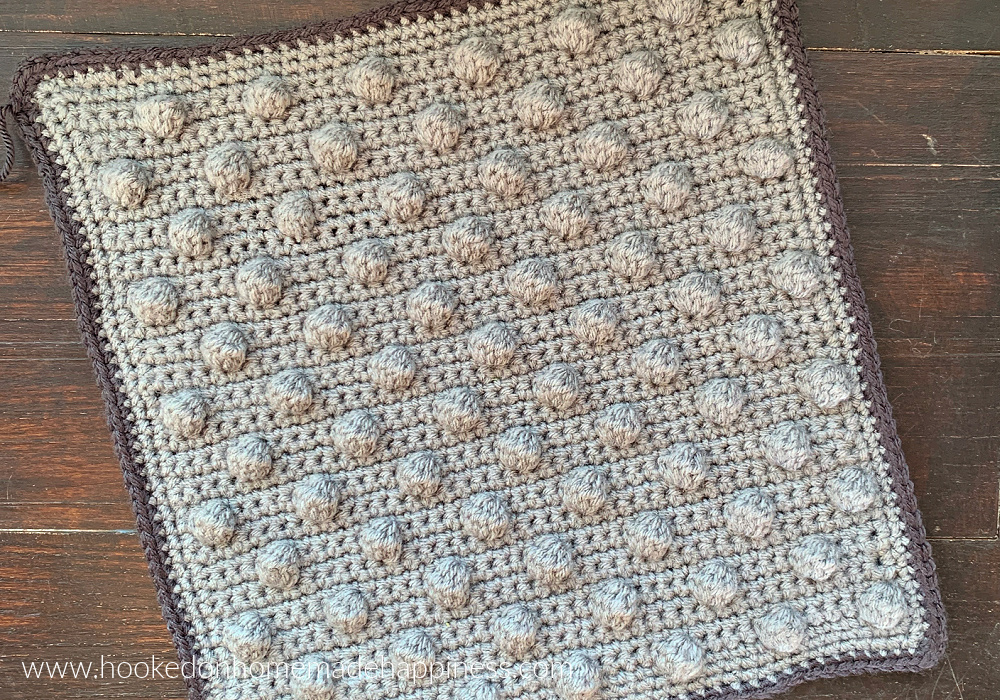
This week’s stitch is the Bobble Stitch! I just love using the bobble stitch to add some extra pop to a project. I’ve used this stitch in some of my designs like the Bobbles of Fun Cowl, Baby Bobble Beanie, and the Bobble Stocking.

It’s not too late to join the Stitch Sampler Scrapghan CAL! You can find all the Scrapghan Crochet Along info HERE. Join my FACEBOOK GROUP to share your progress with your fellow crocheters!


Bobble Stitch
– Get the free pattern below or download the printable PDF for free HERE
Materials
115g Worsted weight yarn + small amount for the border (the same color that will be used for sewing – optional
H/5.0 mm hook
Yarn needle
Scissors
Level
intermediate
Pattern notes & stitches to know
ch – chain
sc – single crochet
bobble – *yarn over, insert into stitch, pull up a loop, yarn over, pull through 2 loops* repeat 4 more times. You have 6 loops on hook. Yarn over, pull through all loops on hook
rs – right side
ws – wrong side
· written in US terms
· ch 1 does not count as sc
· starting ch needs to be a multiple of 6 + 4
Approx finished size: 12” x 12”
Scrapghan Tips
· If you’re having trouble getting the sizing right, remember that it’s easier to adjust a square that’s too small than one that’s too big.
· If a square comes out too small you can add an additional round for the border, go up a hook size, and/or steam block and stretch the square to the size you want.
· The edges might curl. This can be fixed with some steam blocking. It won’t be noticeable after sewing.
· Each square has at least 2 rounds of border. For the last round of the border I used the same color for each square (the dark gray). This is the same color used for the sewing.
· The squares will be released in sewing order, starting with the bottom left. I left a long end for sewing on each of the squares. The long end is approximately twice the length of one side.
· Each square does not need the same number of stitches for the border.
PART 10 – BOBBLE STITCH
Ch 40
Row 1 (rs): sc in 2nd ch from the hook and across (39 sc)
Row 2 (ws): ch 1, turn, sc in first stitch, bobble in next, *sc in 5 stitches, bobble in next* repeat from * to * across, sc in last stitch (39)
Row 3 (rs) – 5 (rs): ch 1, turn, sc across (39 sc)
Row 6 (ws): ch 1, turn, sc in first 4 stitches, bobble in next, *sc in 5 stitches, bobble in next* repeat from * to * across, sc in last 4 stitches (39)
Row 7 (rs) – 9 (rs): ch 1, turn, sc across (39 sc)
Row 10 (ws) – 47 (rs): repeat rows 2 – 9
BORDER
With the same color used for the square, work around the entire square
Round 1 (rs): ch 1, sc evenly along the side of the square, working 1 sc in the side of each row to the corner, 3 sc in corner, sc in each stitch across to next corner, 3 sc in corner, sc along the side of the square, working 1 sc in the side of each row to the corner, 3 sc in corner, sc in each stitch to last, 2 sc in last stitch, join to first sc
Change to border/joining color
Round 2 (rs): ch 1, *sc in each stitch across to corner, 3 sc in corner* repeat from * to * around, join to first sc with sl st
Fasten off. Leave a long end for sewing.
Weave in the other ends.
See you next week for Part 11!
Looking for more patterns? Follow me on Facebook, Instagram, and Pinterest! Please share a pic of your finished product with me. I’d love to see it!


Thank you fo sharing your beautiful talent!