
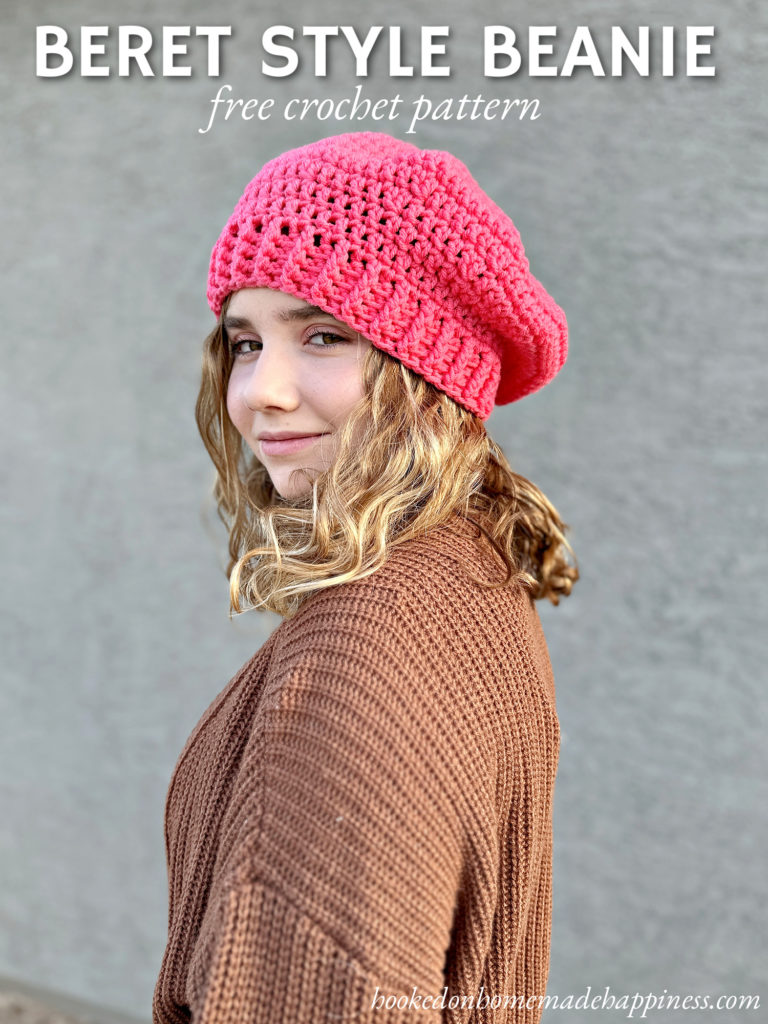
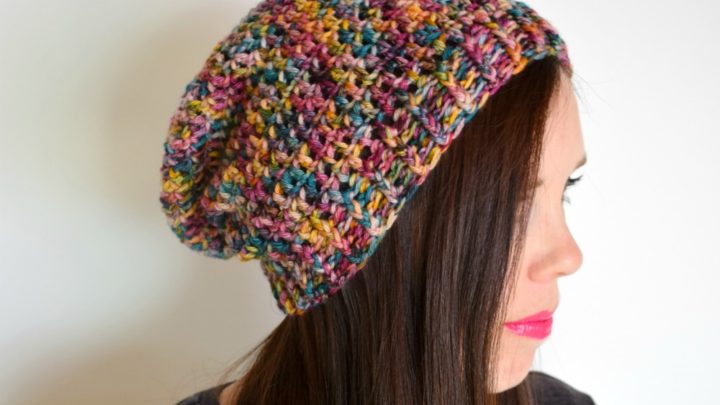
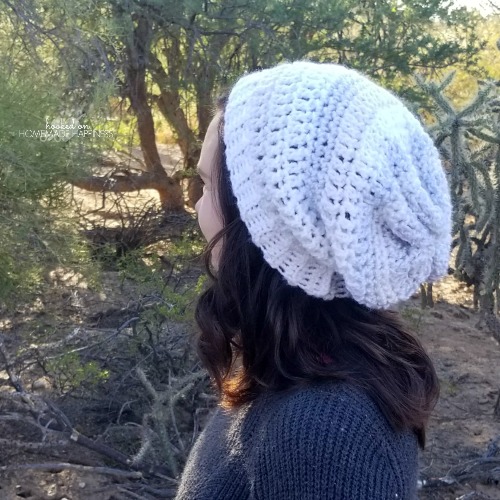
There’s something timeless and effortlessly cool about a classic beret—and when you combine that with the cozy comfort of a beanie? Pure crochet magic. Whether you’re strolling through a fall market or adding a little flair to your winter wardrobe, this beret-style beanie is the perfect accessory. The Beret Style Beanie Crochet Pattern is made with all double crochet! It has a fun and versatile shape that can be worn slouchy or beret style. Perfect for adventurous beginners or seasoned stitchers looking for a fashionable twist!
This hat is the 7th pattern in the Crochet Along for a Cause. We are making 1 hat per week to donate to a cancer center, school, or homeless shelter for 12 weeks. There’s always time to join! You can find all the details and hat patterns HERE.
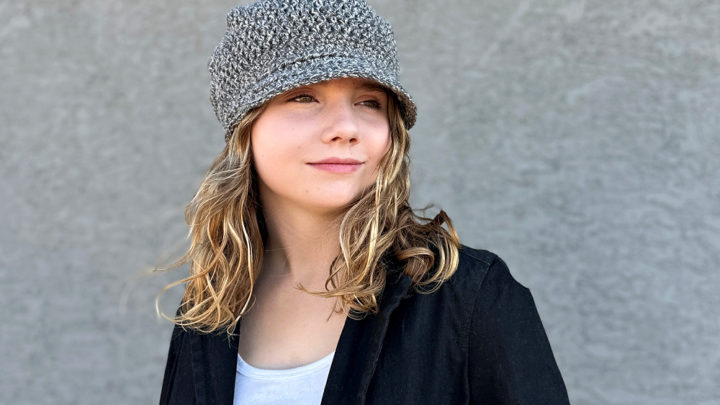
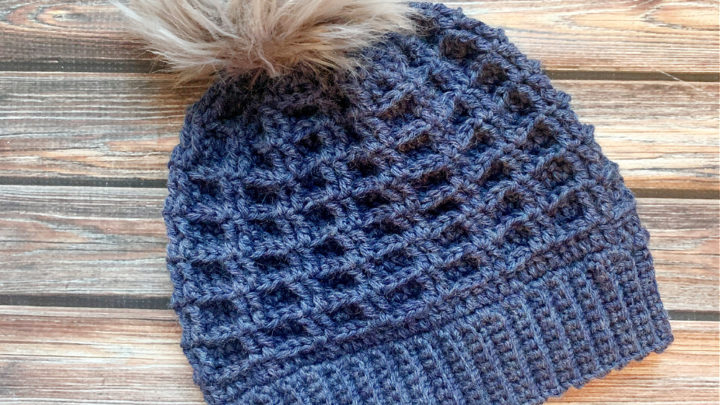
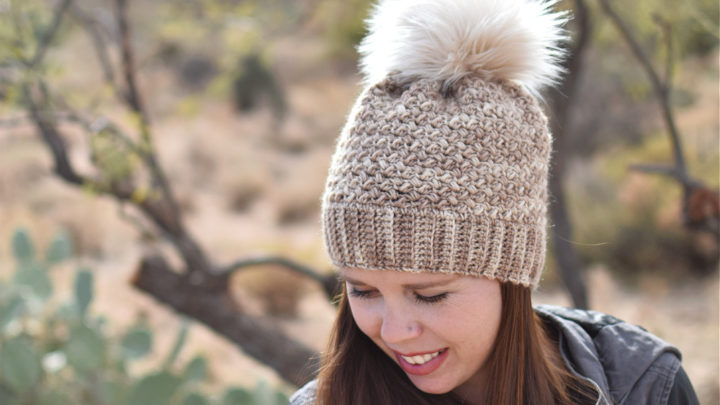
More Homemade Happiness

click here to pin for later >>>

Beret Style Beanie Crochet Pattern
PIN for later HERE
Add to your Ravelry Queue HERE
Materials
125g worsted weight yarn (I used I Love this Yarn in Tropical Pink)
J/6.0 mm hook
yarn needle
scissors
Level
intermediate
Pattern notes & Stitches to Know
magic ring
ch – chain
sl st – slip stitch
dc – double crochet
dc2tog – double crochet 2 together
fpdc – front post double crochet
bpdc – back post double crochet
· Written in US terms
· ch 2 does not count as dc
Approx Finished size (medium adult)-
Length: 9”
Circumference: 19”
BERET STYLE BEANIE CROCHET PATTERN
Make a magic ring
Round 1: ch 2, 12 dc in ring, join to first dc with sl st, pull ring closed tight (12 dc)
Round 2: ch 2, 2 dc in each stitch around, join to first dc with sl st (24 dc)
Round 3: ch 2, *dc in 1 stitch, 2 dc in next* repeat from * to * around, join to first dc with sl st (36 dc)
Round 4: ch 2, *dc in 2 stitches, 2 dc in next* repeat from * to * around, join to first dc with sl st (48 dc)
Round 5: ch 2, *dc in 3 stitches, 2 dc in next* repeat from * to * around, join to the first dc with sl st (60 dc)
Round 6: ch 2, *dc in 4 stitches, 2 dc in next* repeat from * to * around, join to first dc with sl st (72 dc)
Round 7: ch 2, *dc in 5 stitches, 2 dc in next* repeat from * to * around, join to first dc with sl st (84 dc)
Crown diameter is approx. 9.5”. To change the size, go up or down a hook size or add or take out increase rounds
Round 8 – 9: ch 2, dc in each stitch around, join to first dc with sl st (84 dc)
Round 10: ch 2, *dc in 5 stitches, dc2tog* repeat from * to * around, join to first dc with sl st (72 dc)
Round 11: ch 2, *dc in 4 stitches, dc2tog* repeat from * to * around, join to first dc with sl st (60 dc)
Round 12 – 14: ch 2, dc in each stitch around, join to first dc with sl st (60 dc)
Round 15 – 17: ch 2, fpdc in first stitch, bpdc in next, *fpdc in next stitch, bpdc in next* repeat from * to * around, join to first dc with sl st (60)
Fasten off, Weave in the ends.
See you next week for the 8th pattern for the CAL for a Cause!
Looking for more patterns? Follow me on Facebook, Instagram, and Pinterest! Please share a pic of your finished product with me. I’d love to see it!


I will be trying this pattern for my local homeless project for certain. Thanks for the sharing the pattern and idea.